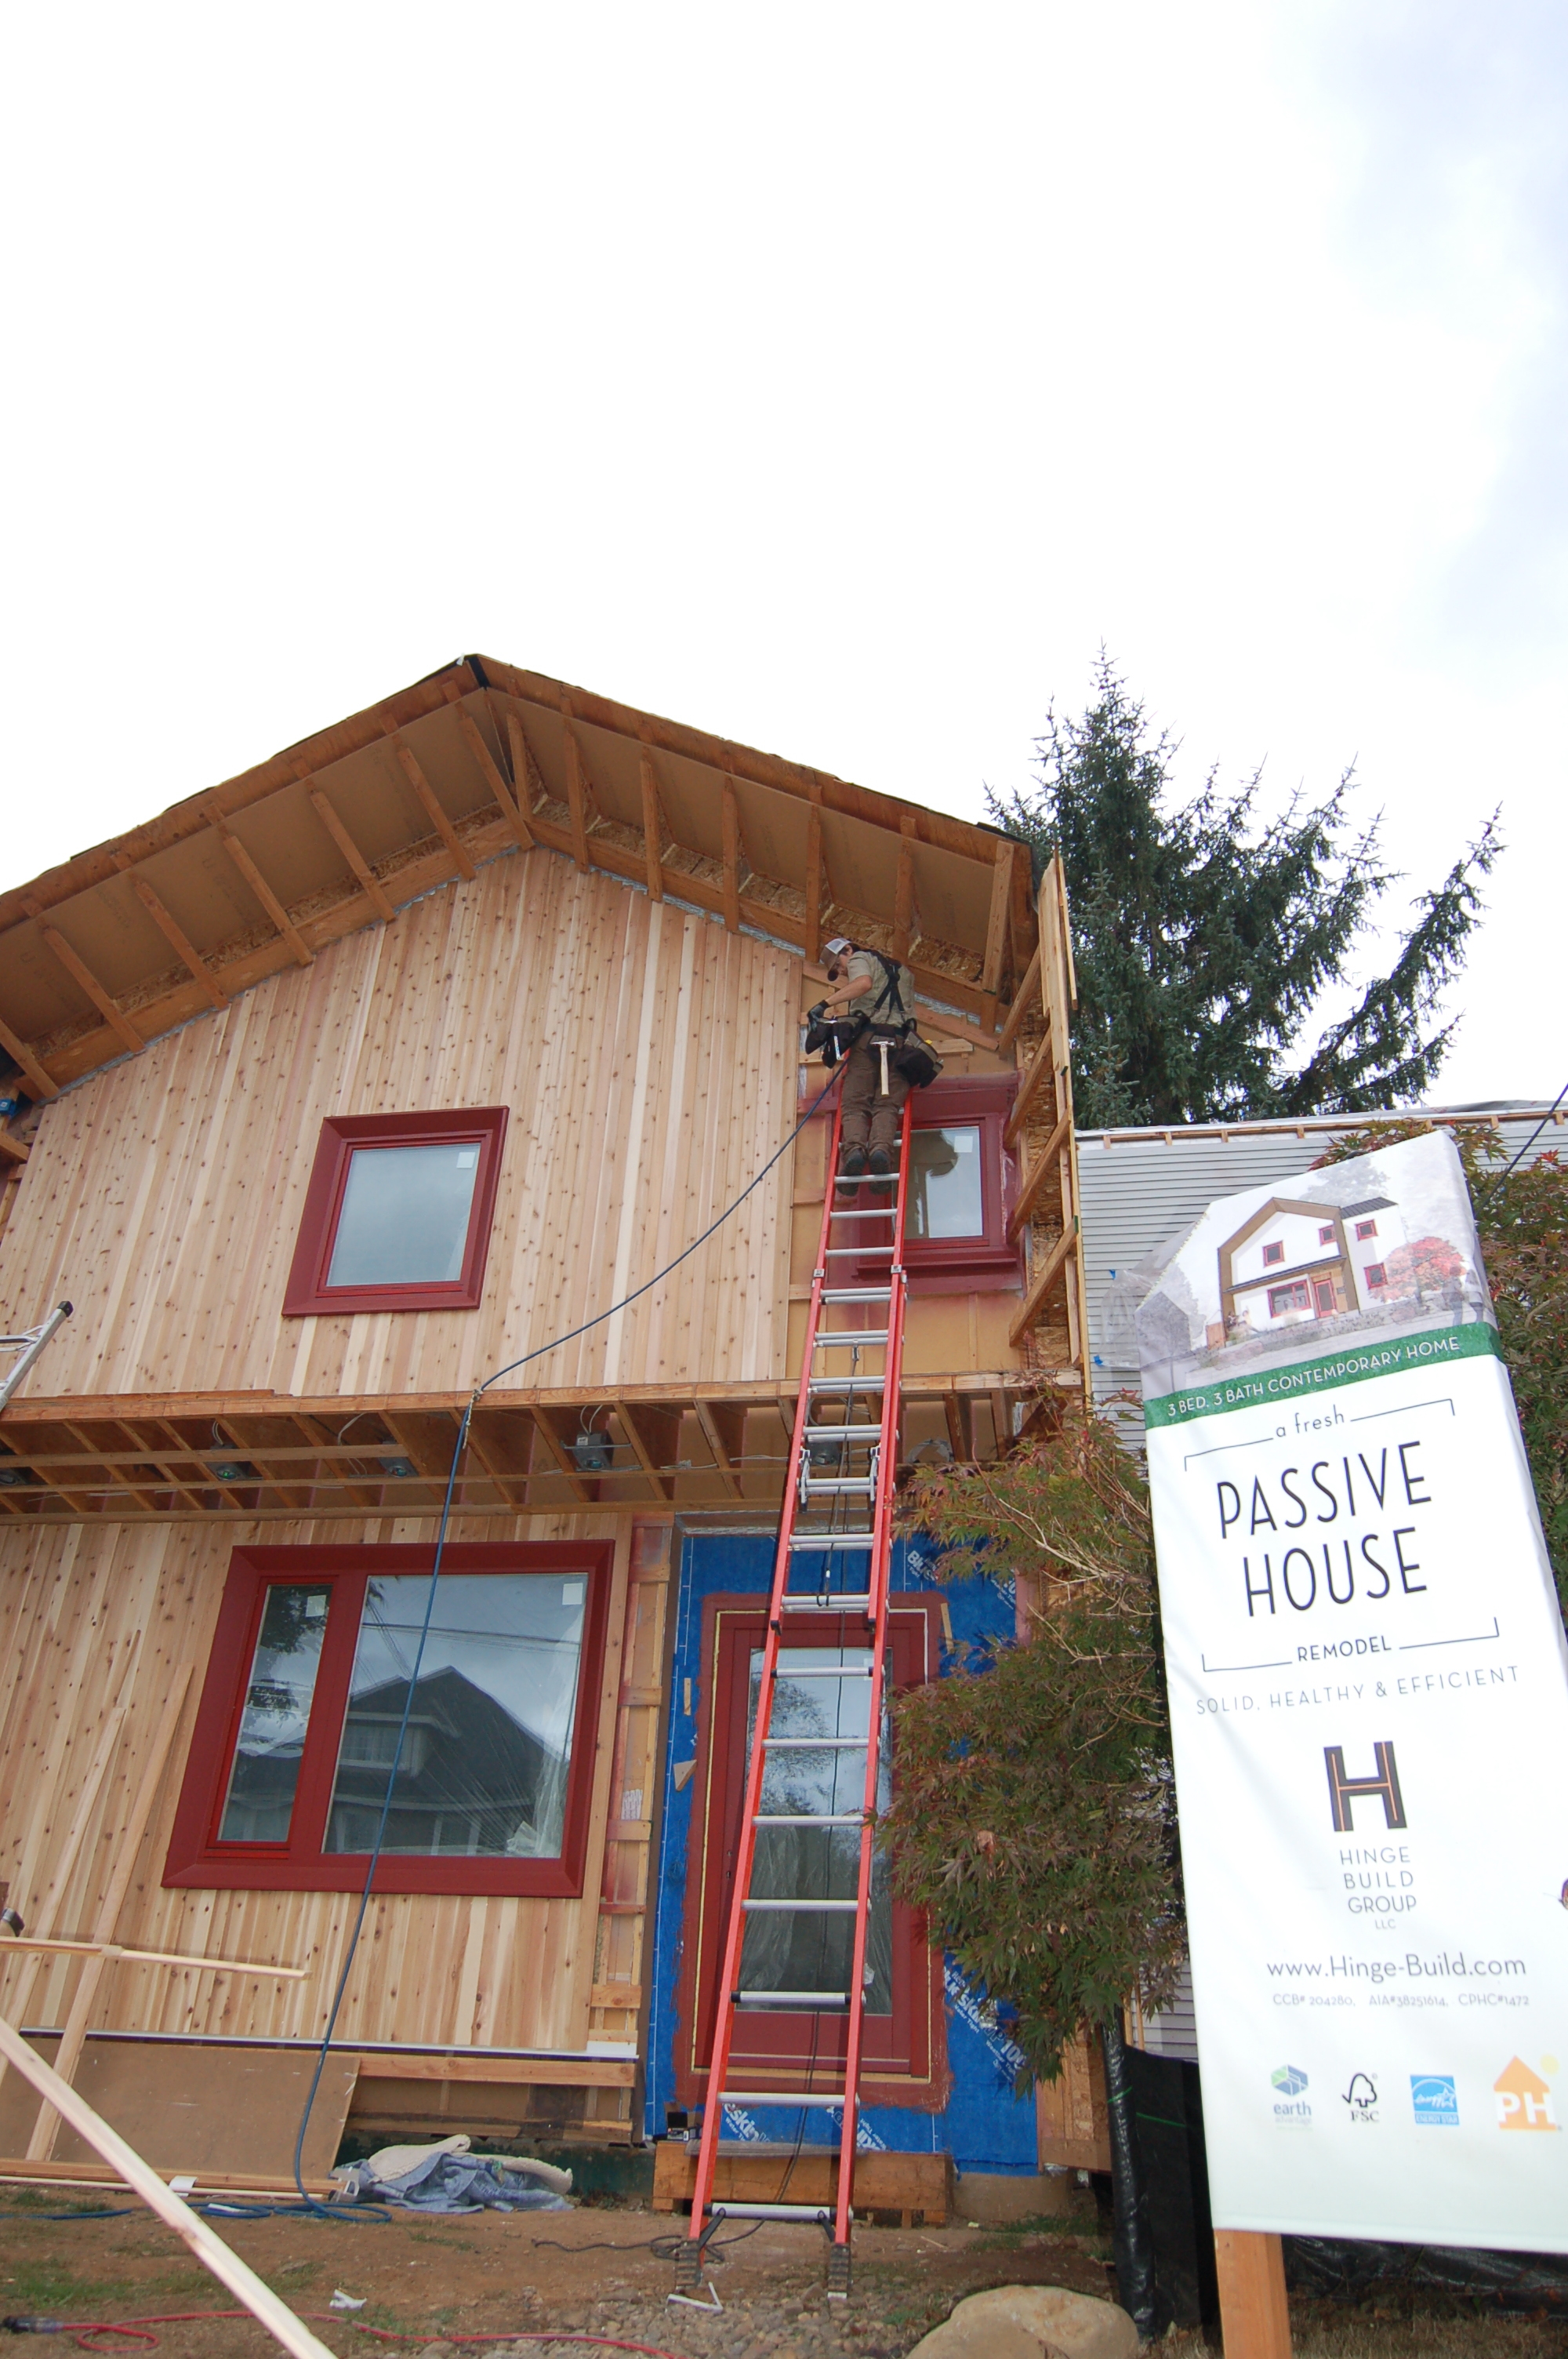
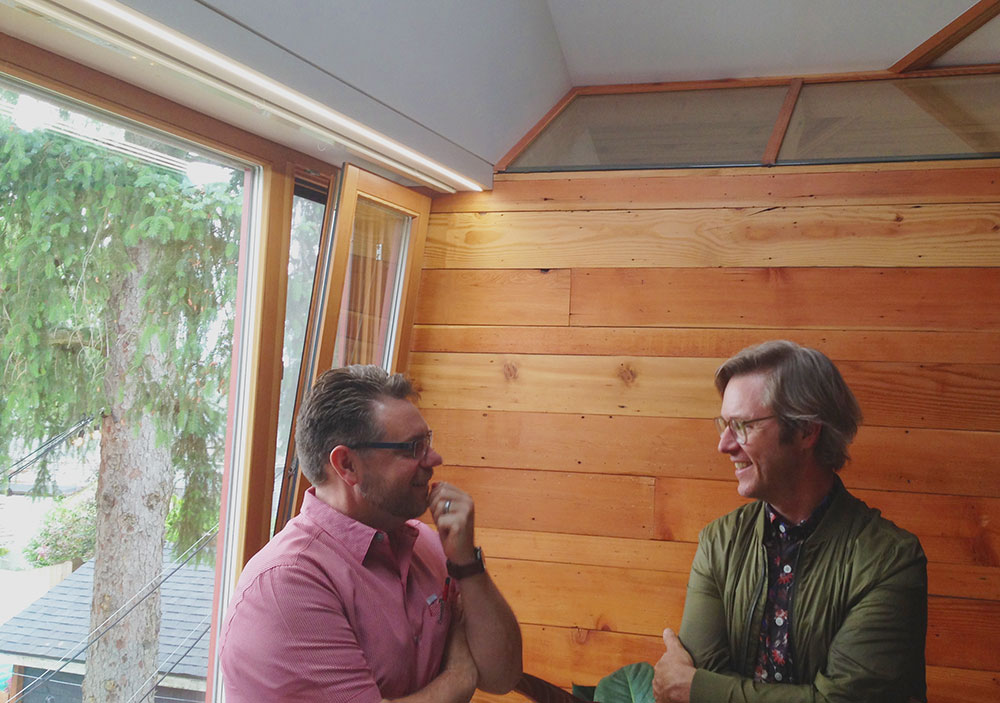
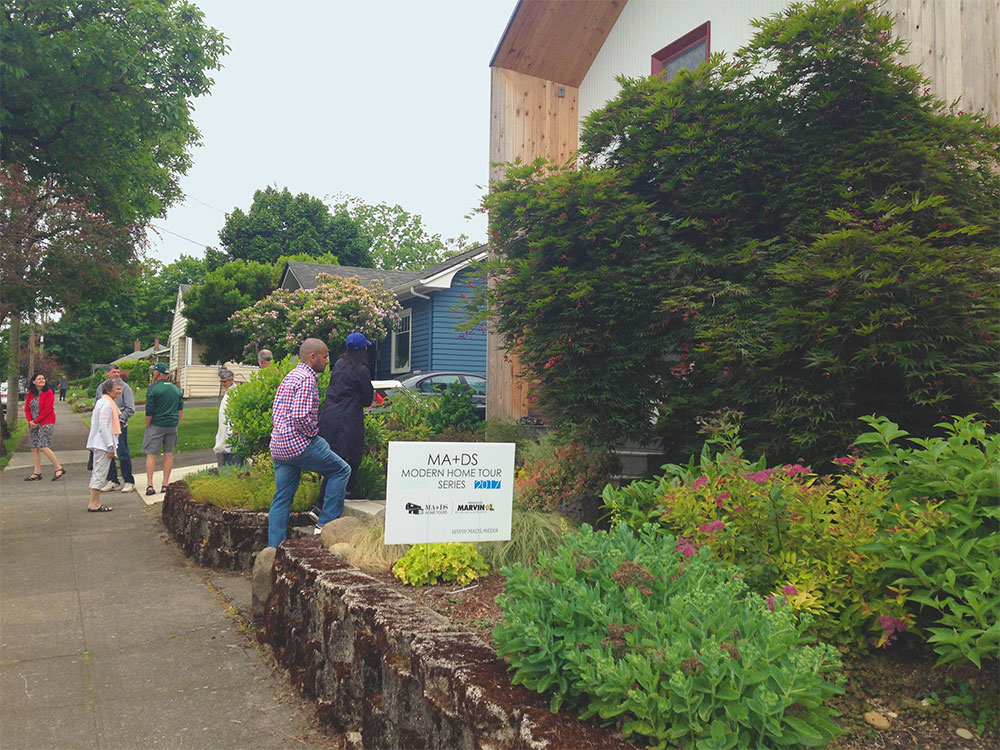
I recently caught up with Hinge Build Group (HBG) Founder, Scott Kosmecki to discuss the 2017 Portland Modern Home Tour featuring his Phoenix Passive House. The annual event, hosted by the Modern Art & Design Society (MADS), gives visitors a one-of-a-kind chance to “meet the architect, talk to the homeowners, and explore the living spaces of Portland’s most innovative modern homes,” according to MADS. Please enjoy my conversation with Scott:
HBG: How did your Phoenix Passive House get selected for the 2017 Modern Home Tour?
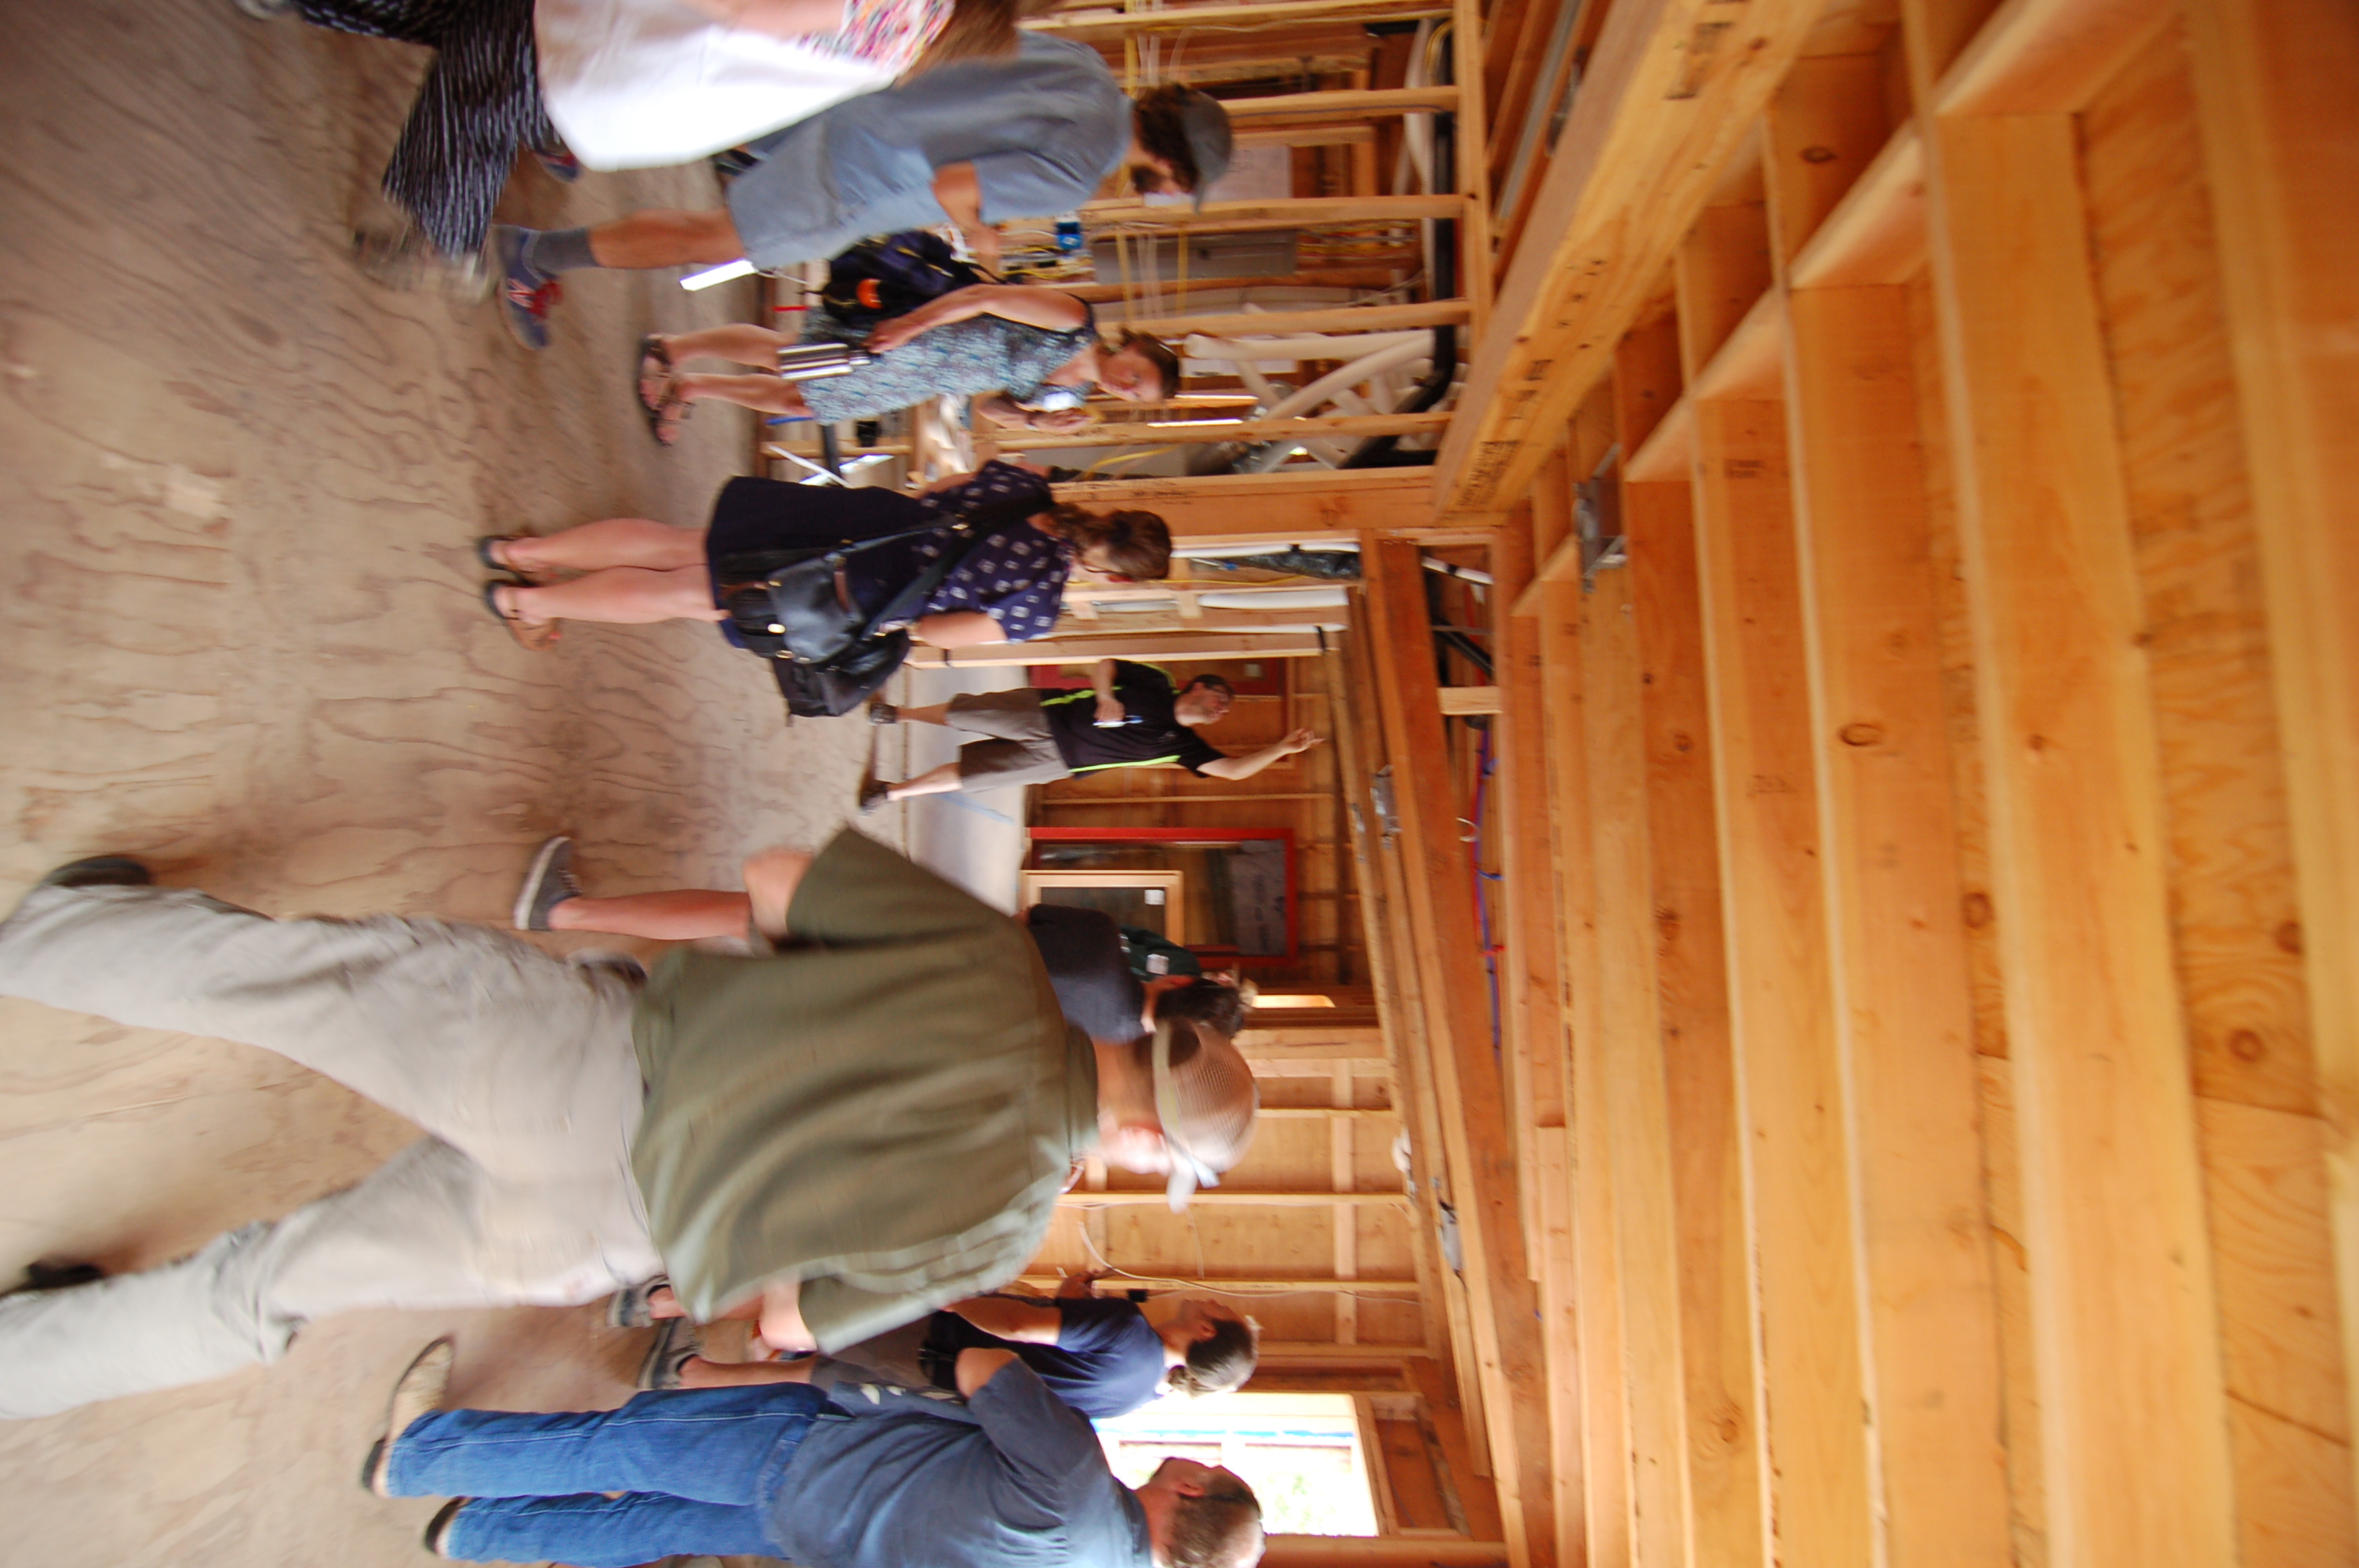
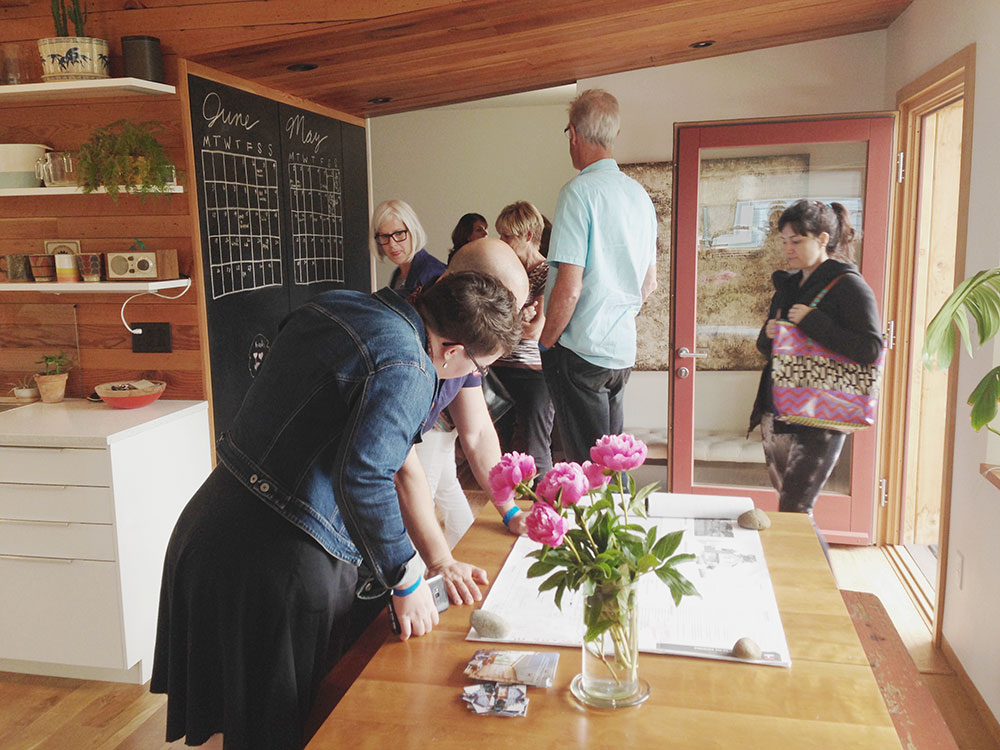
Scott: The homeowners were approached by MADS, who host this tour once a year in Portland and run programs like this all over the country. It was a really huge honor to have our project requested. I have to thank the homeowners who to let me come along and spend the day talking to all the visitors (300+!). It was really fun to talk about this project again!
HBG: What was the inspiration behind the home and what do you consider its most interesting features?
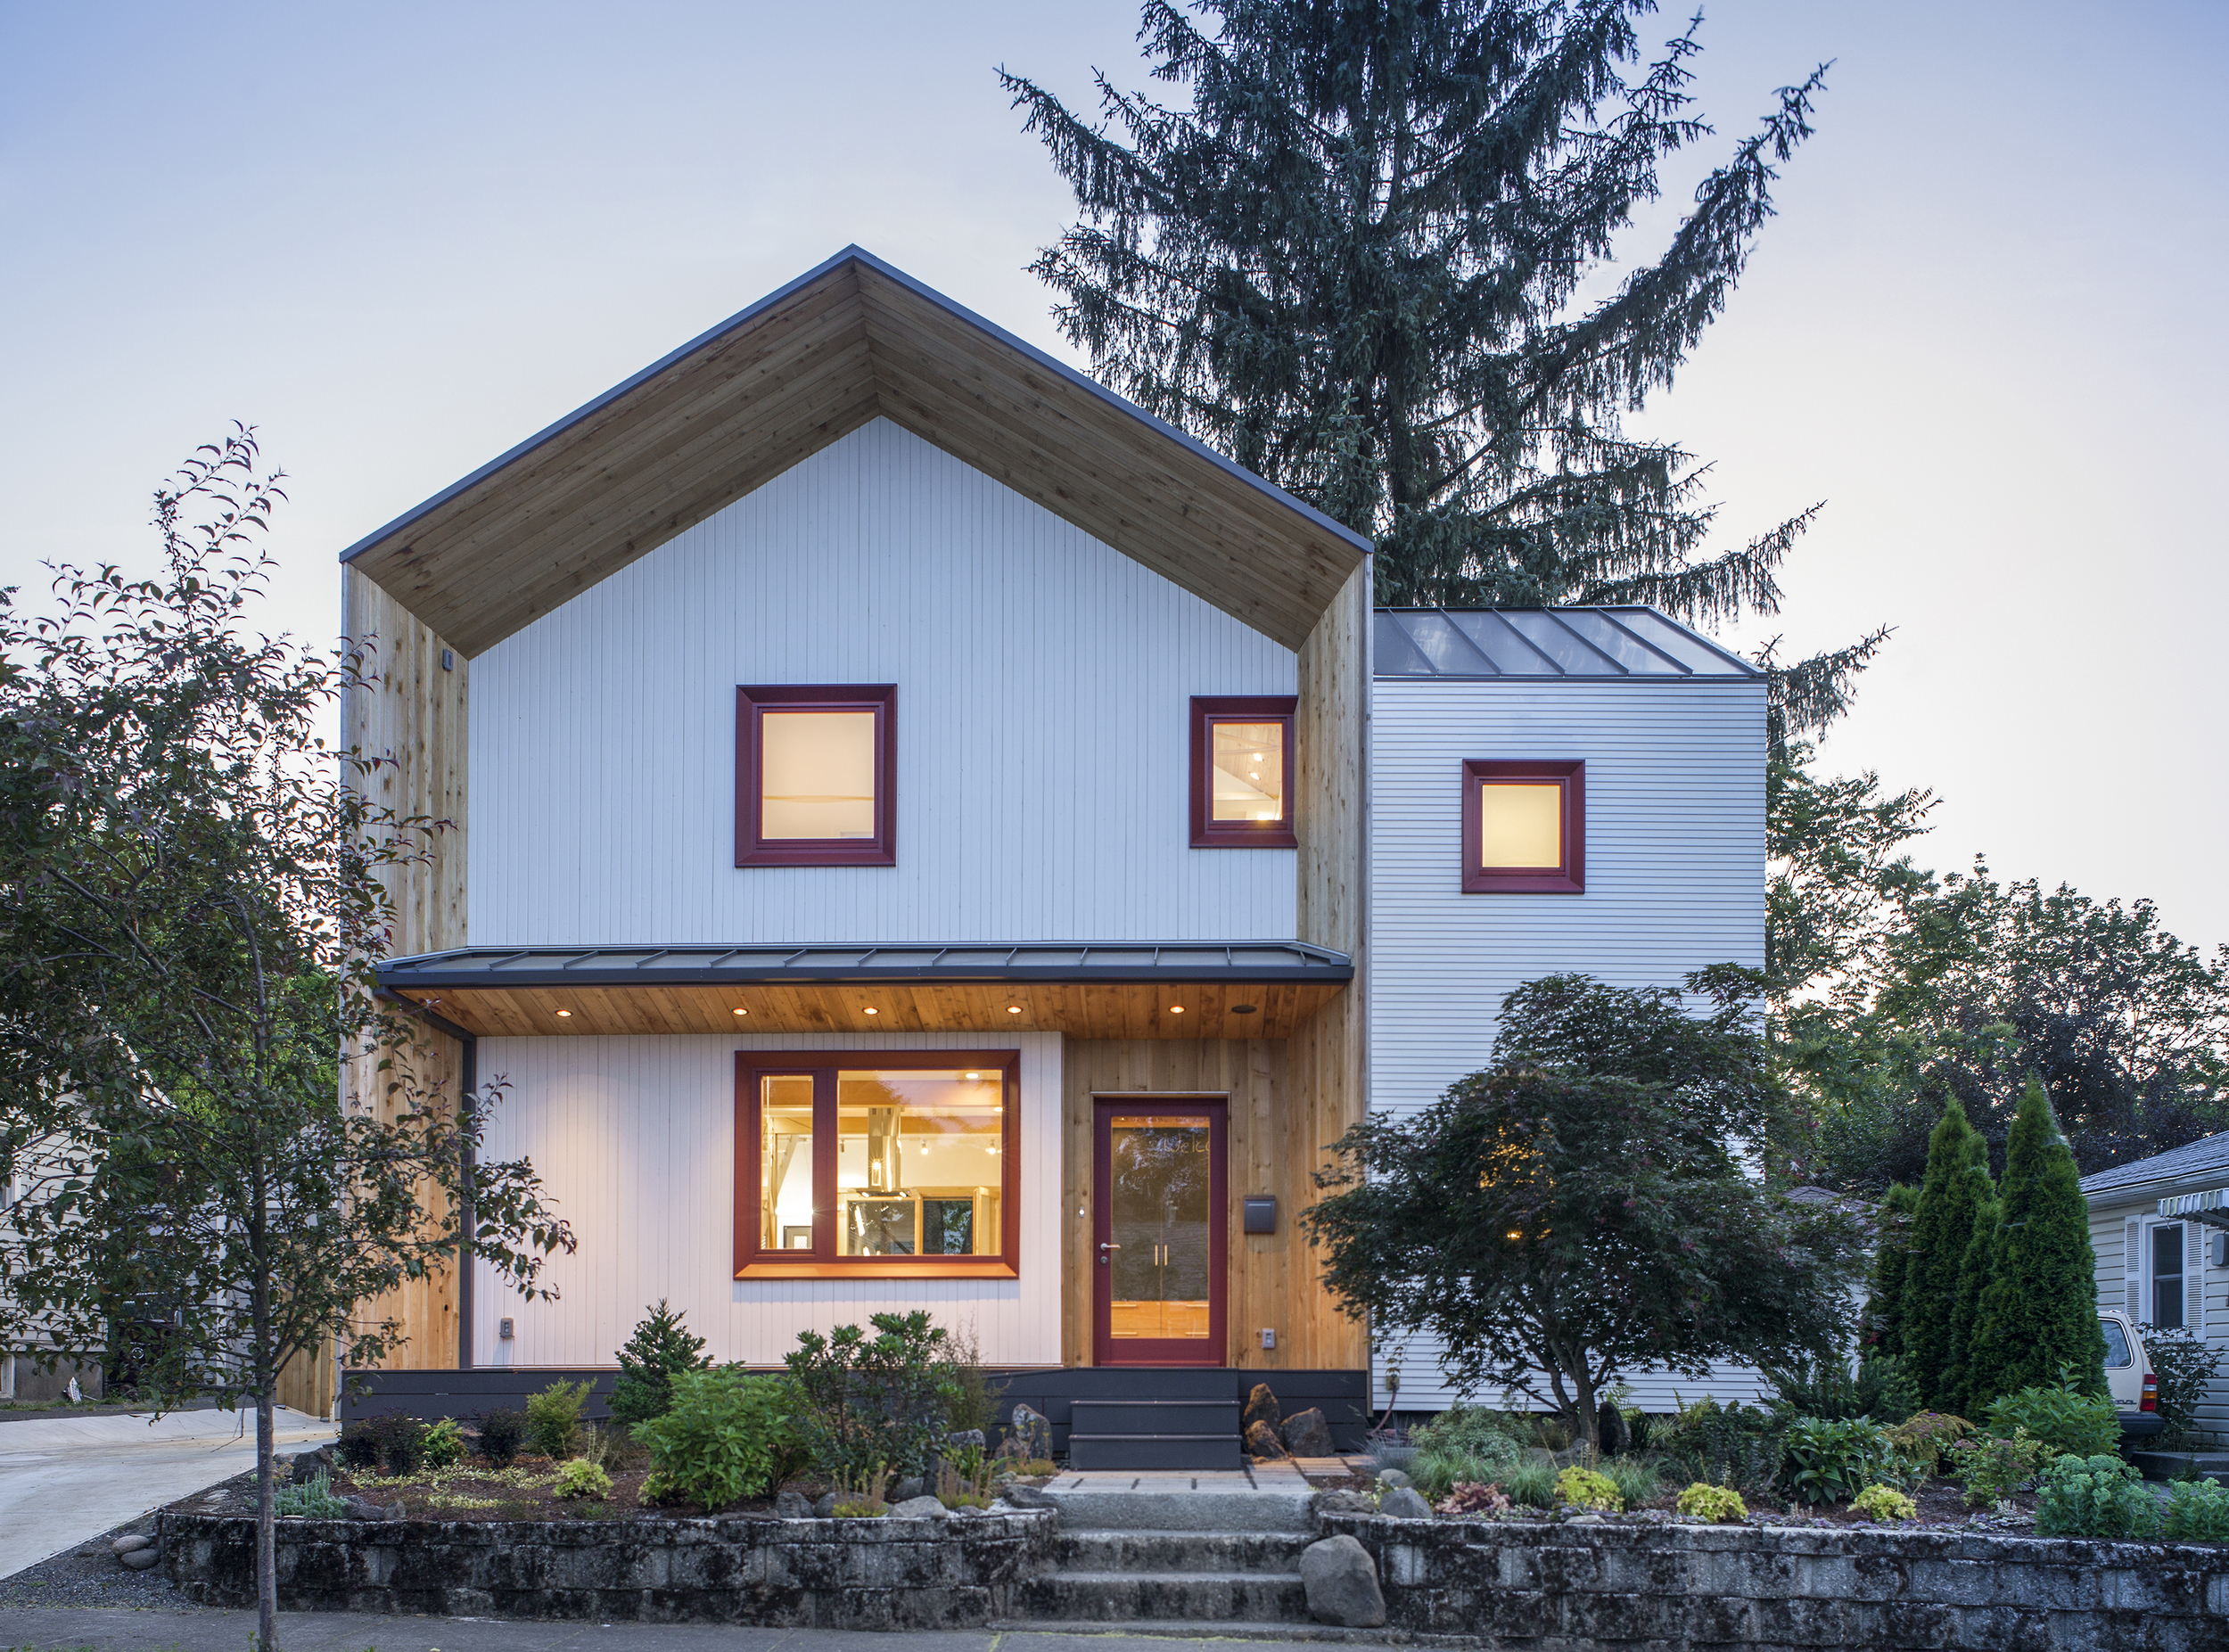
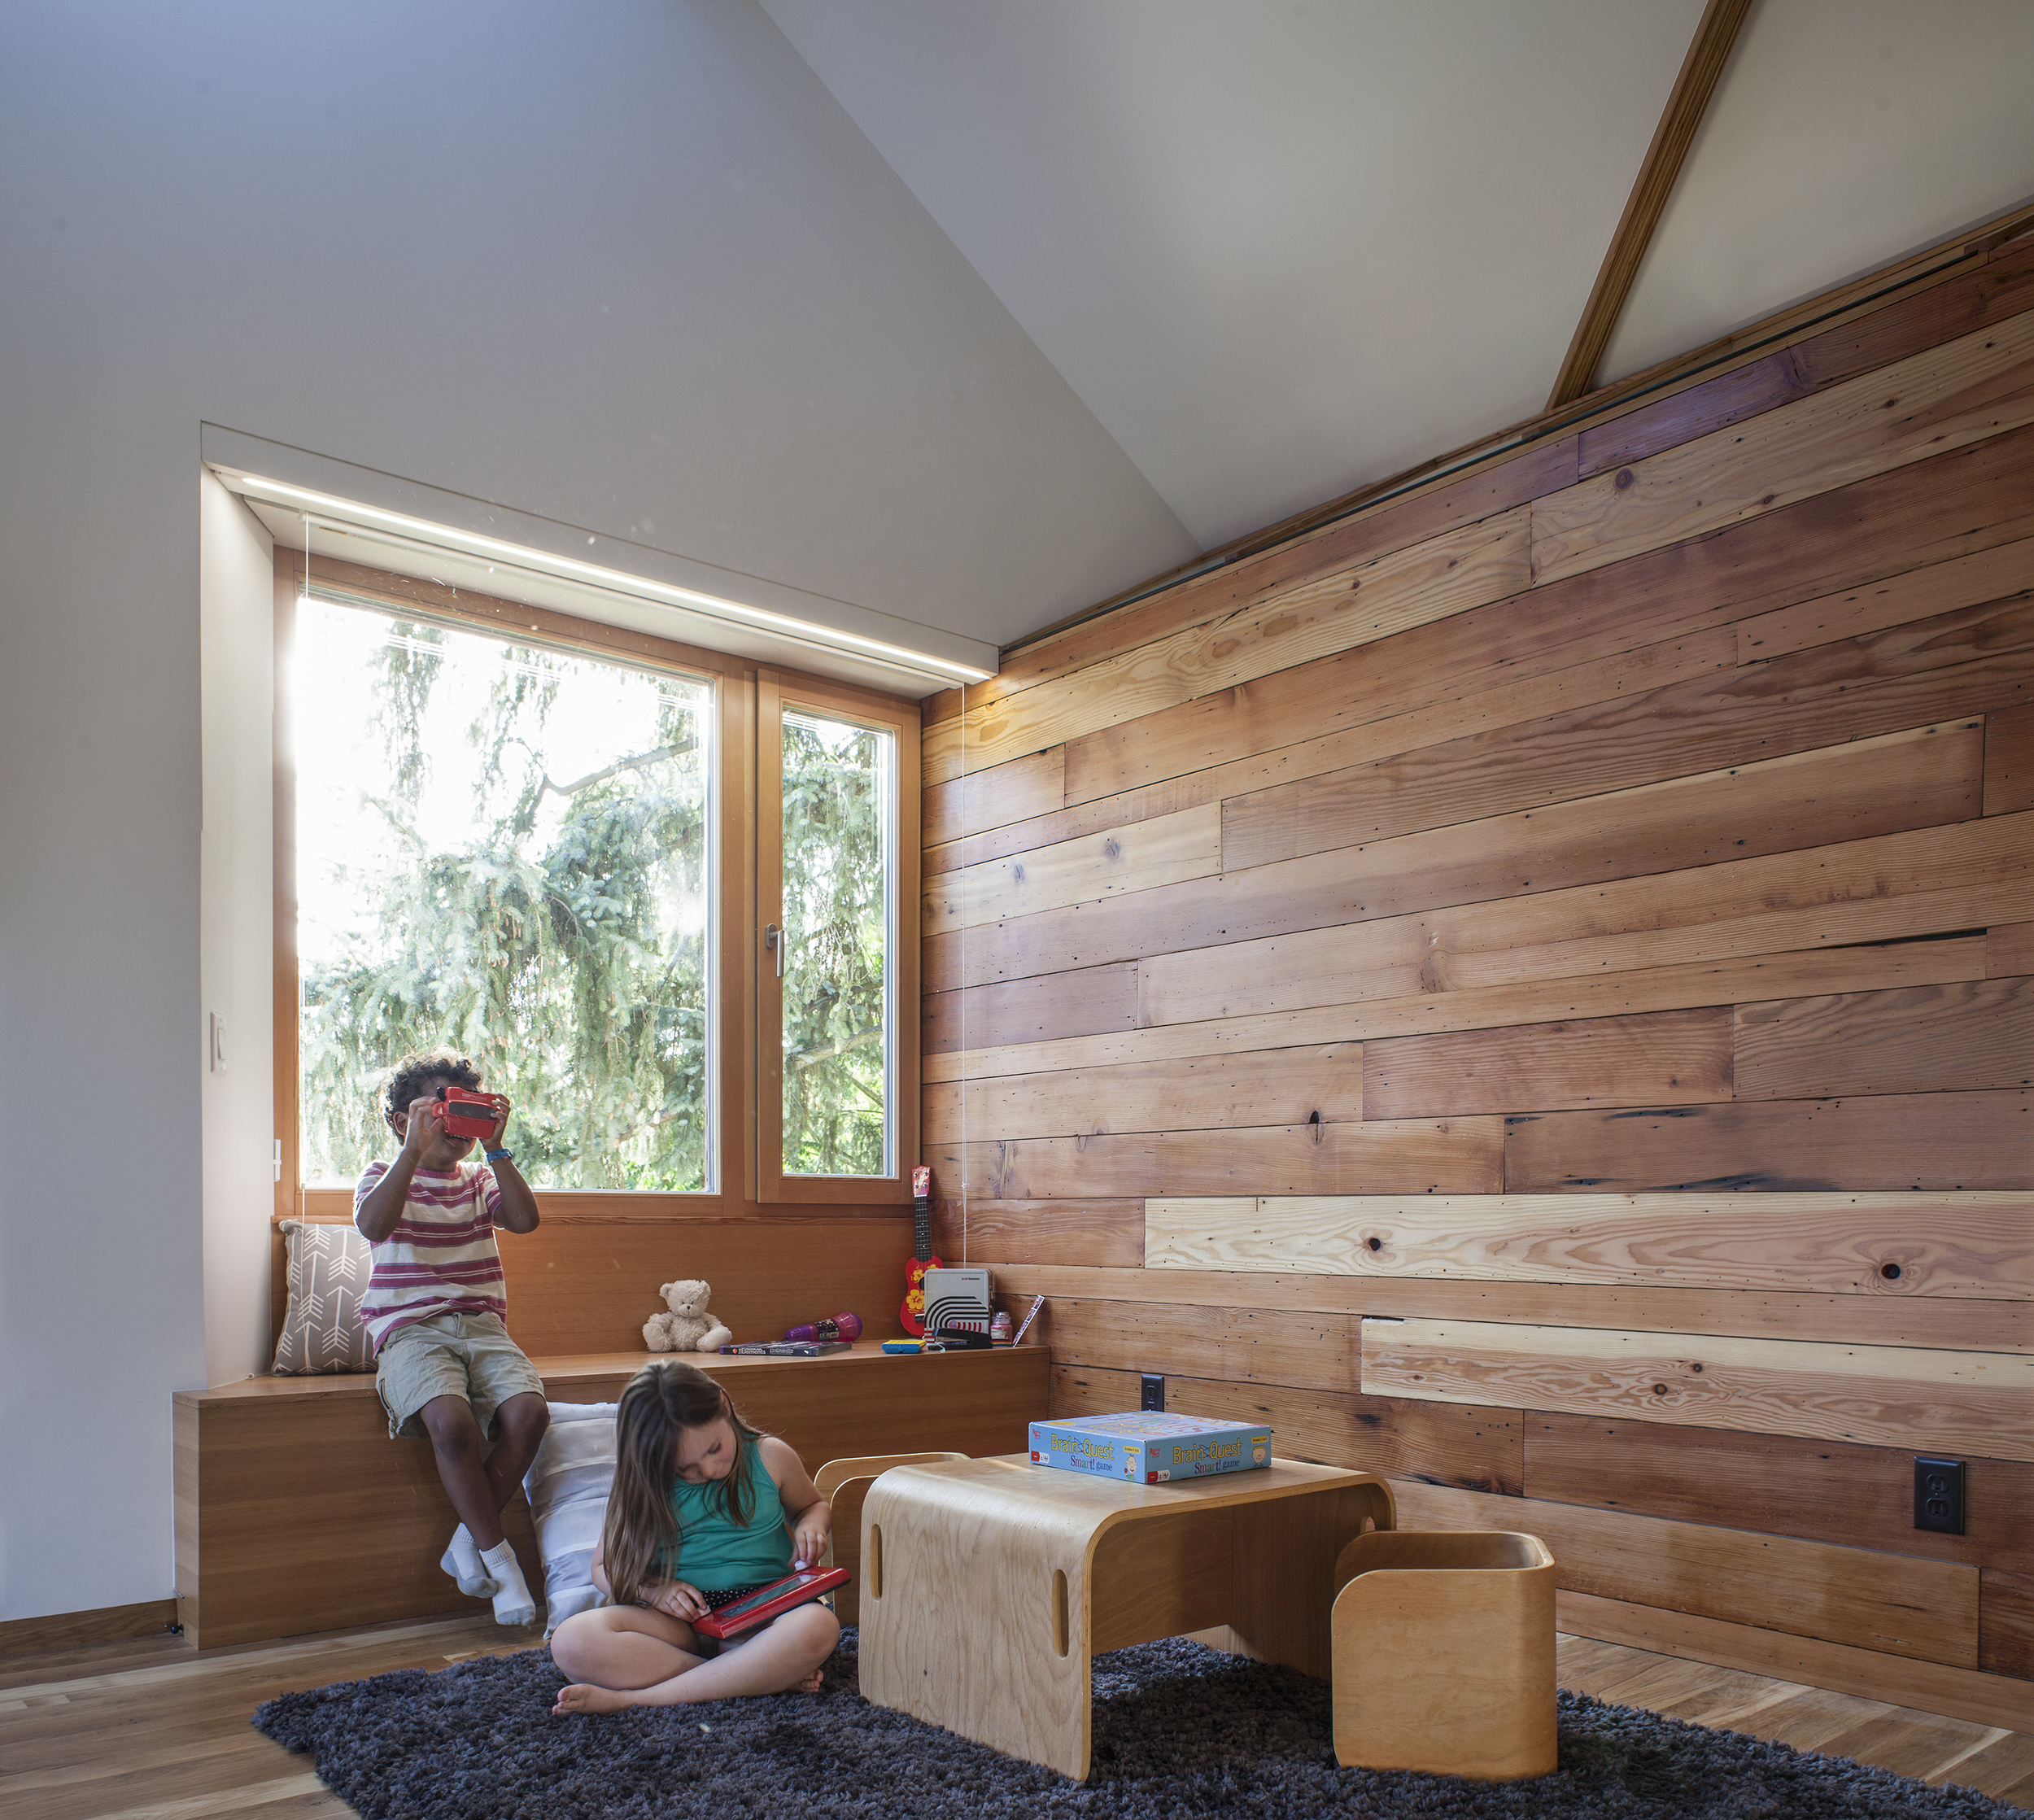
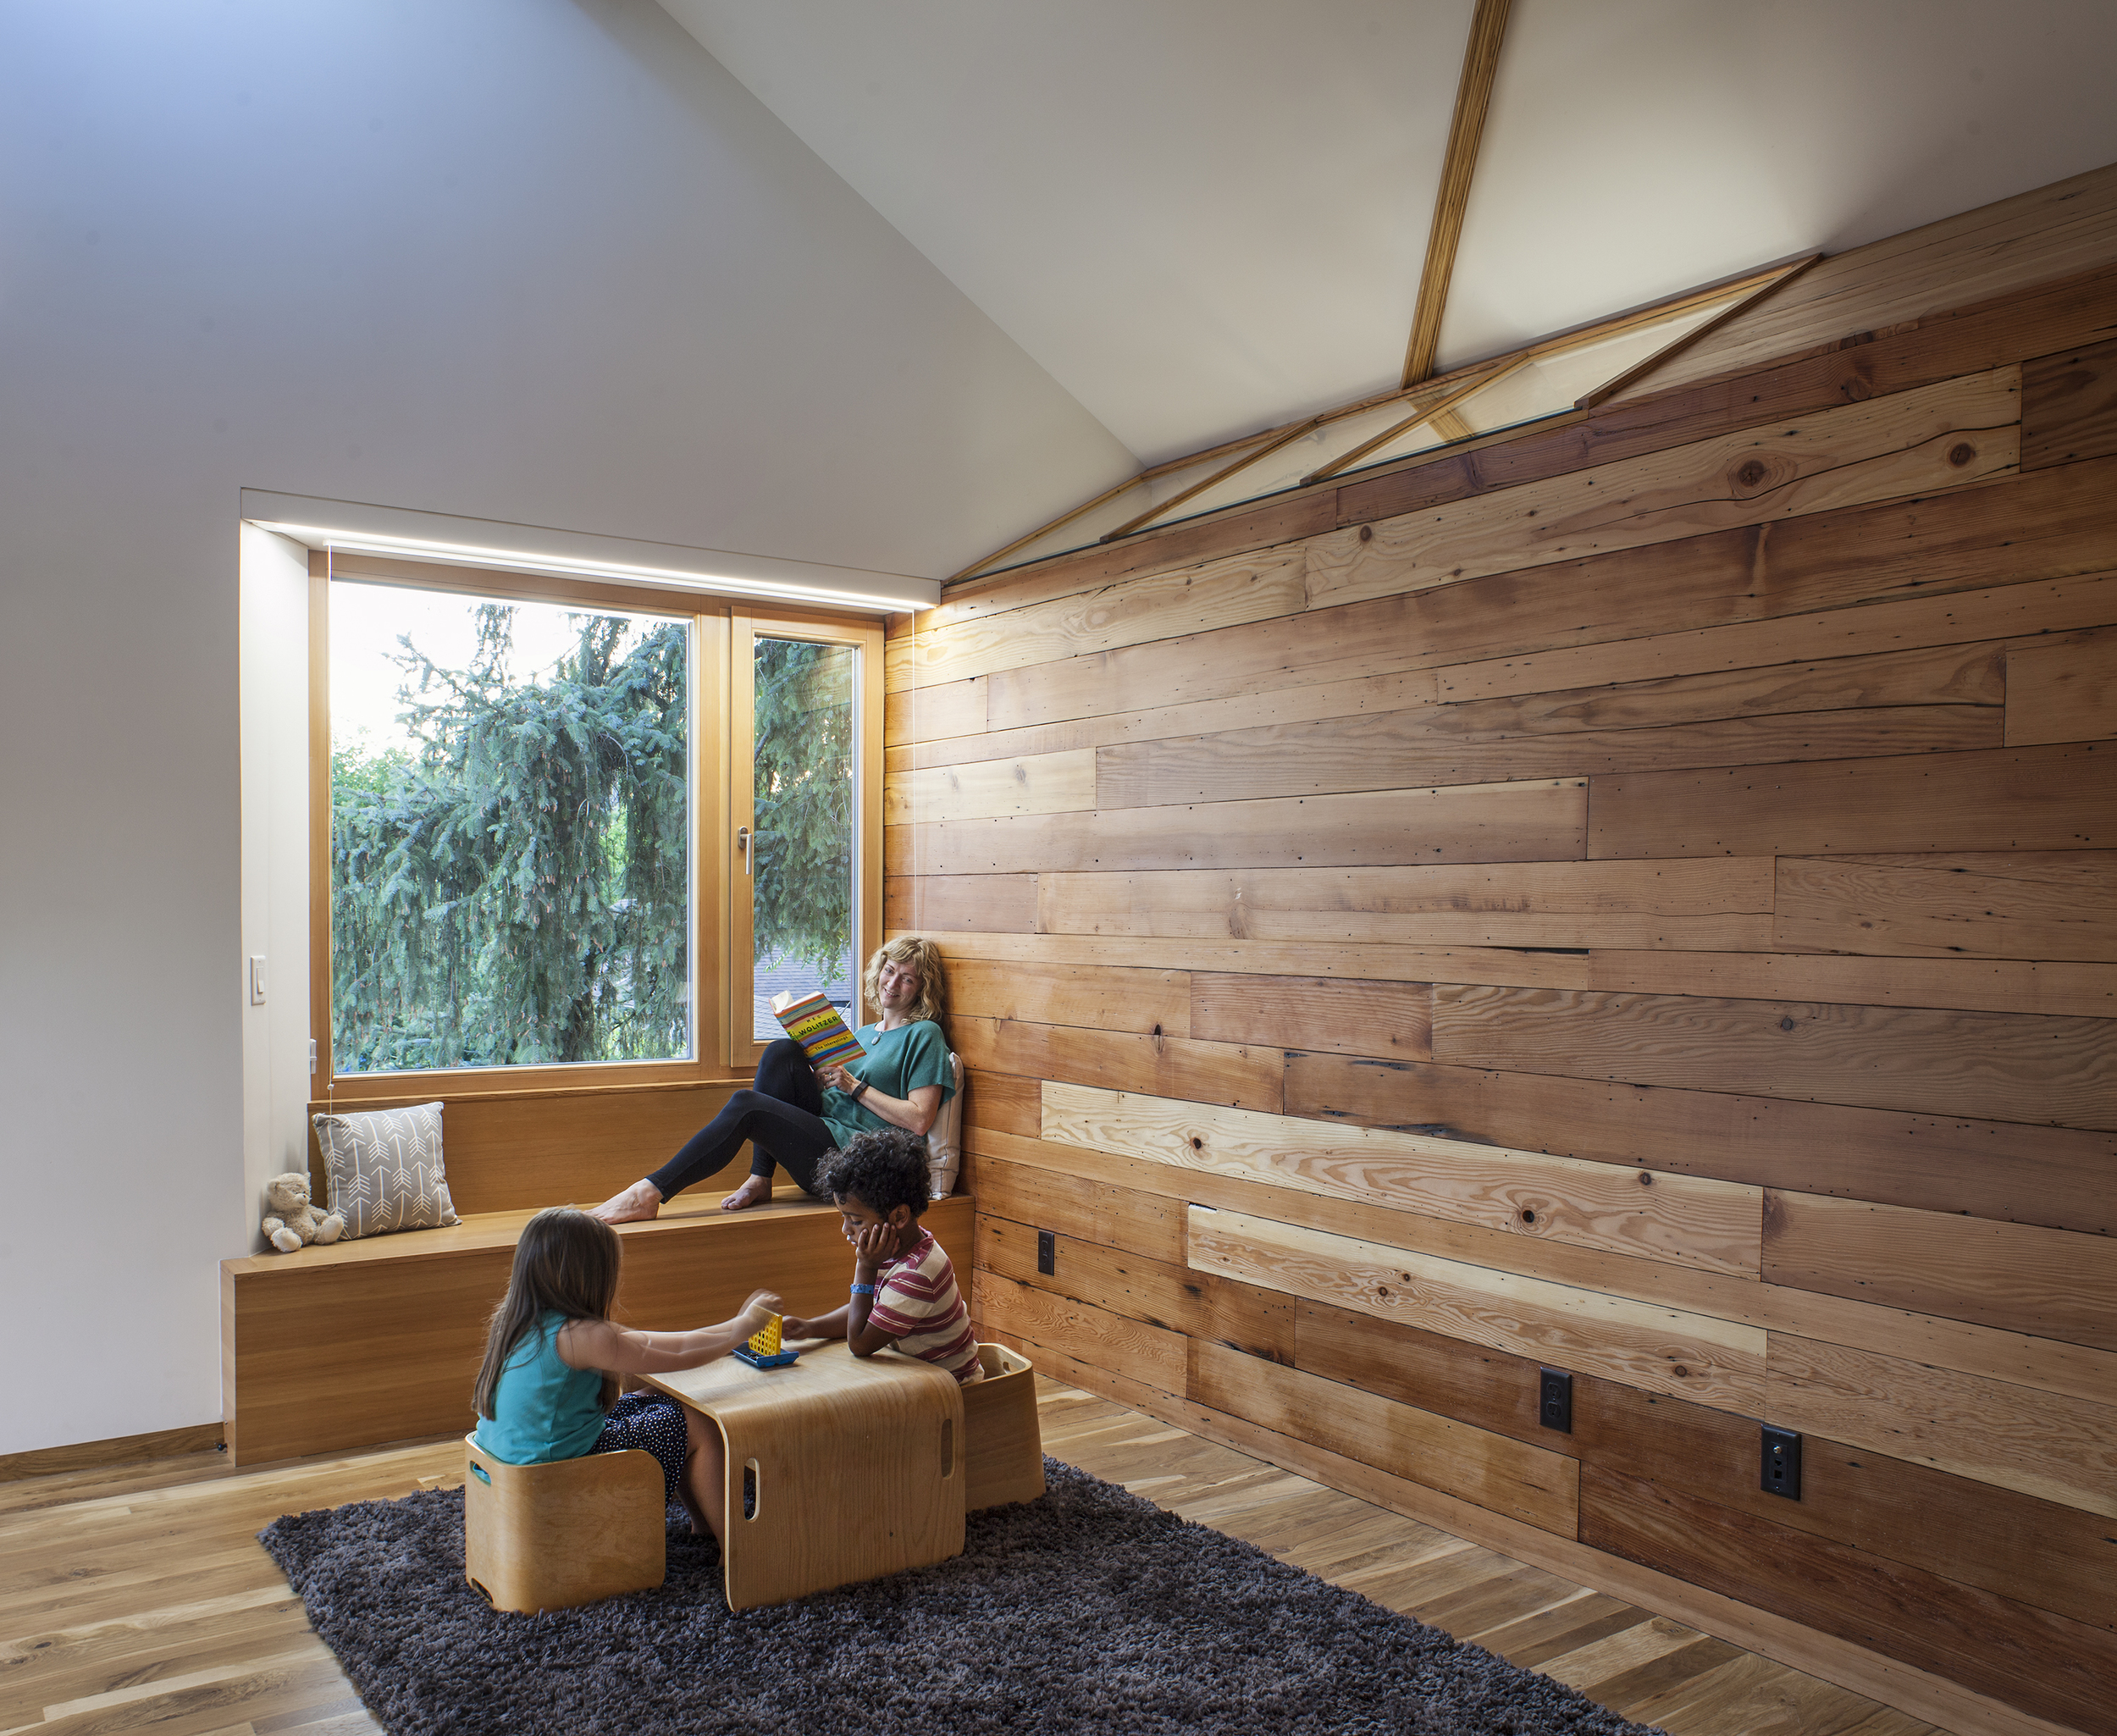
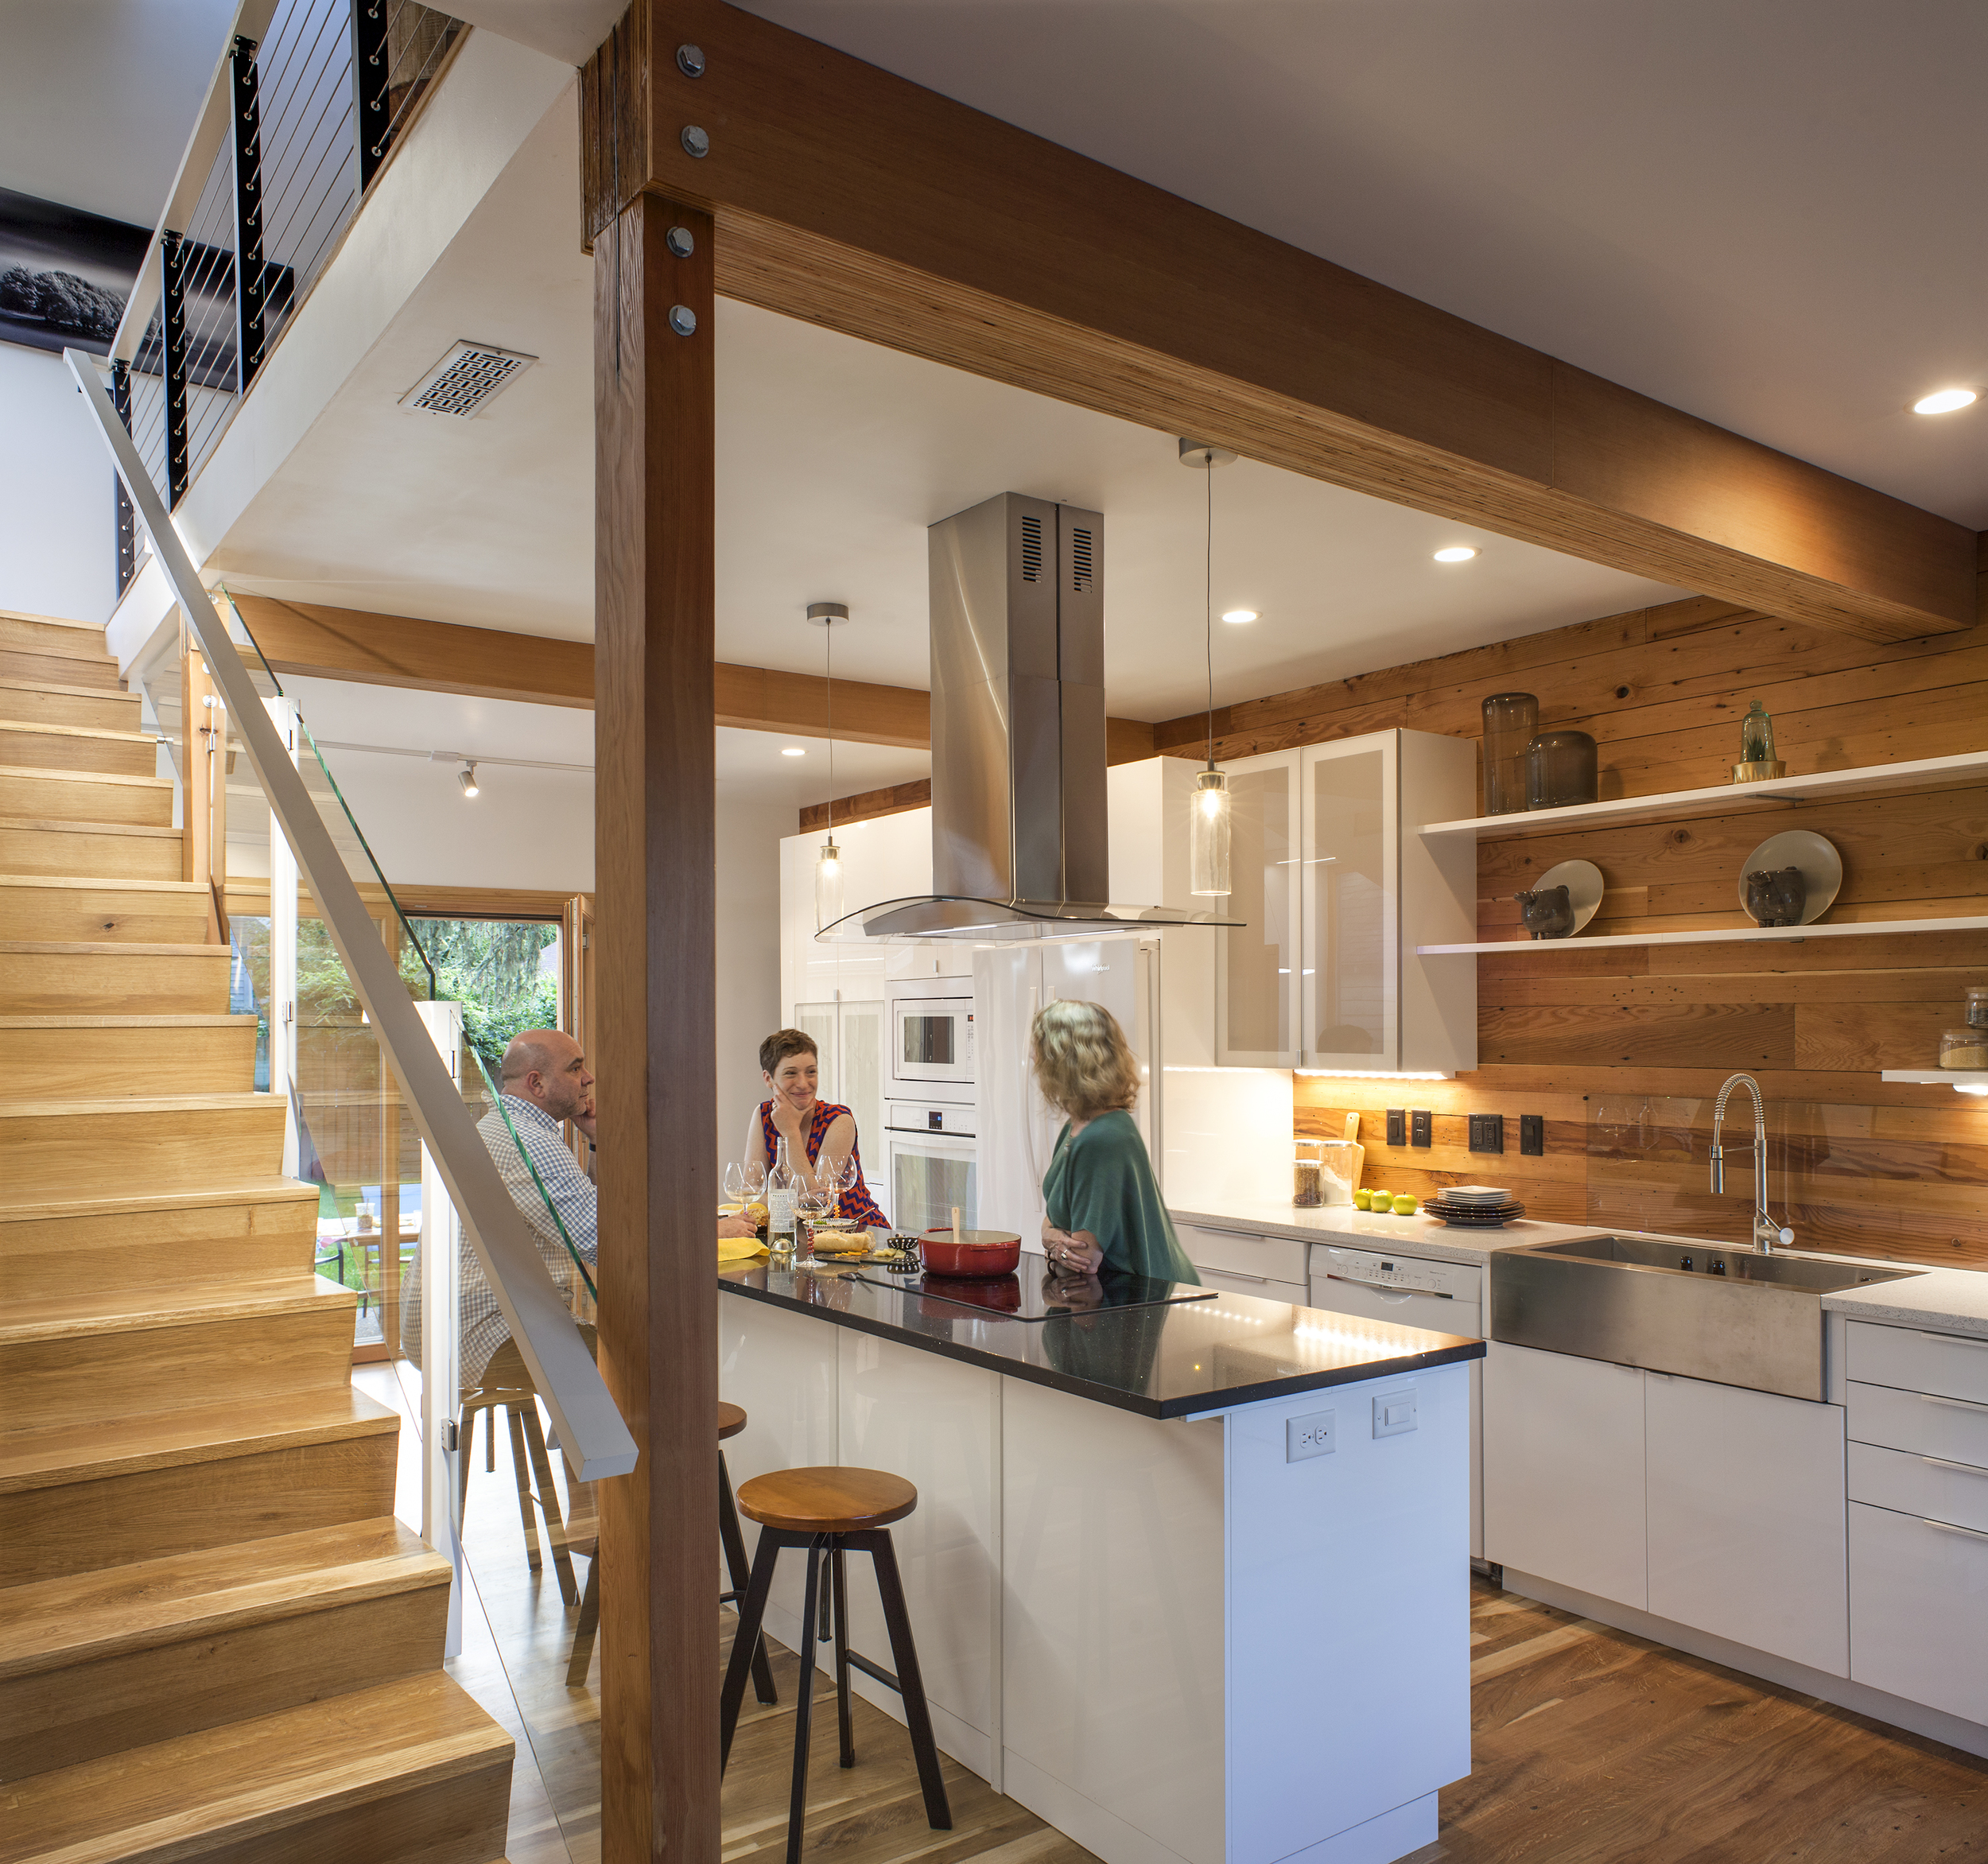
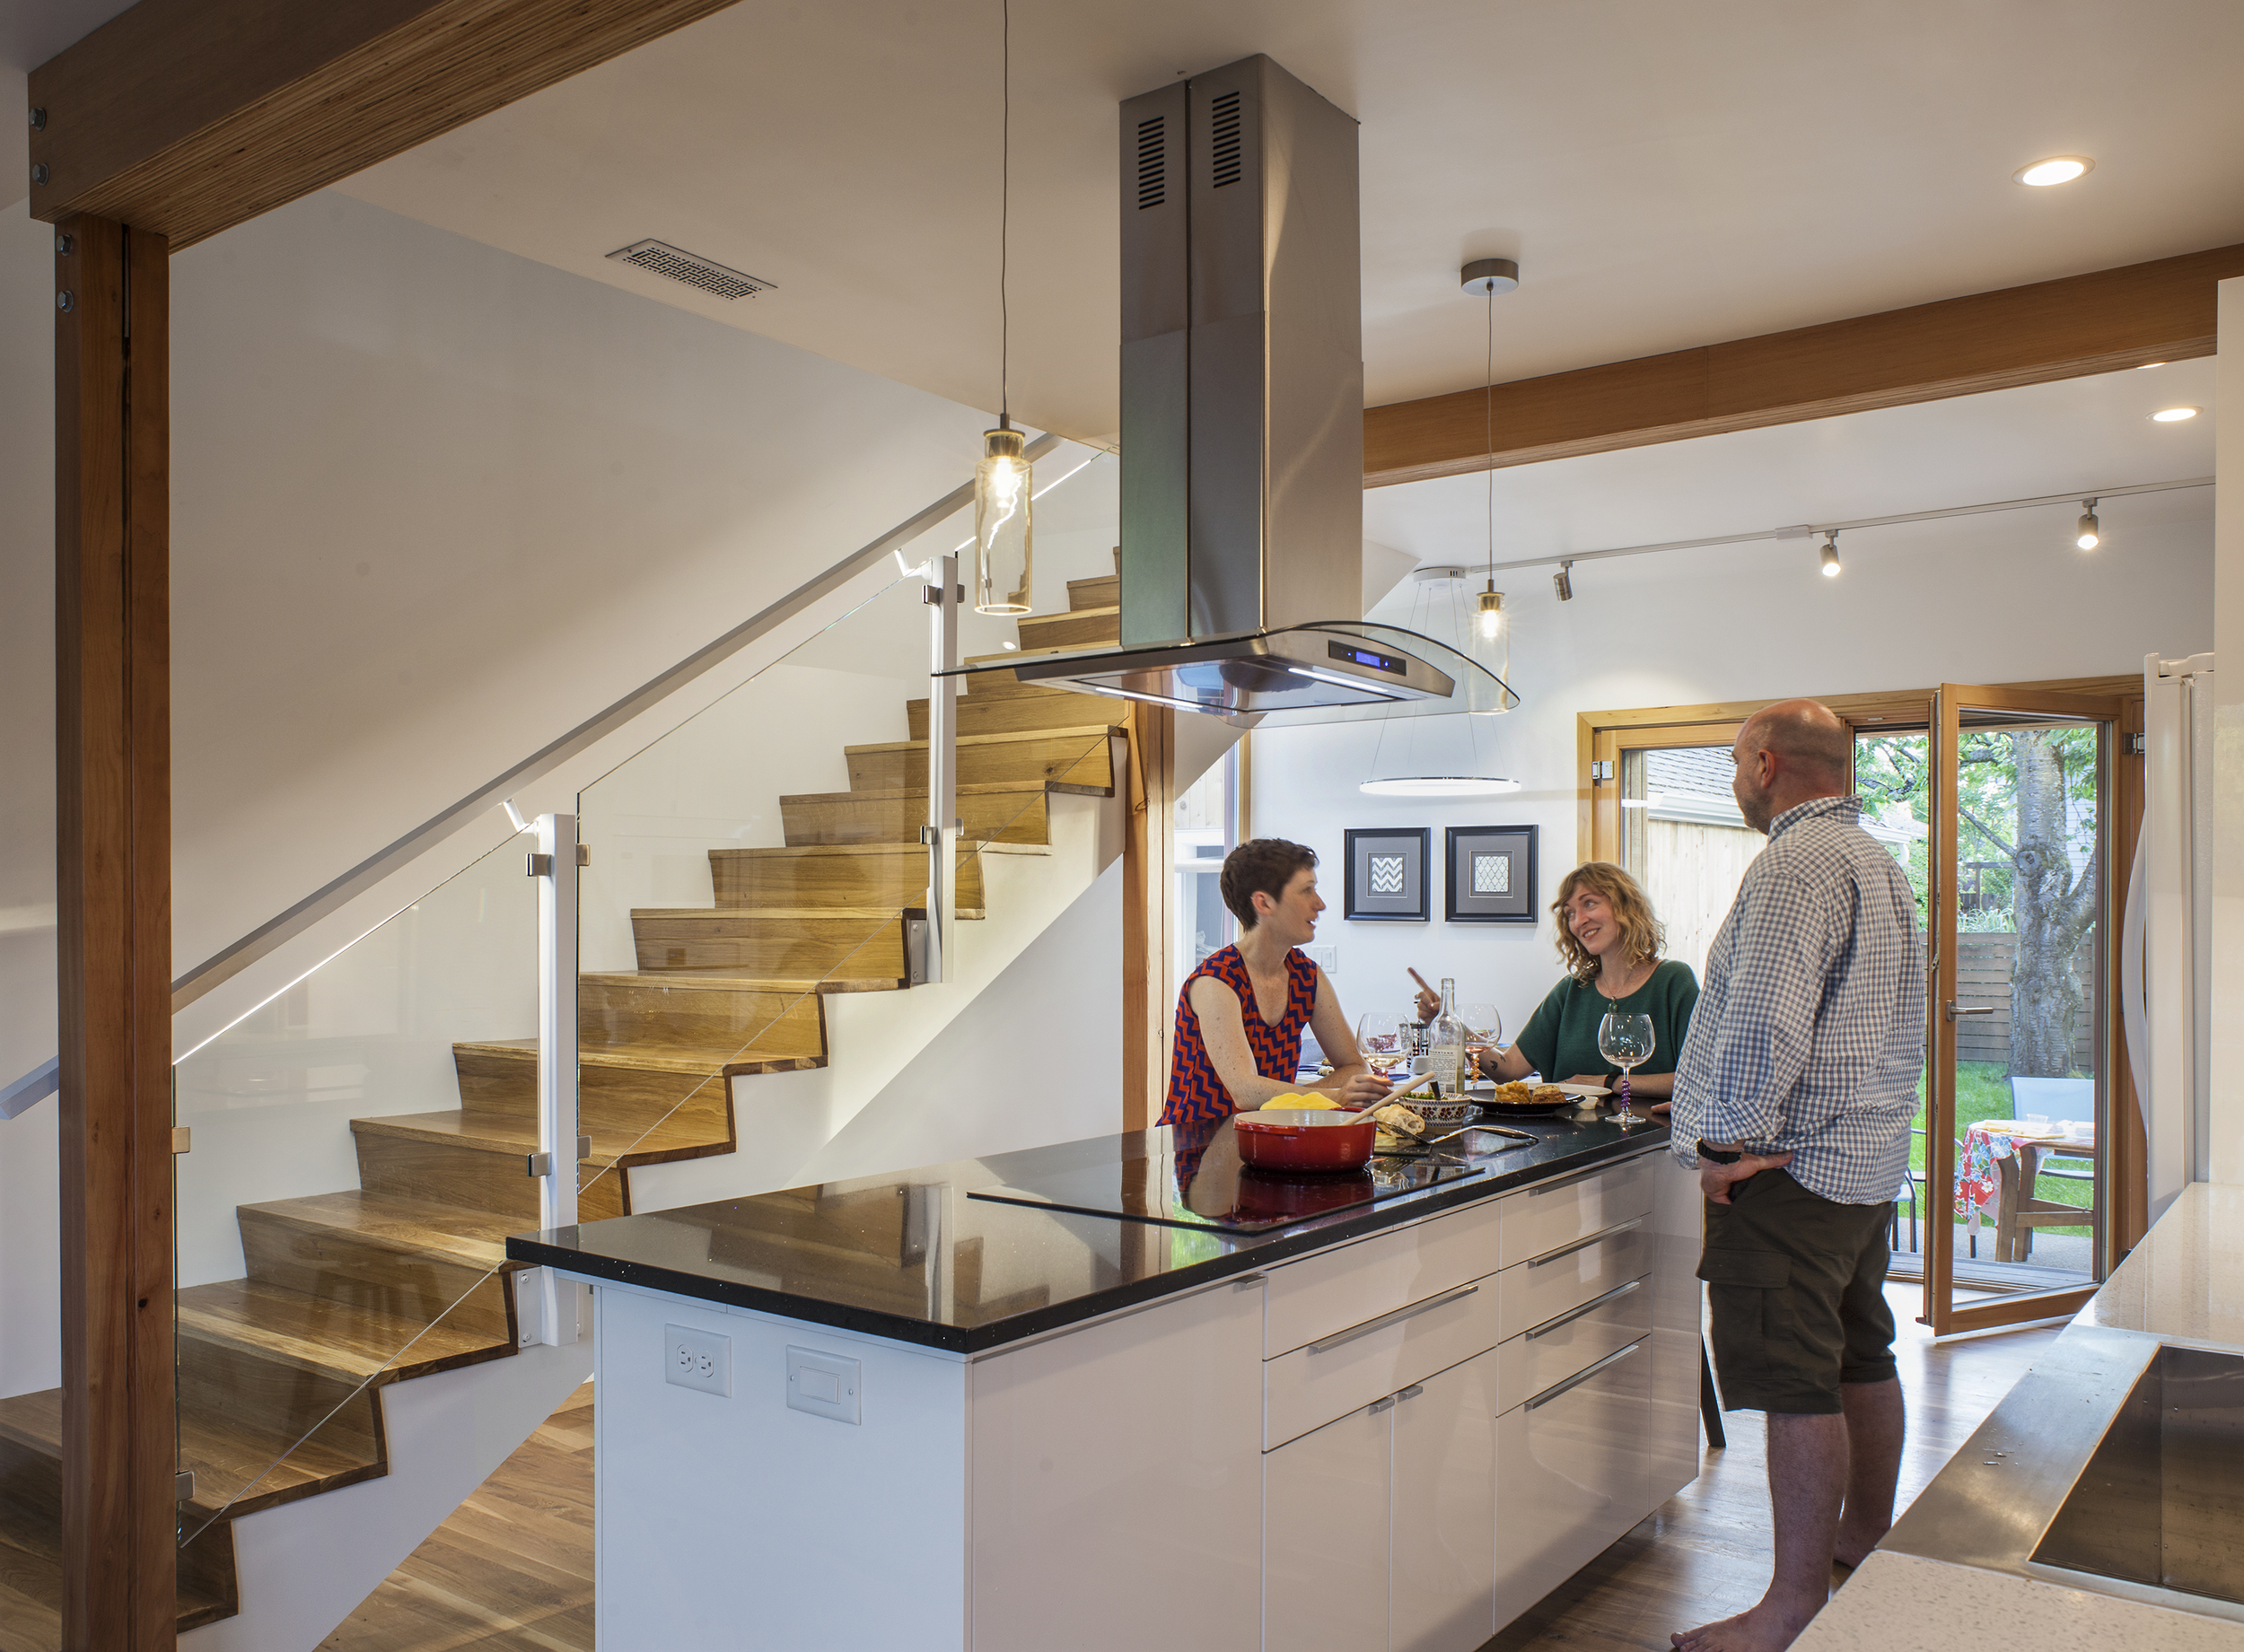
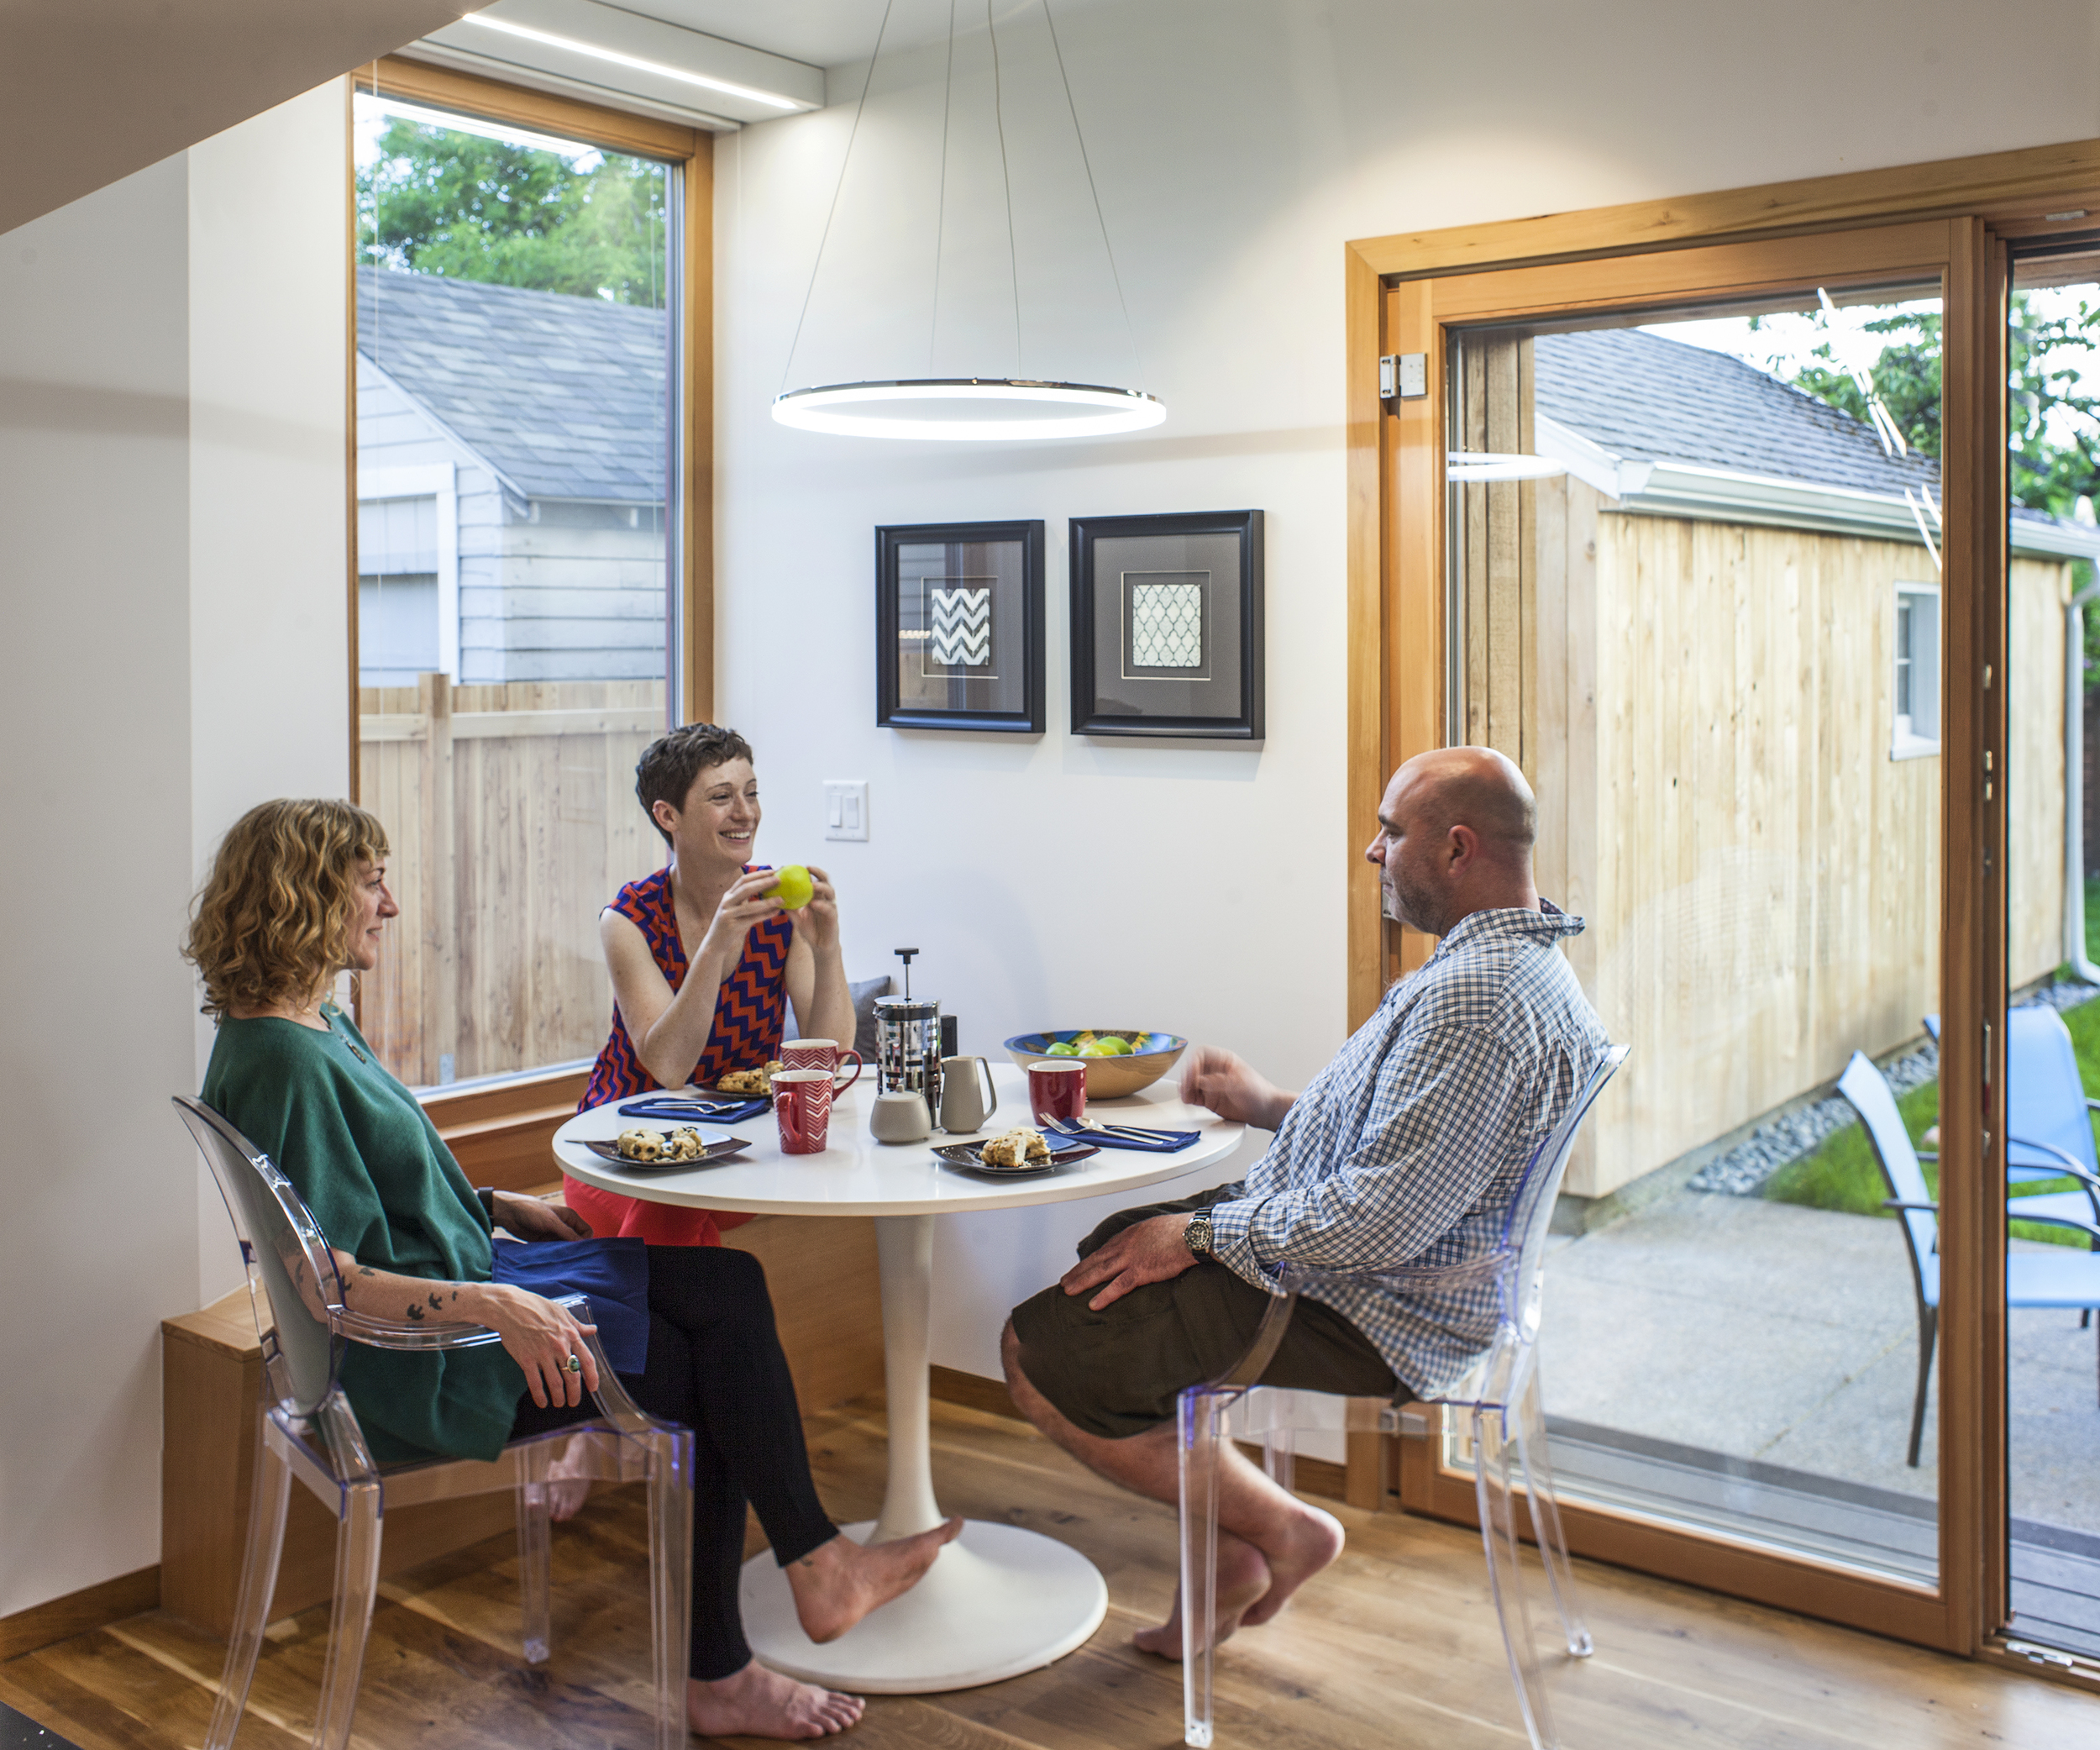
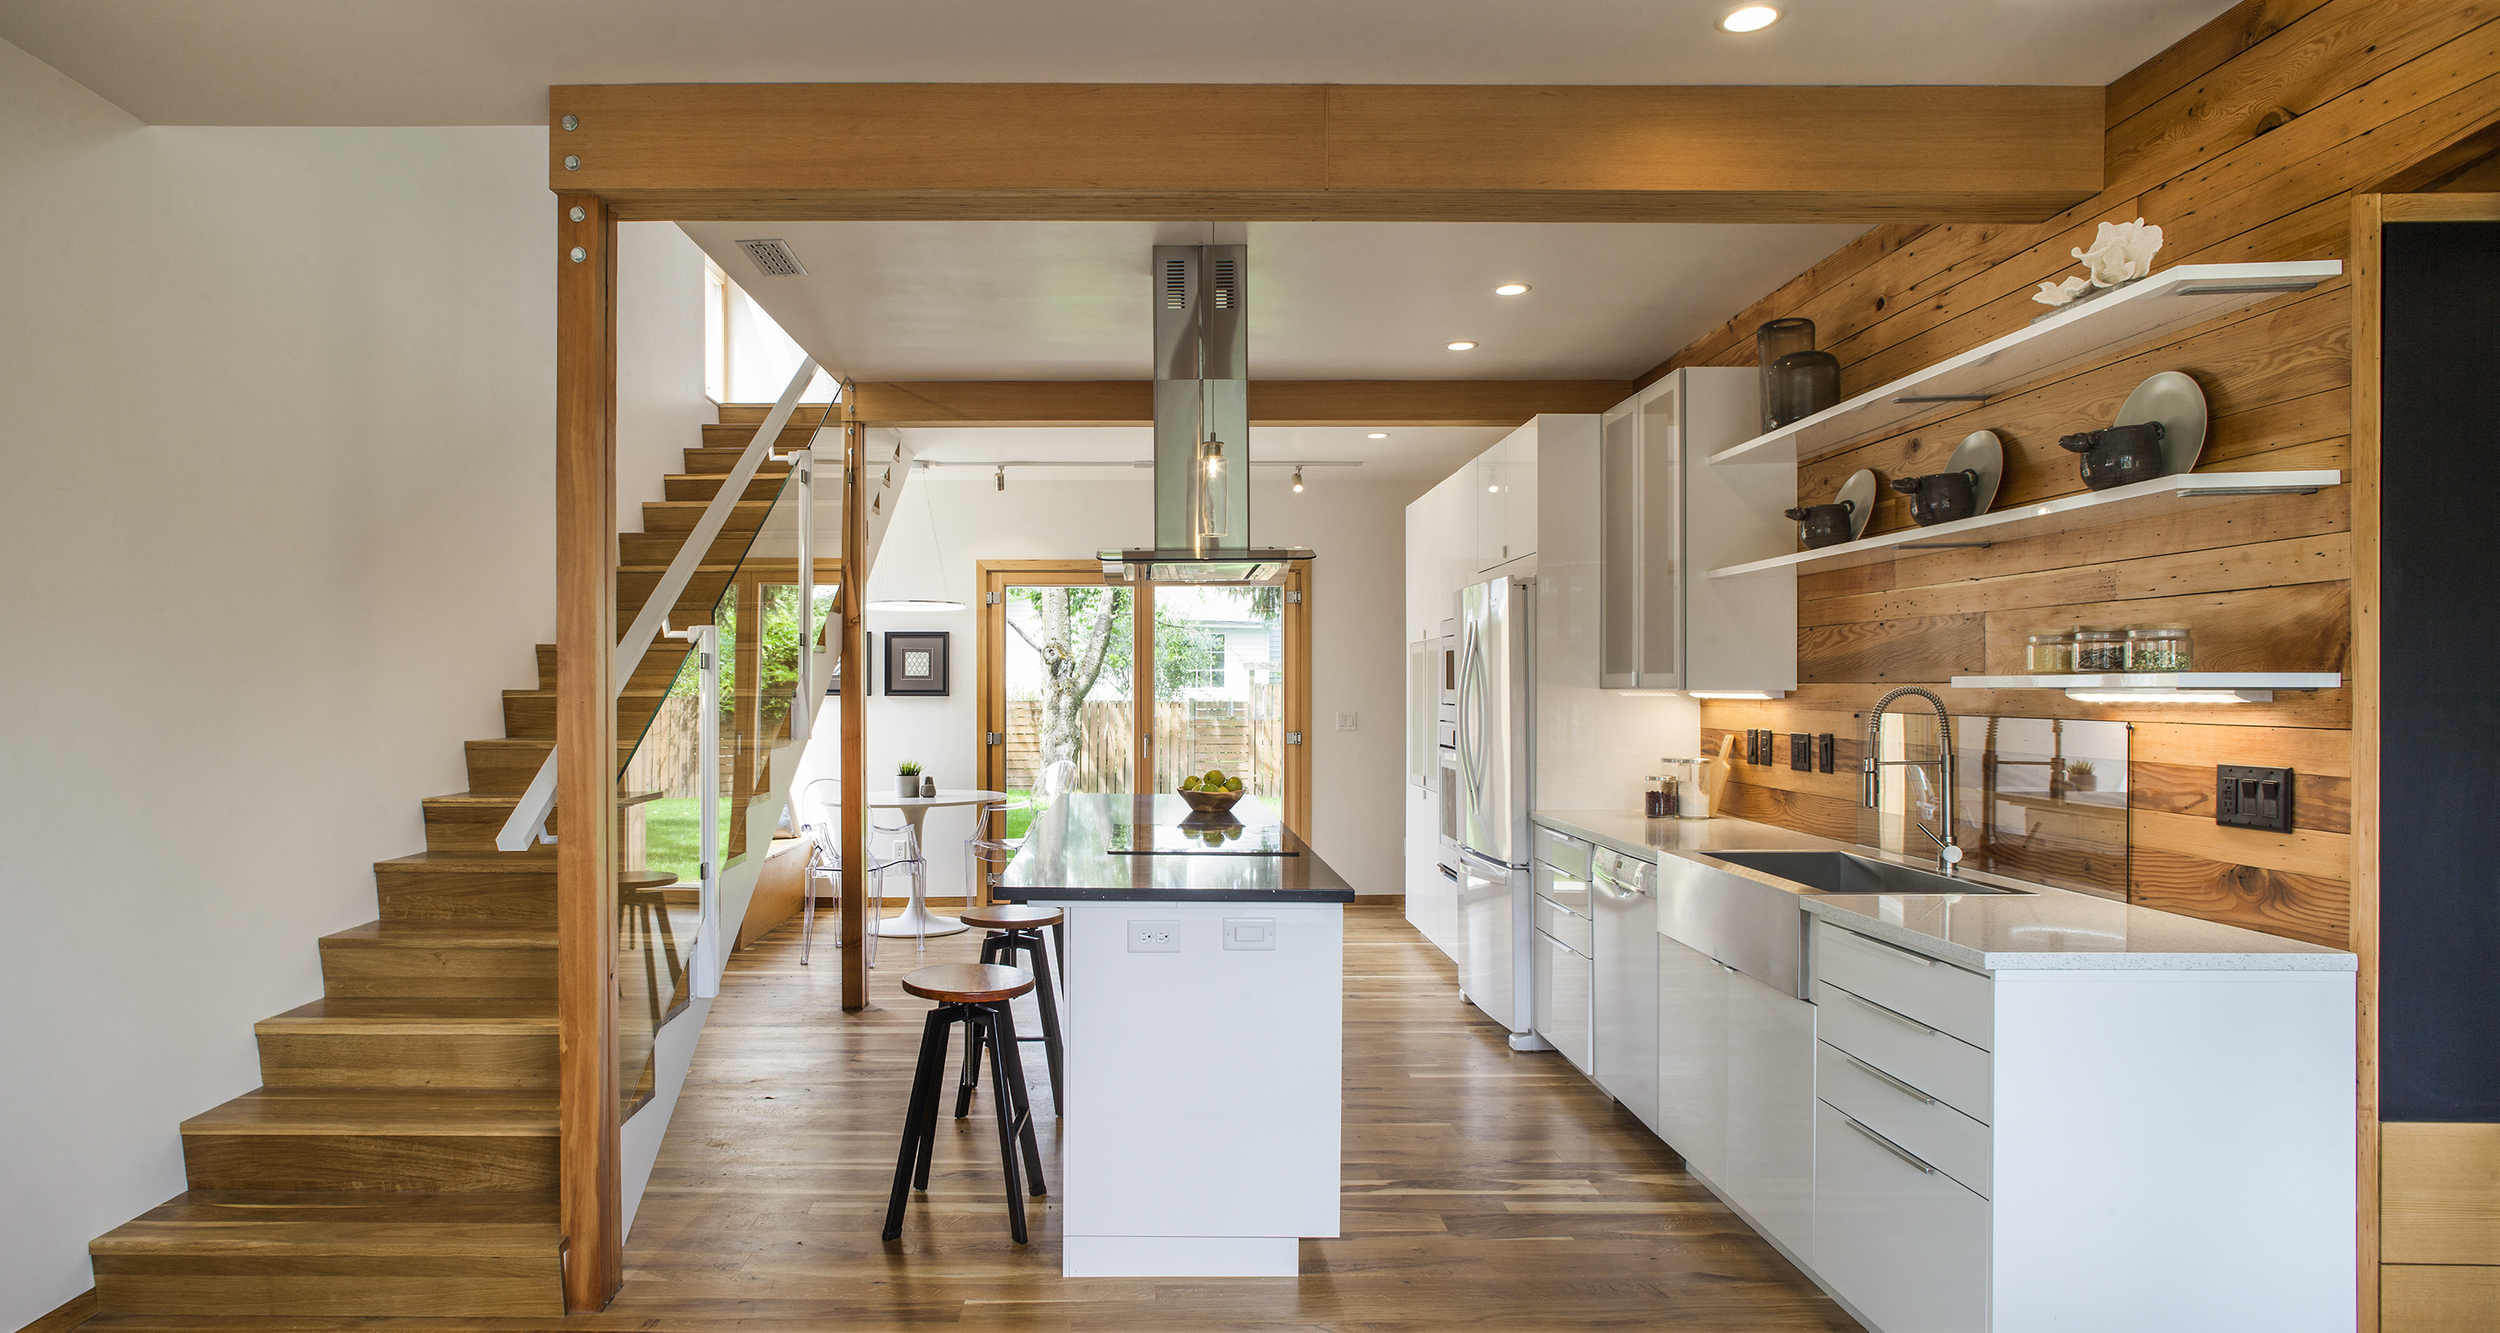
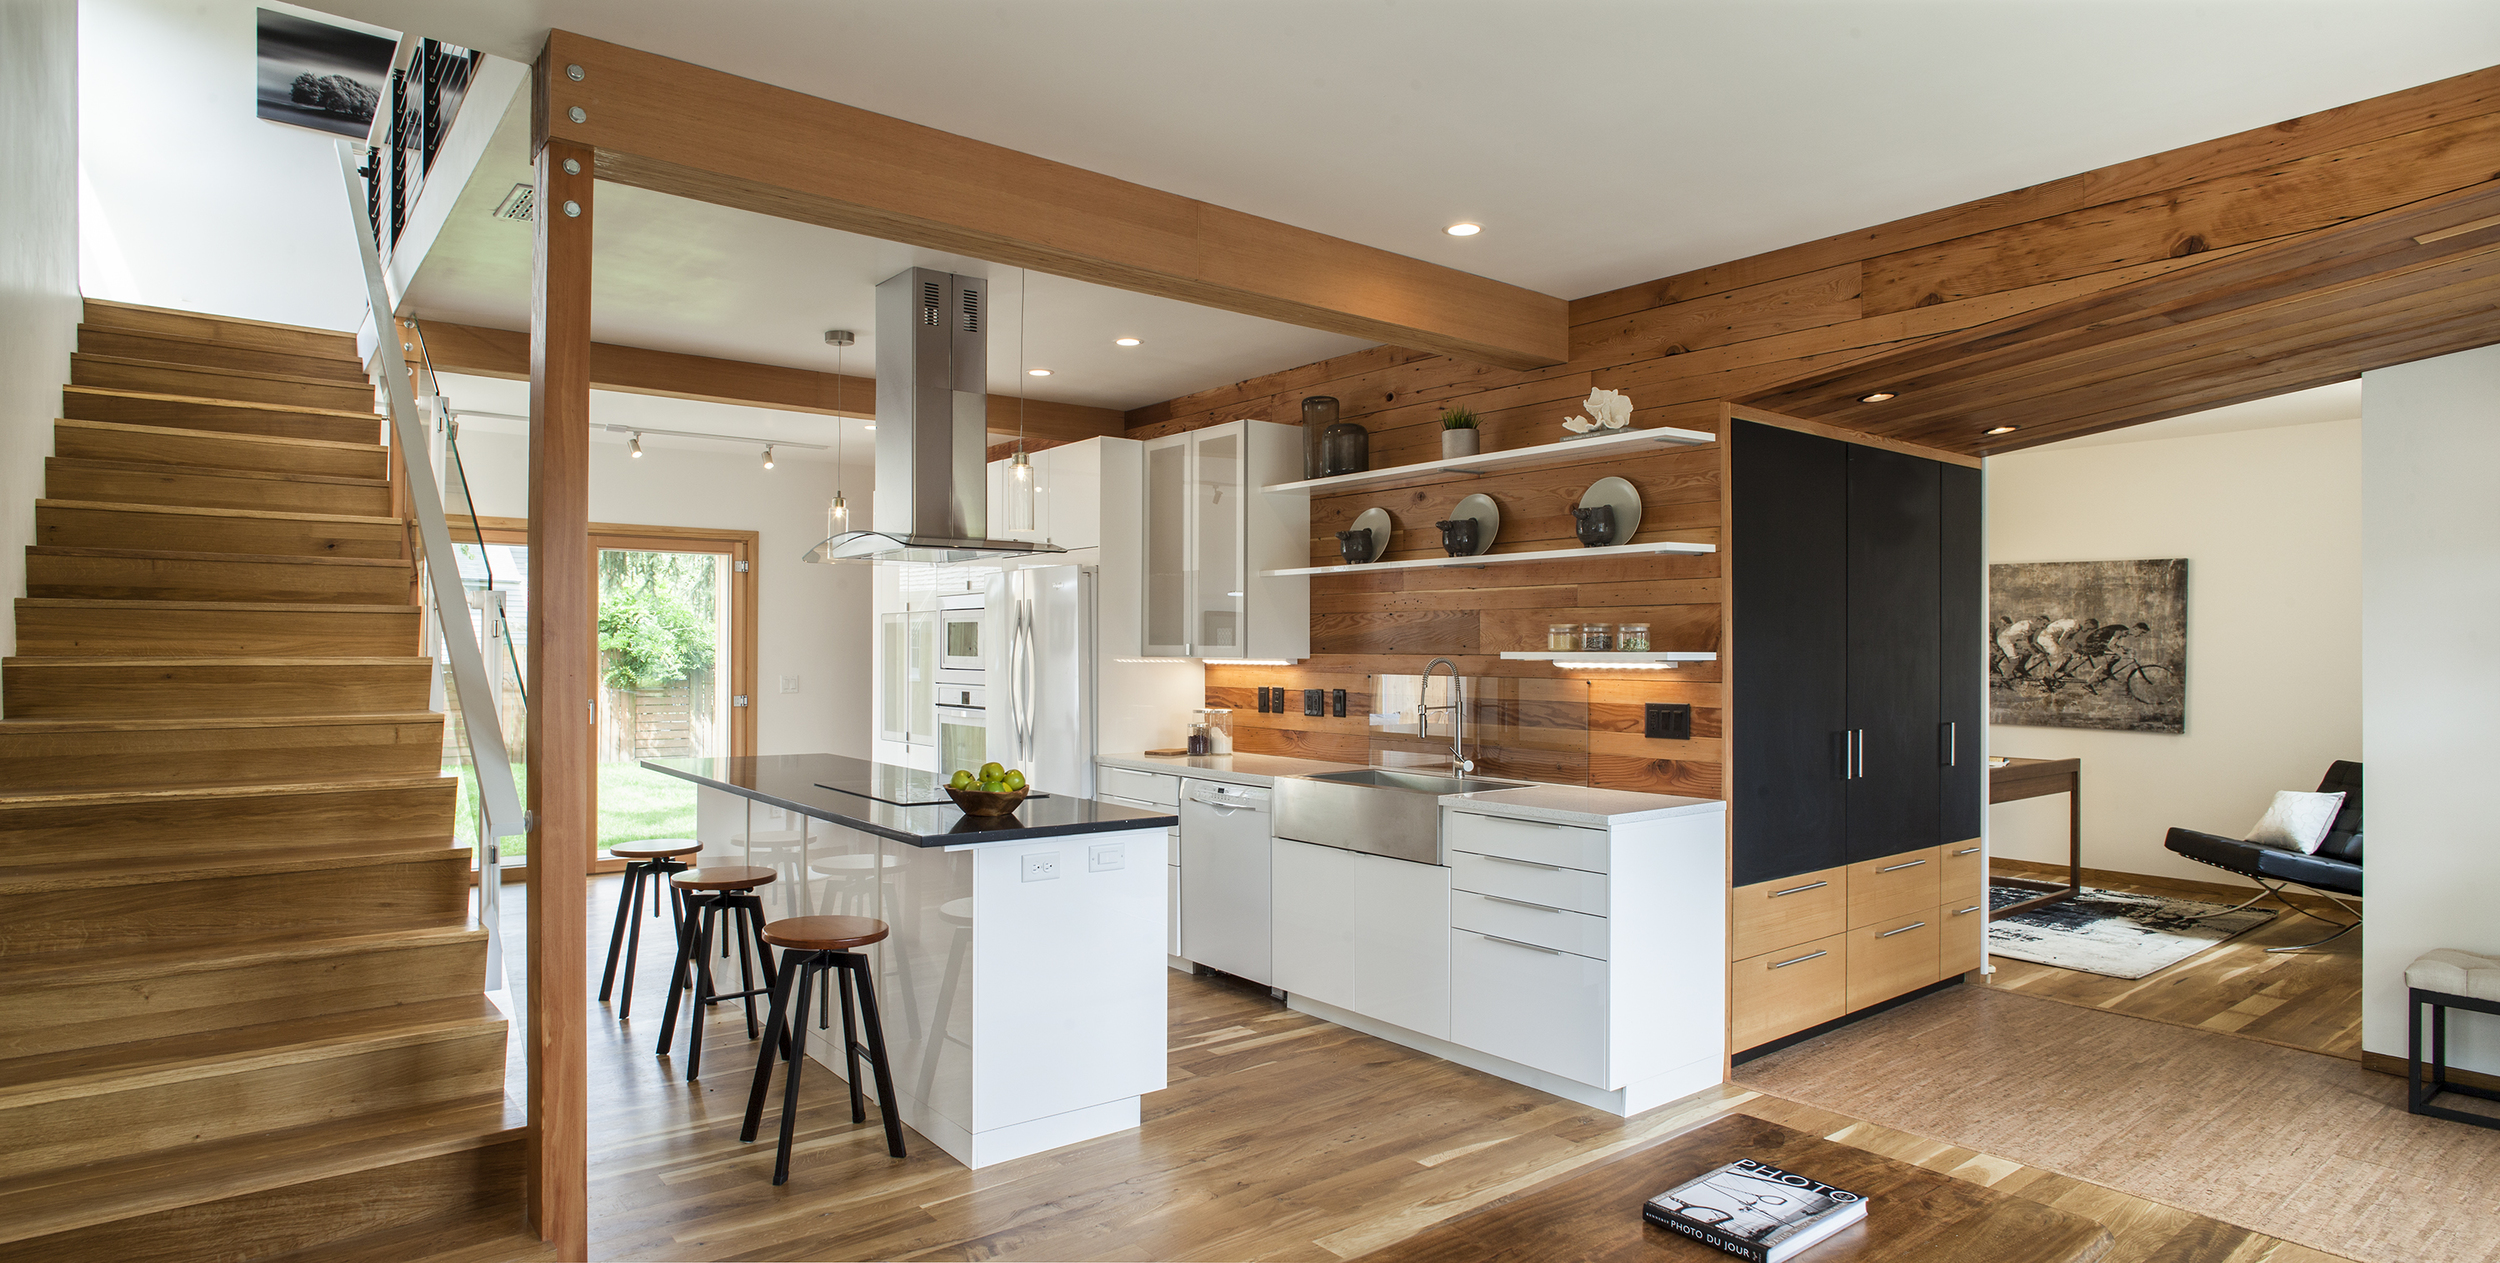
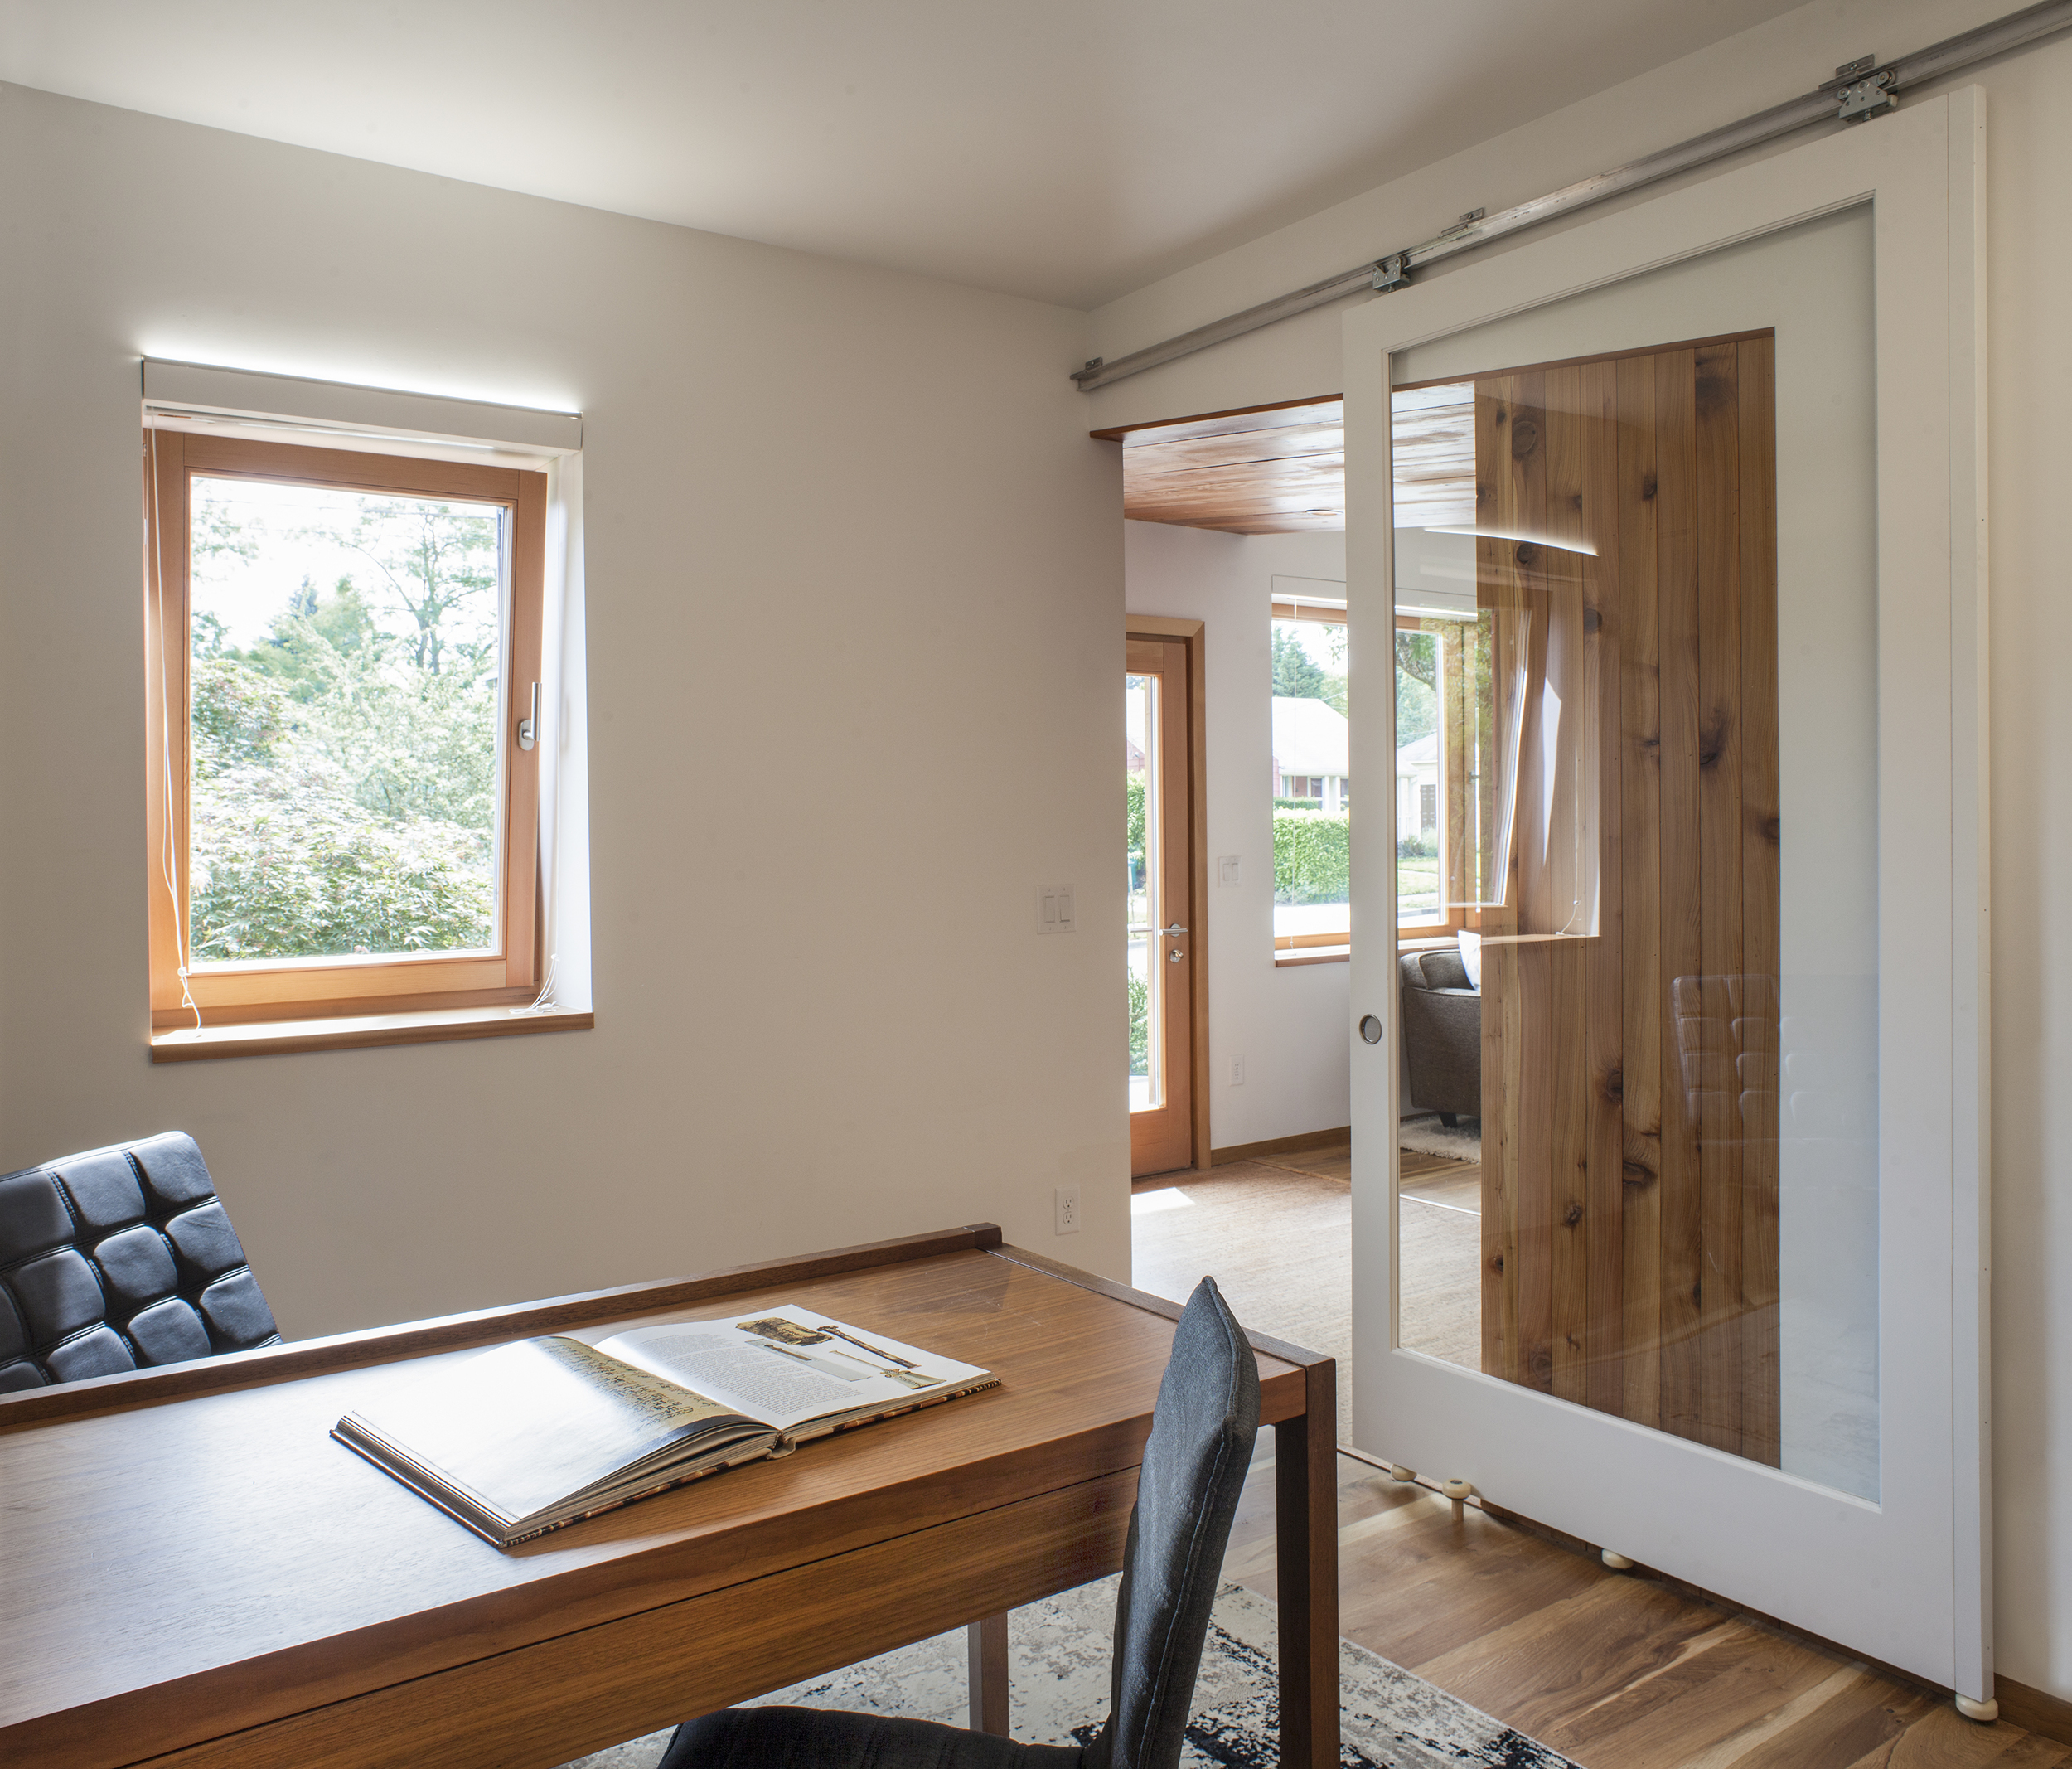
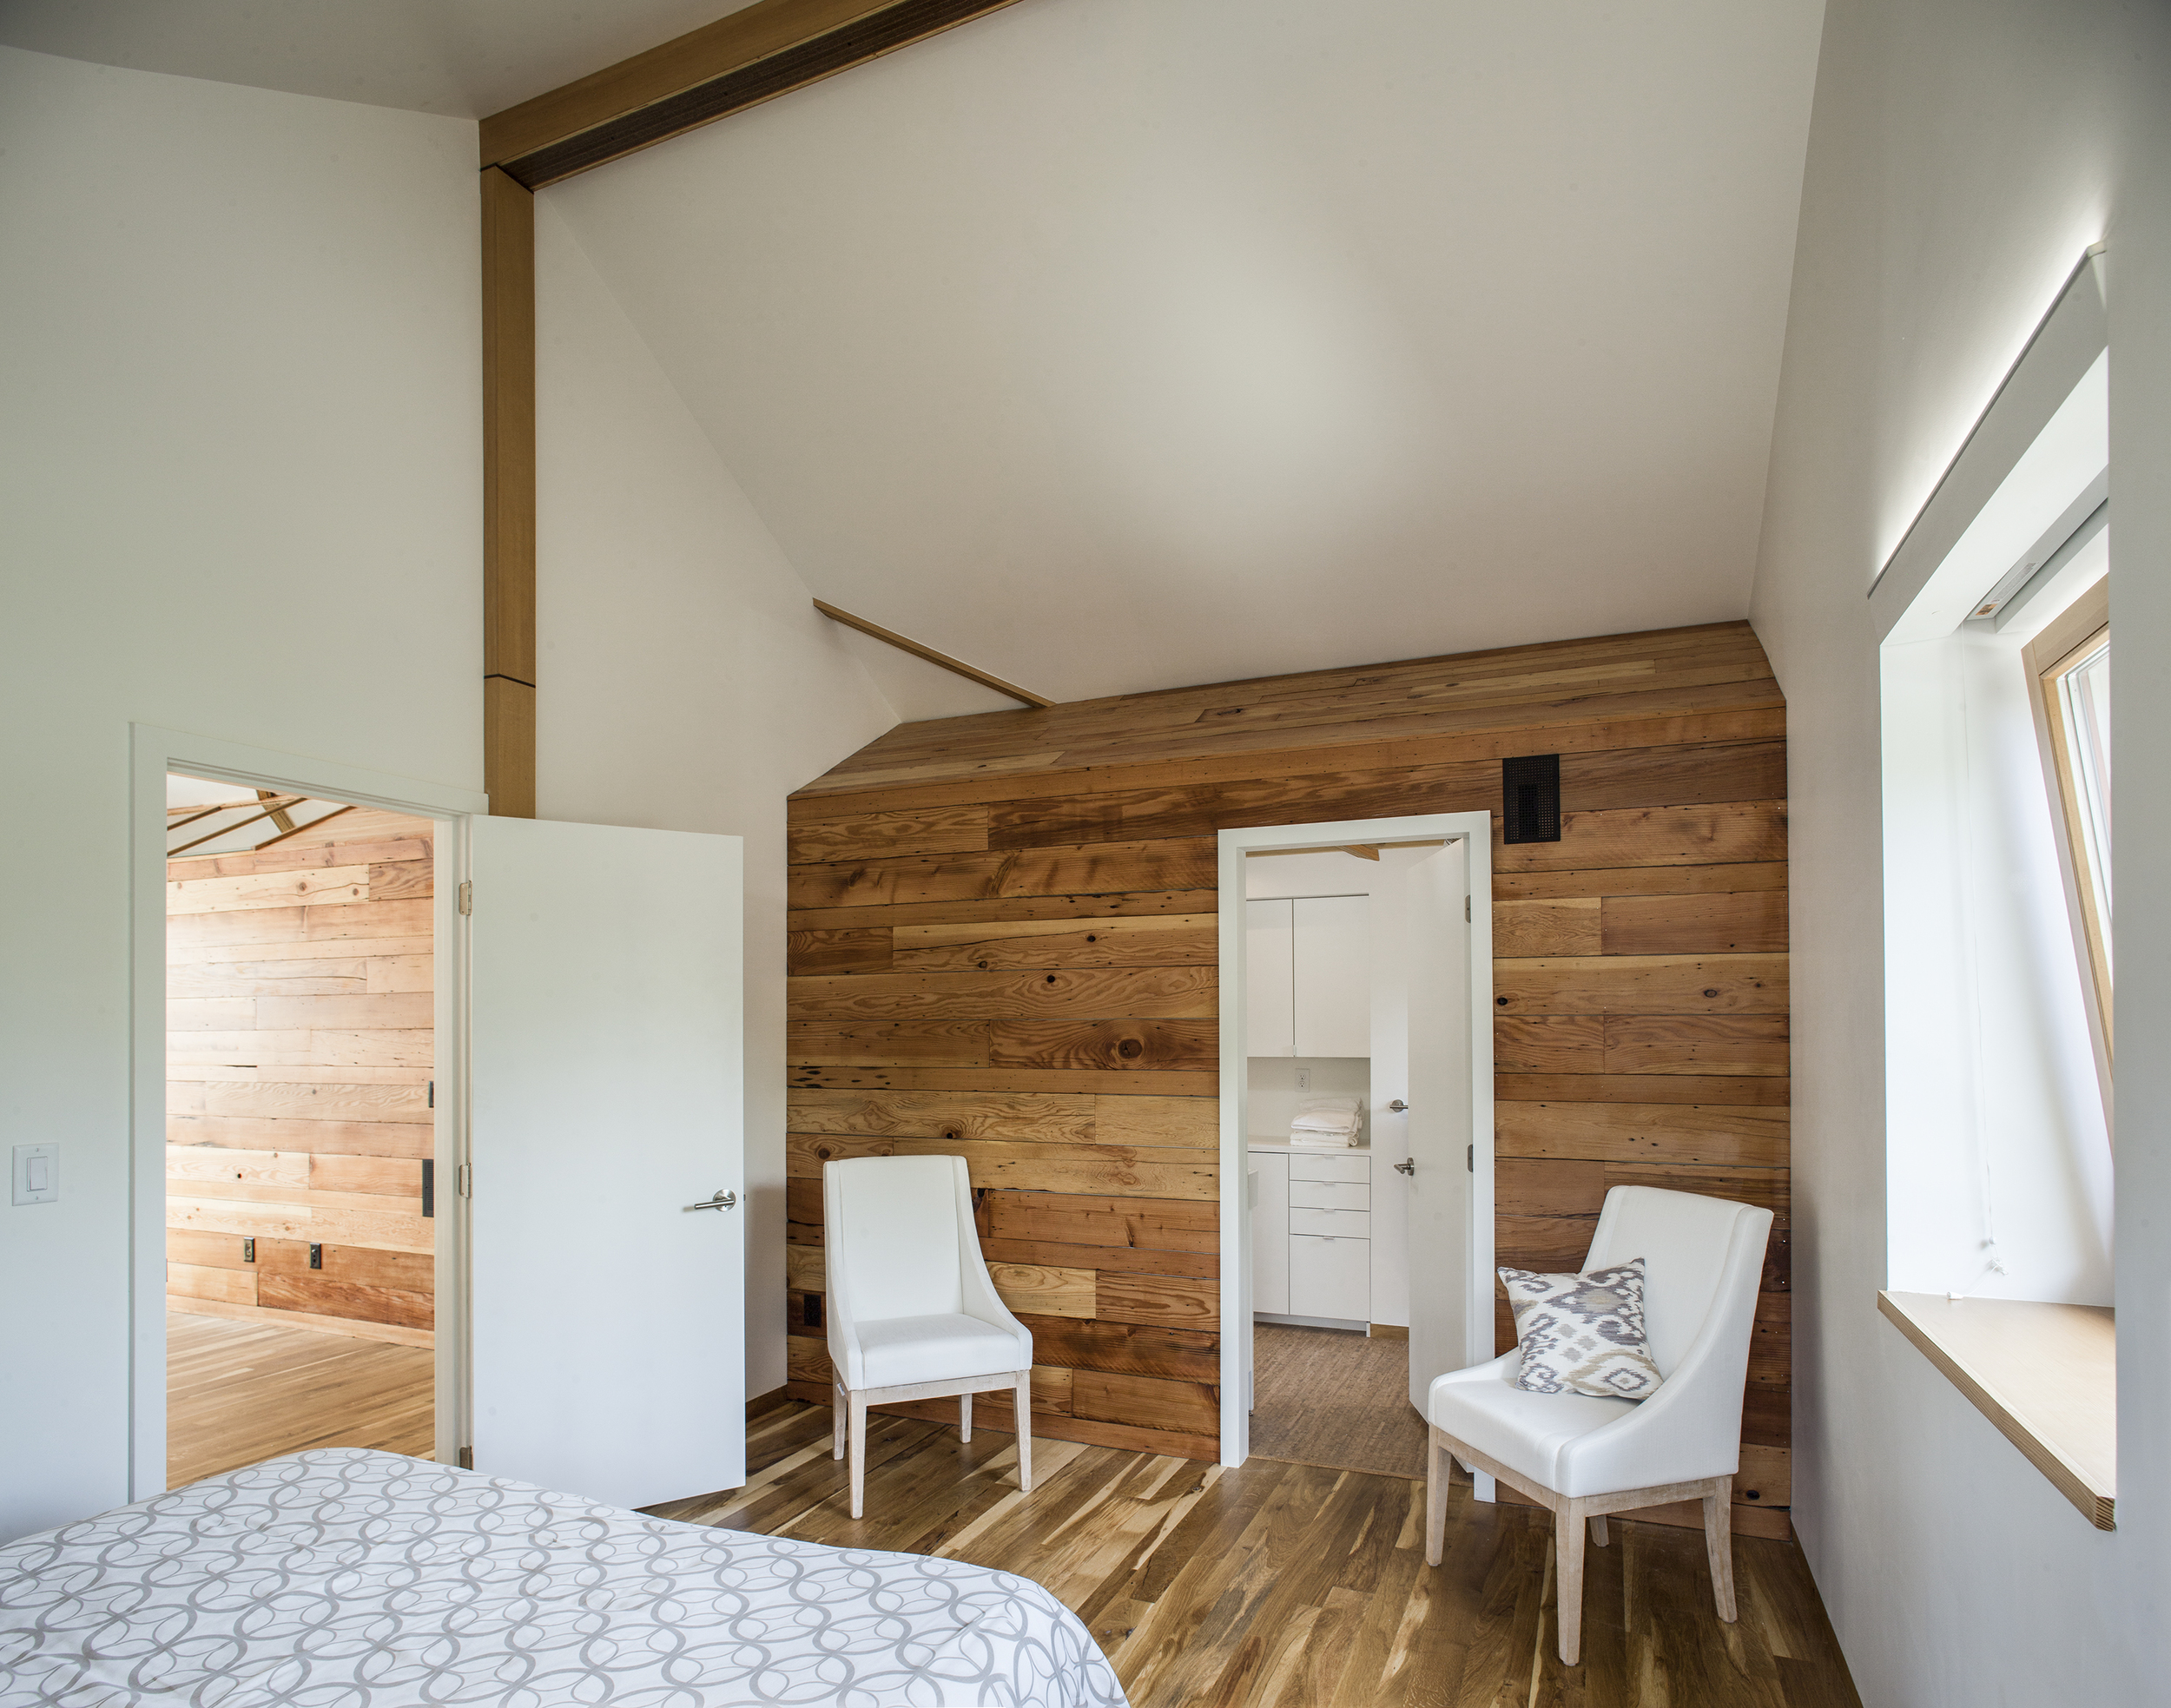
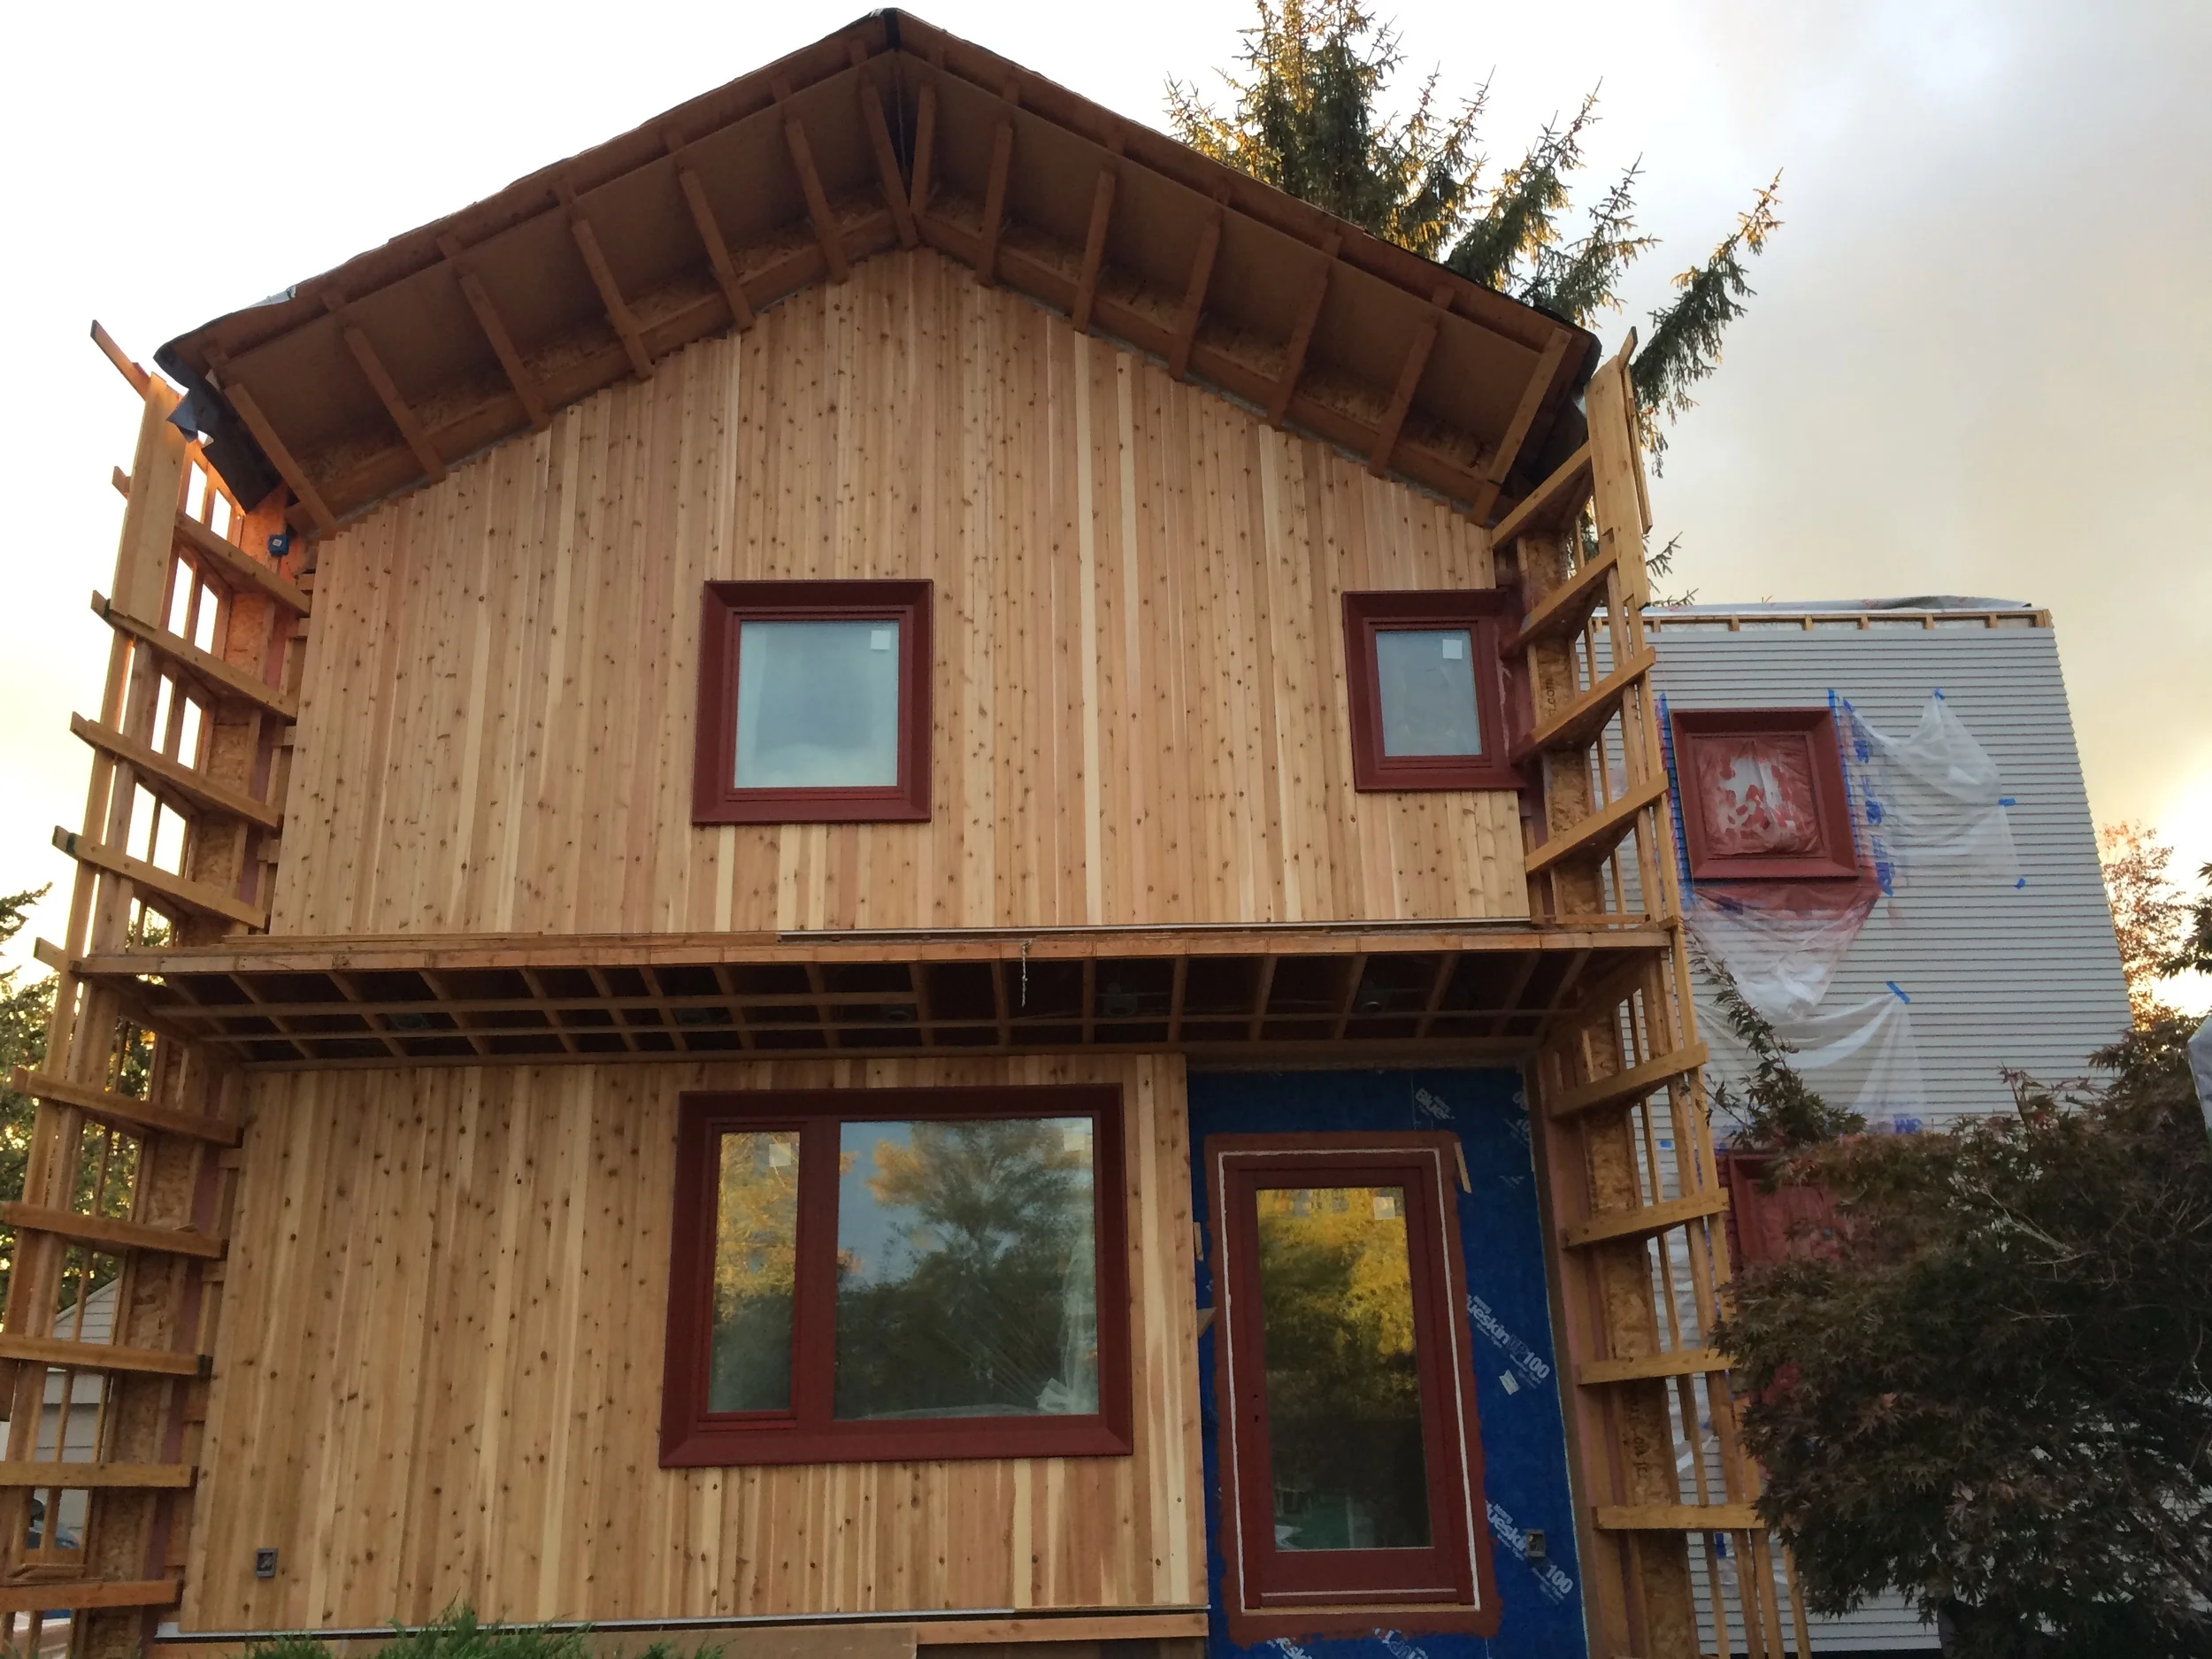
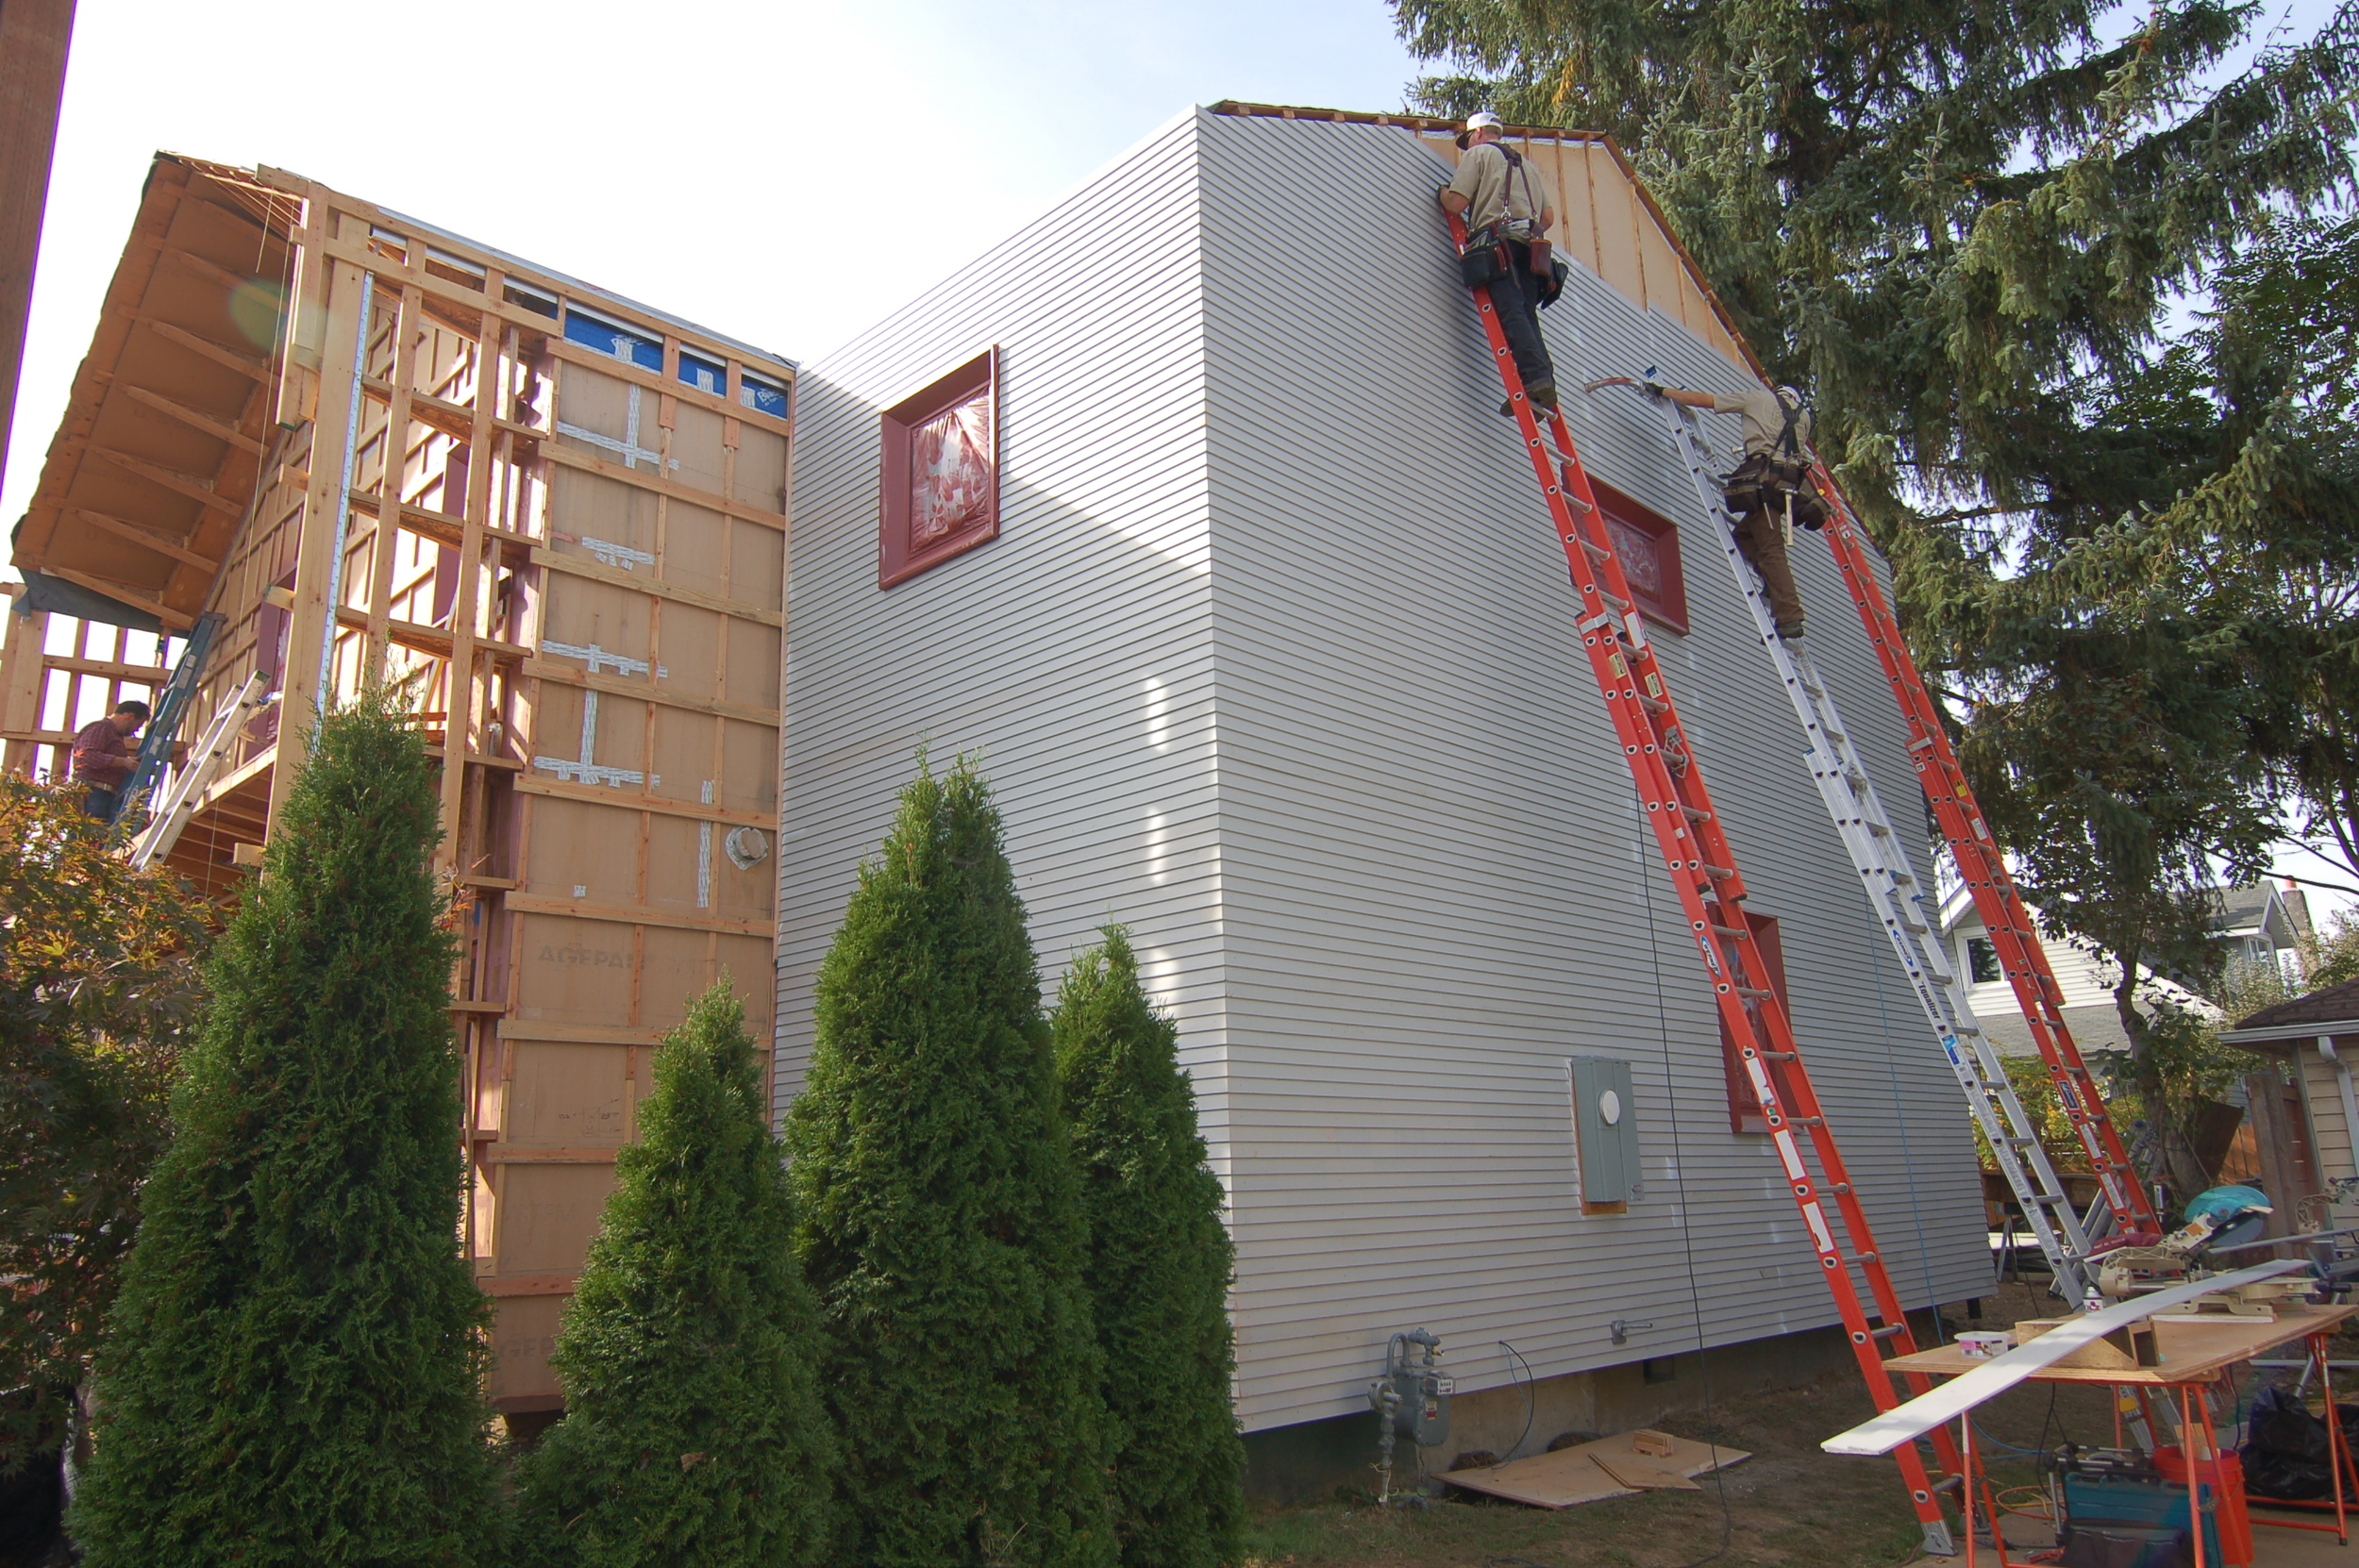
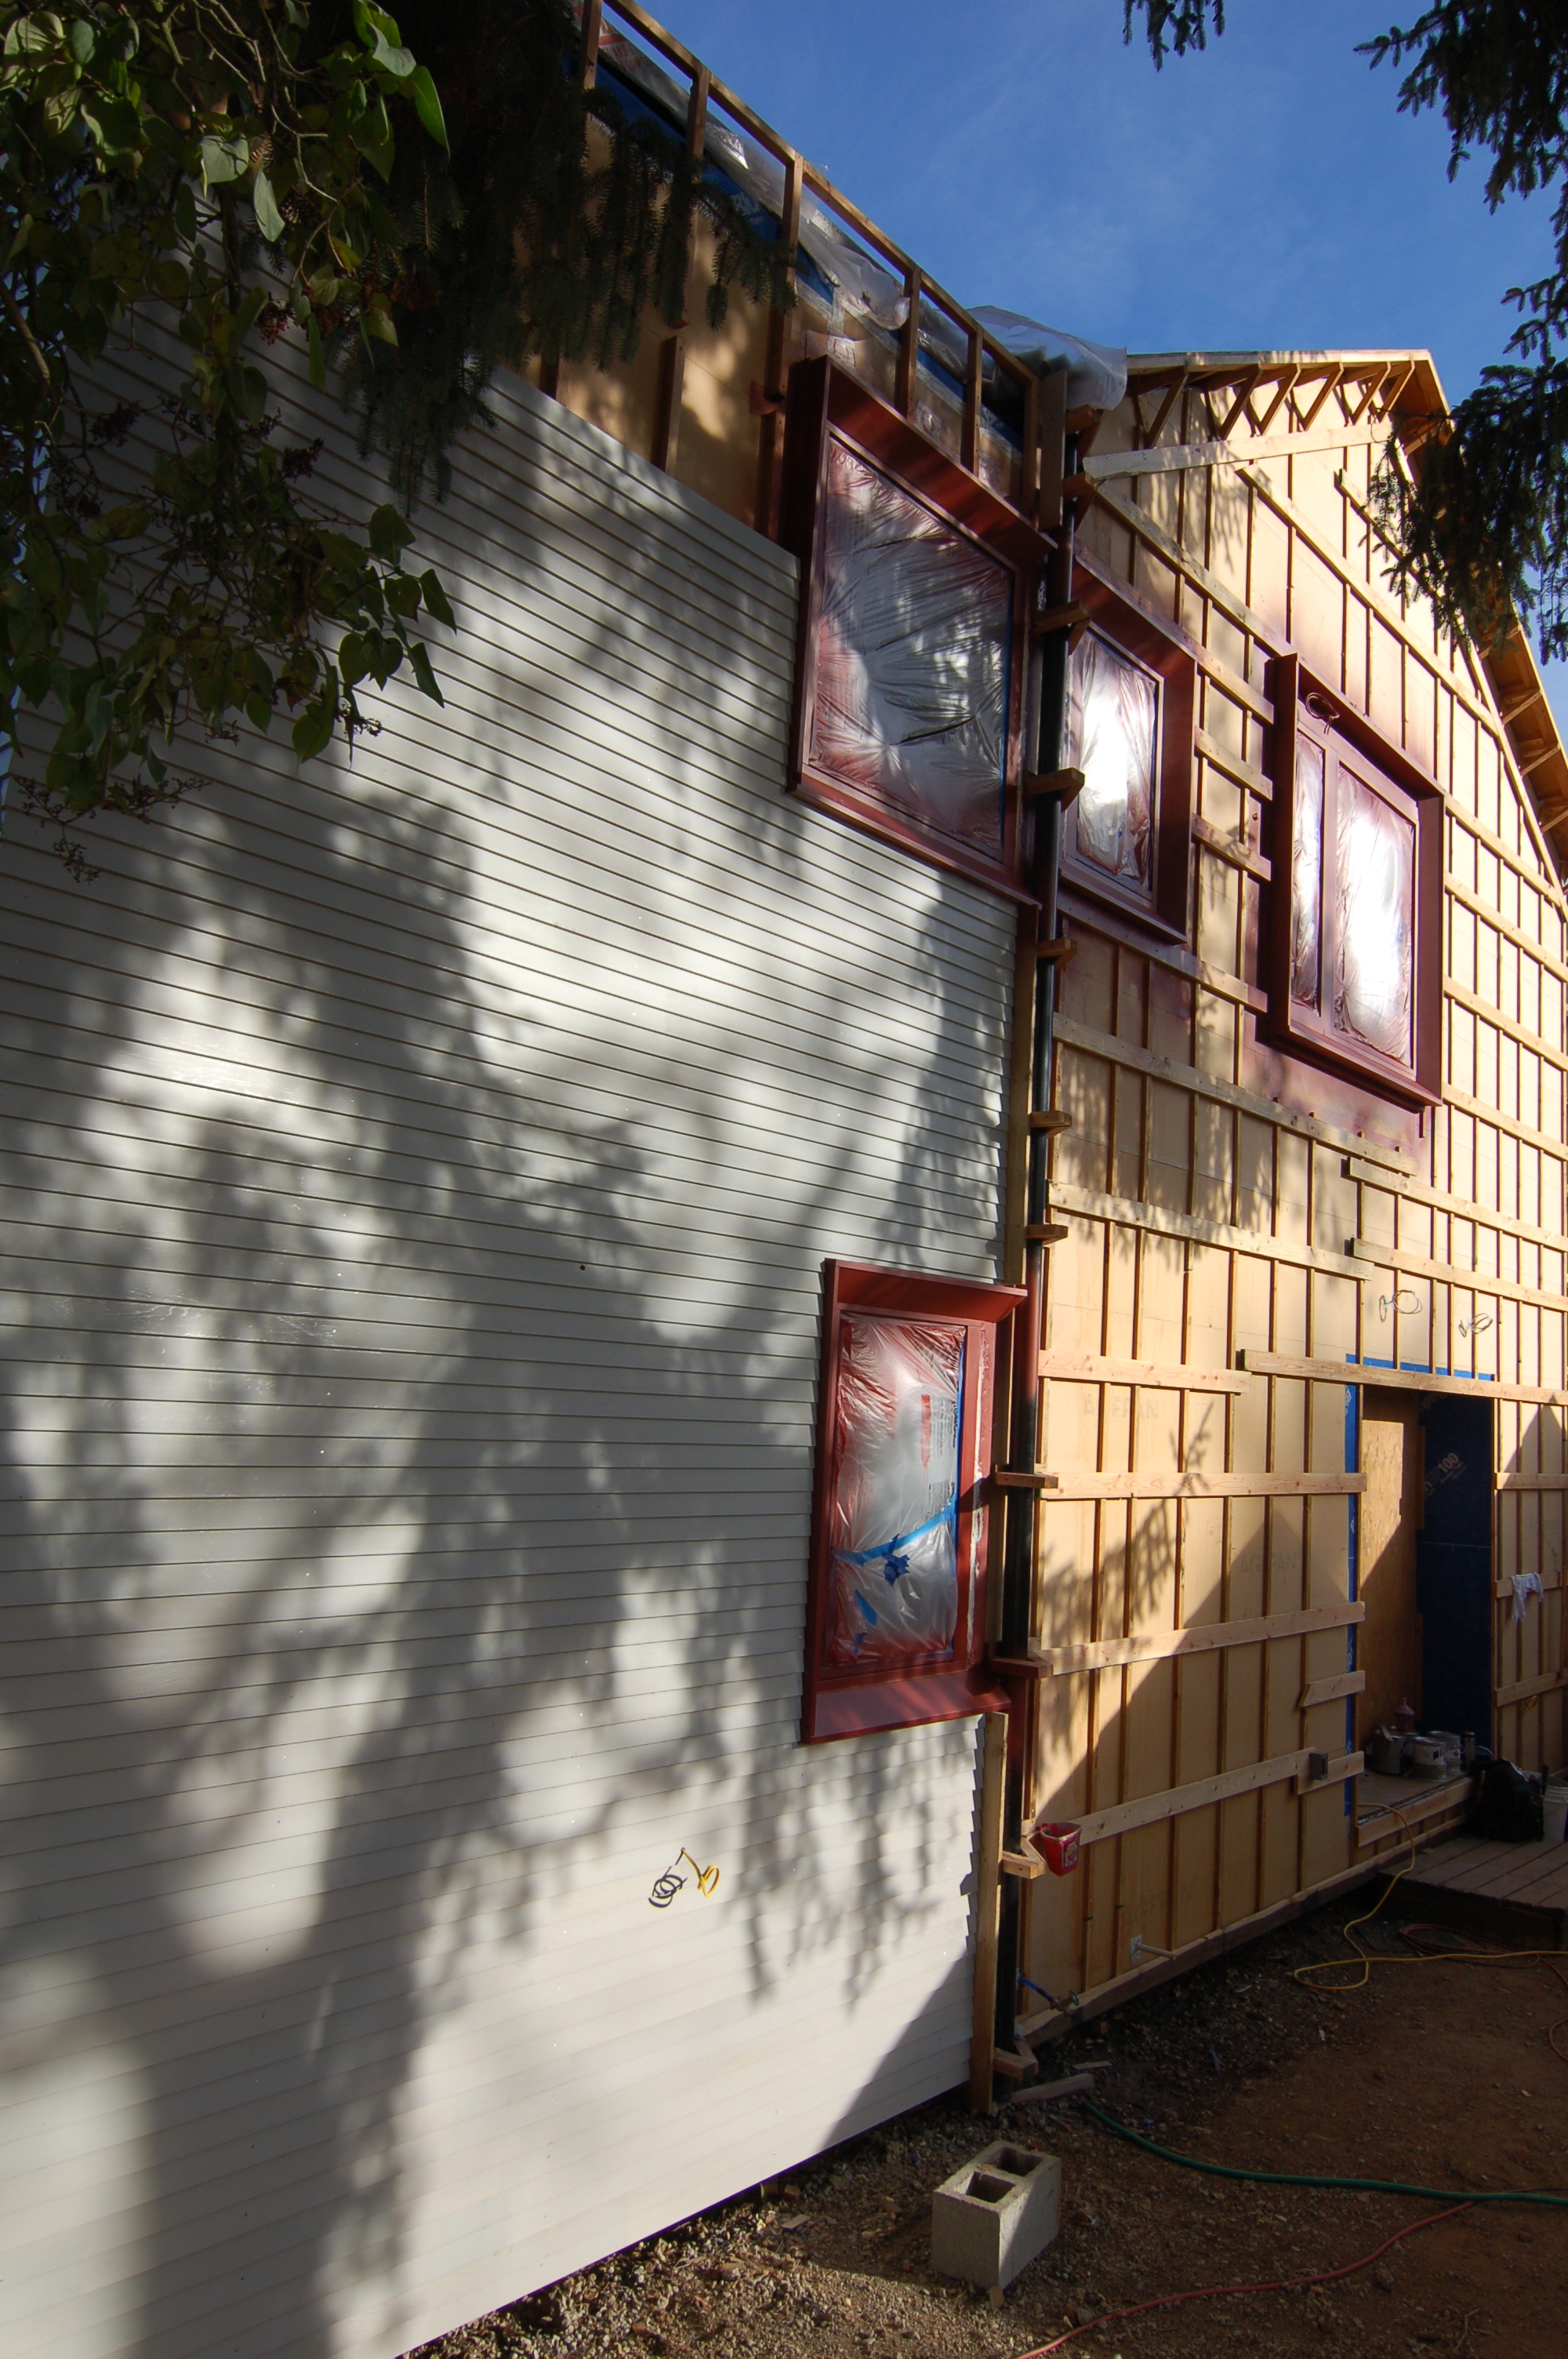
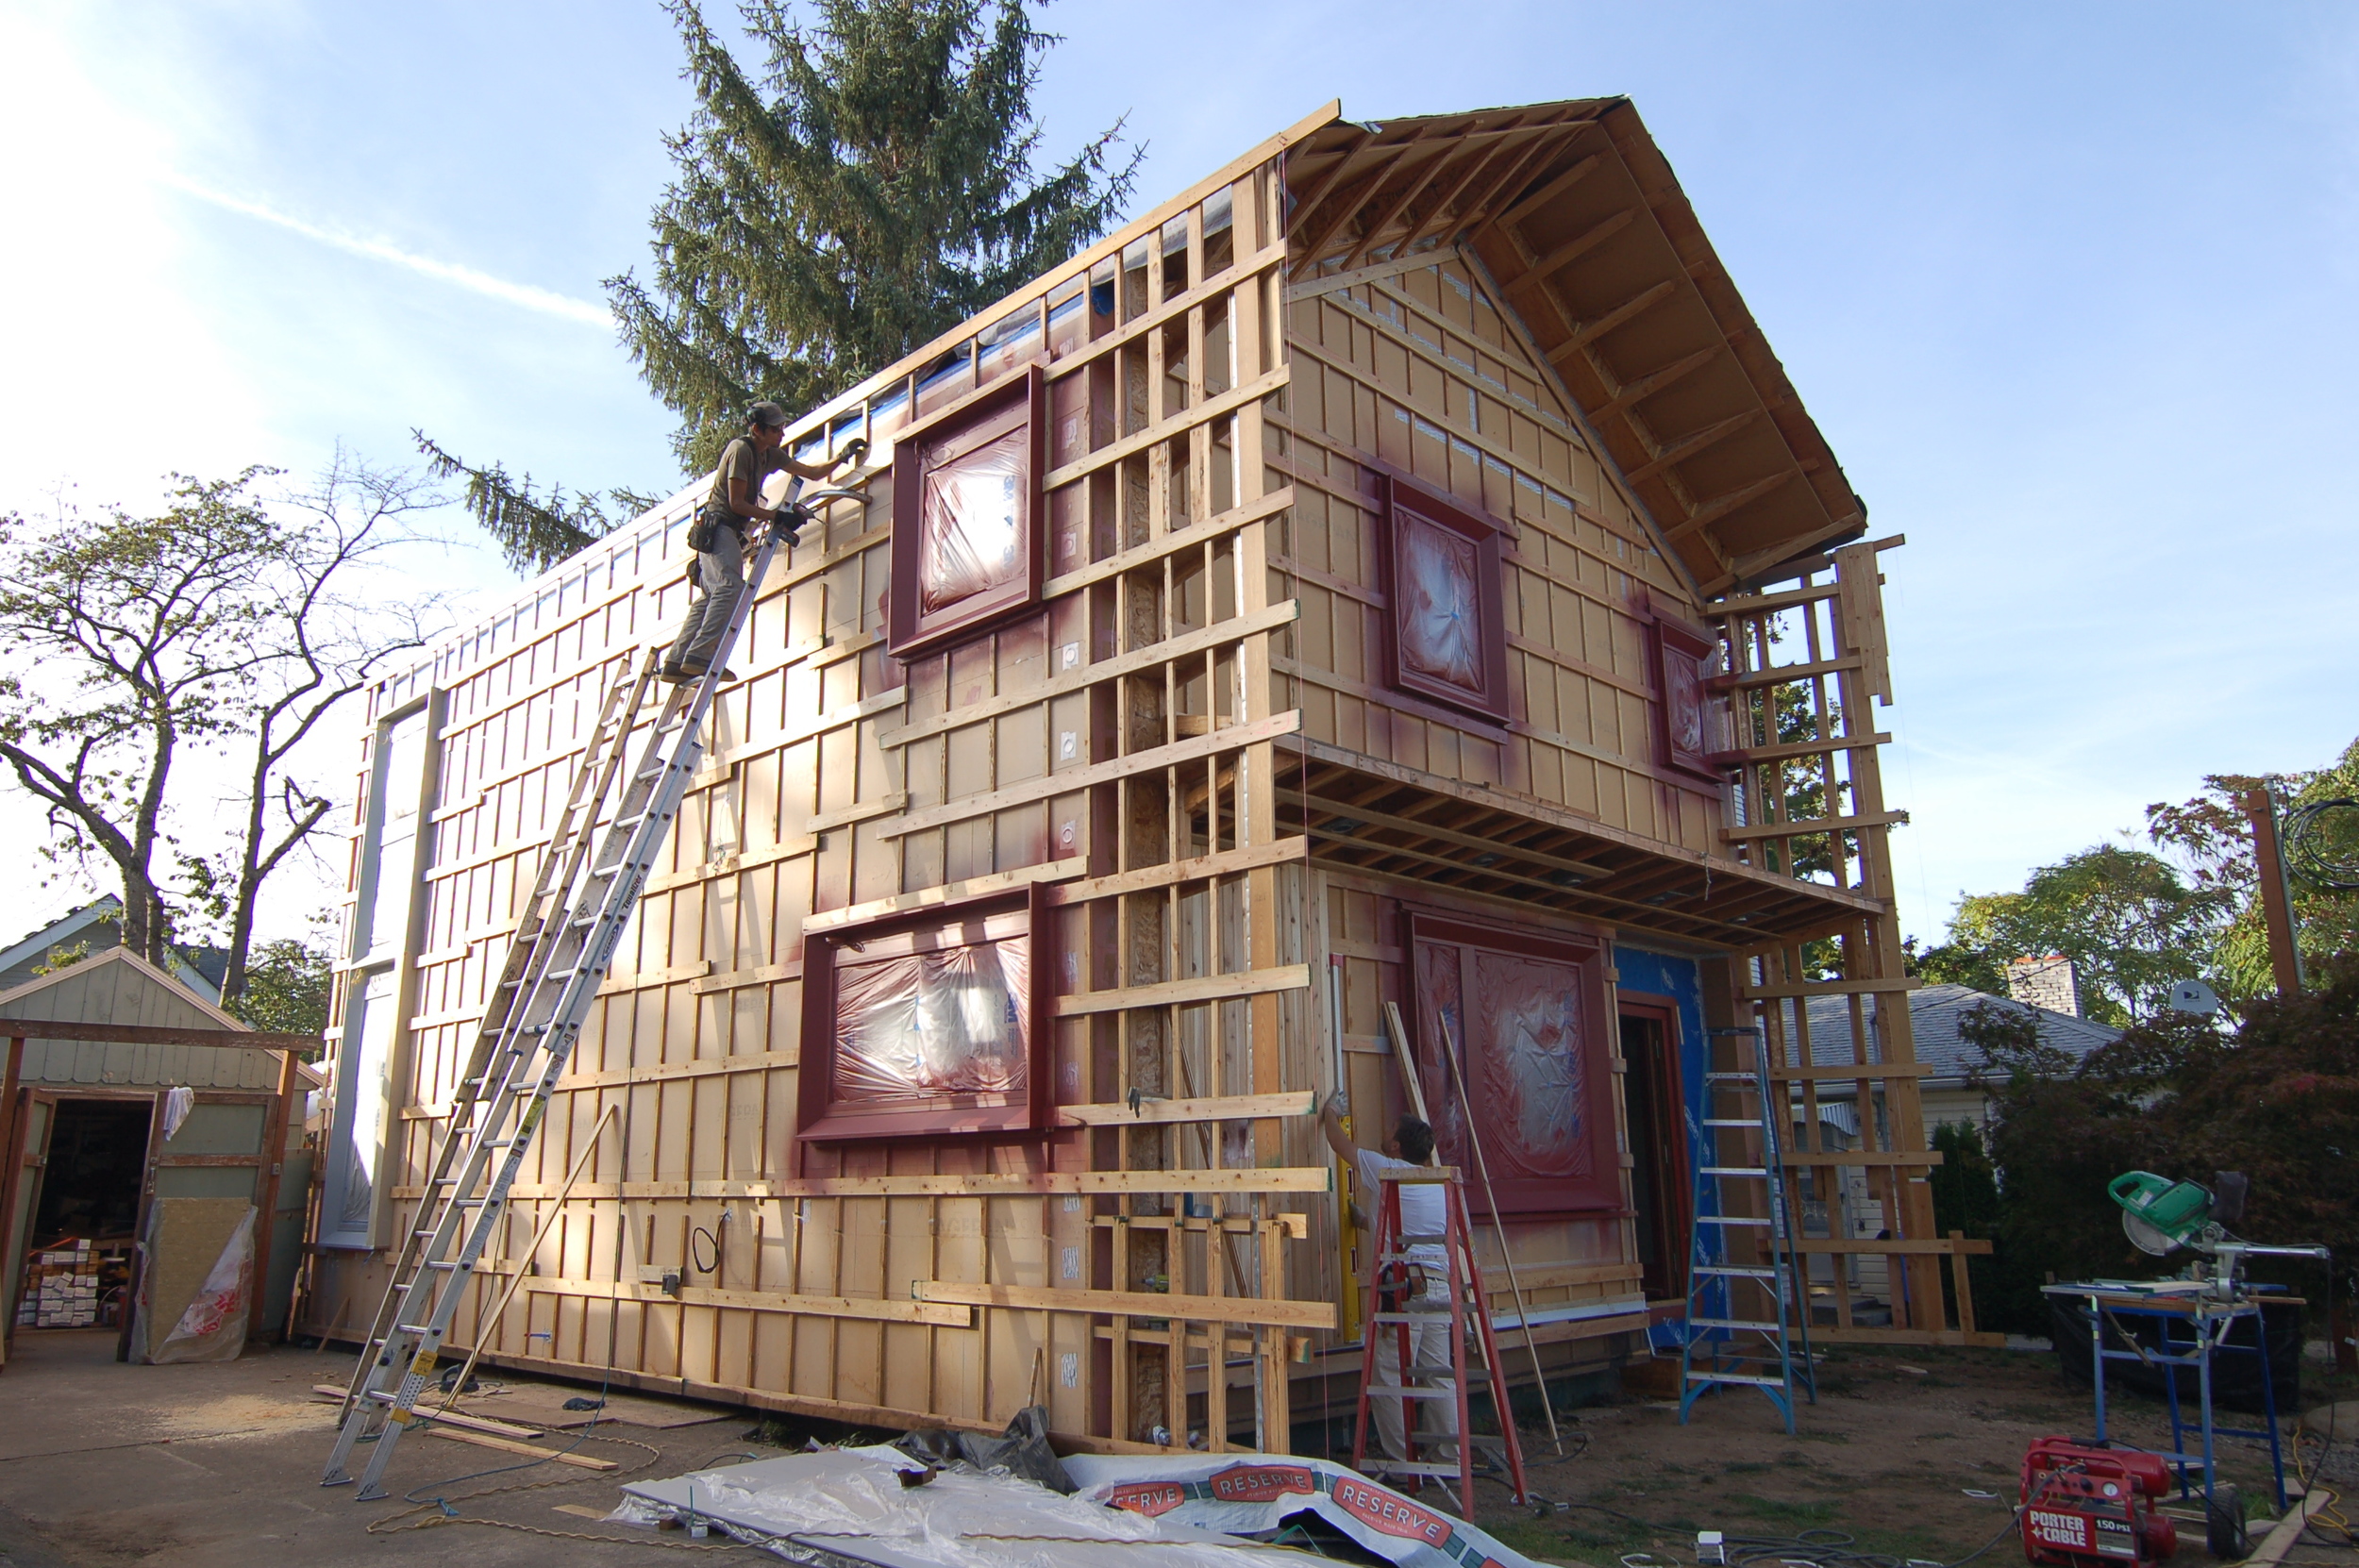
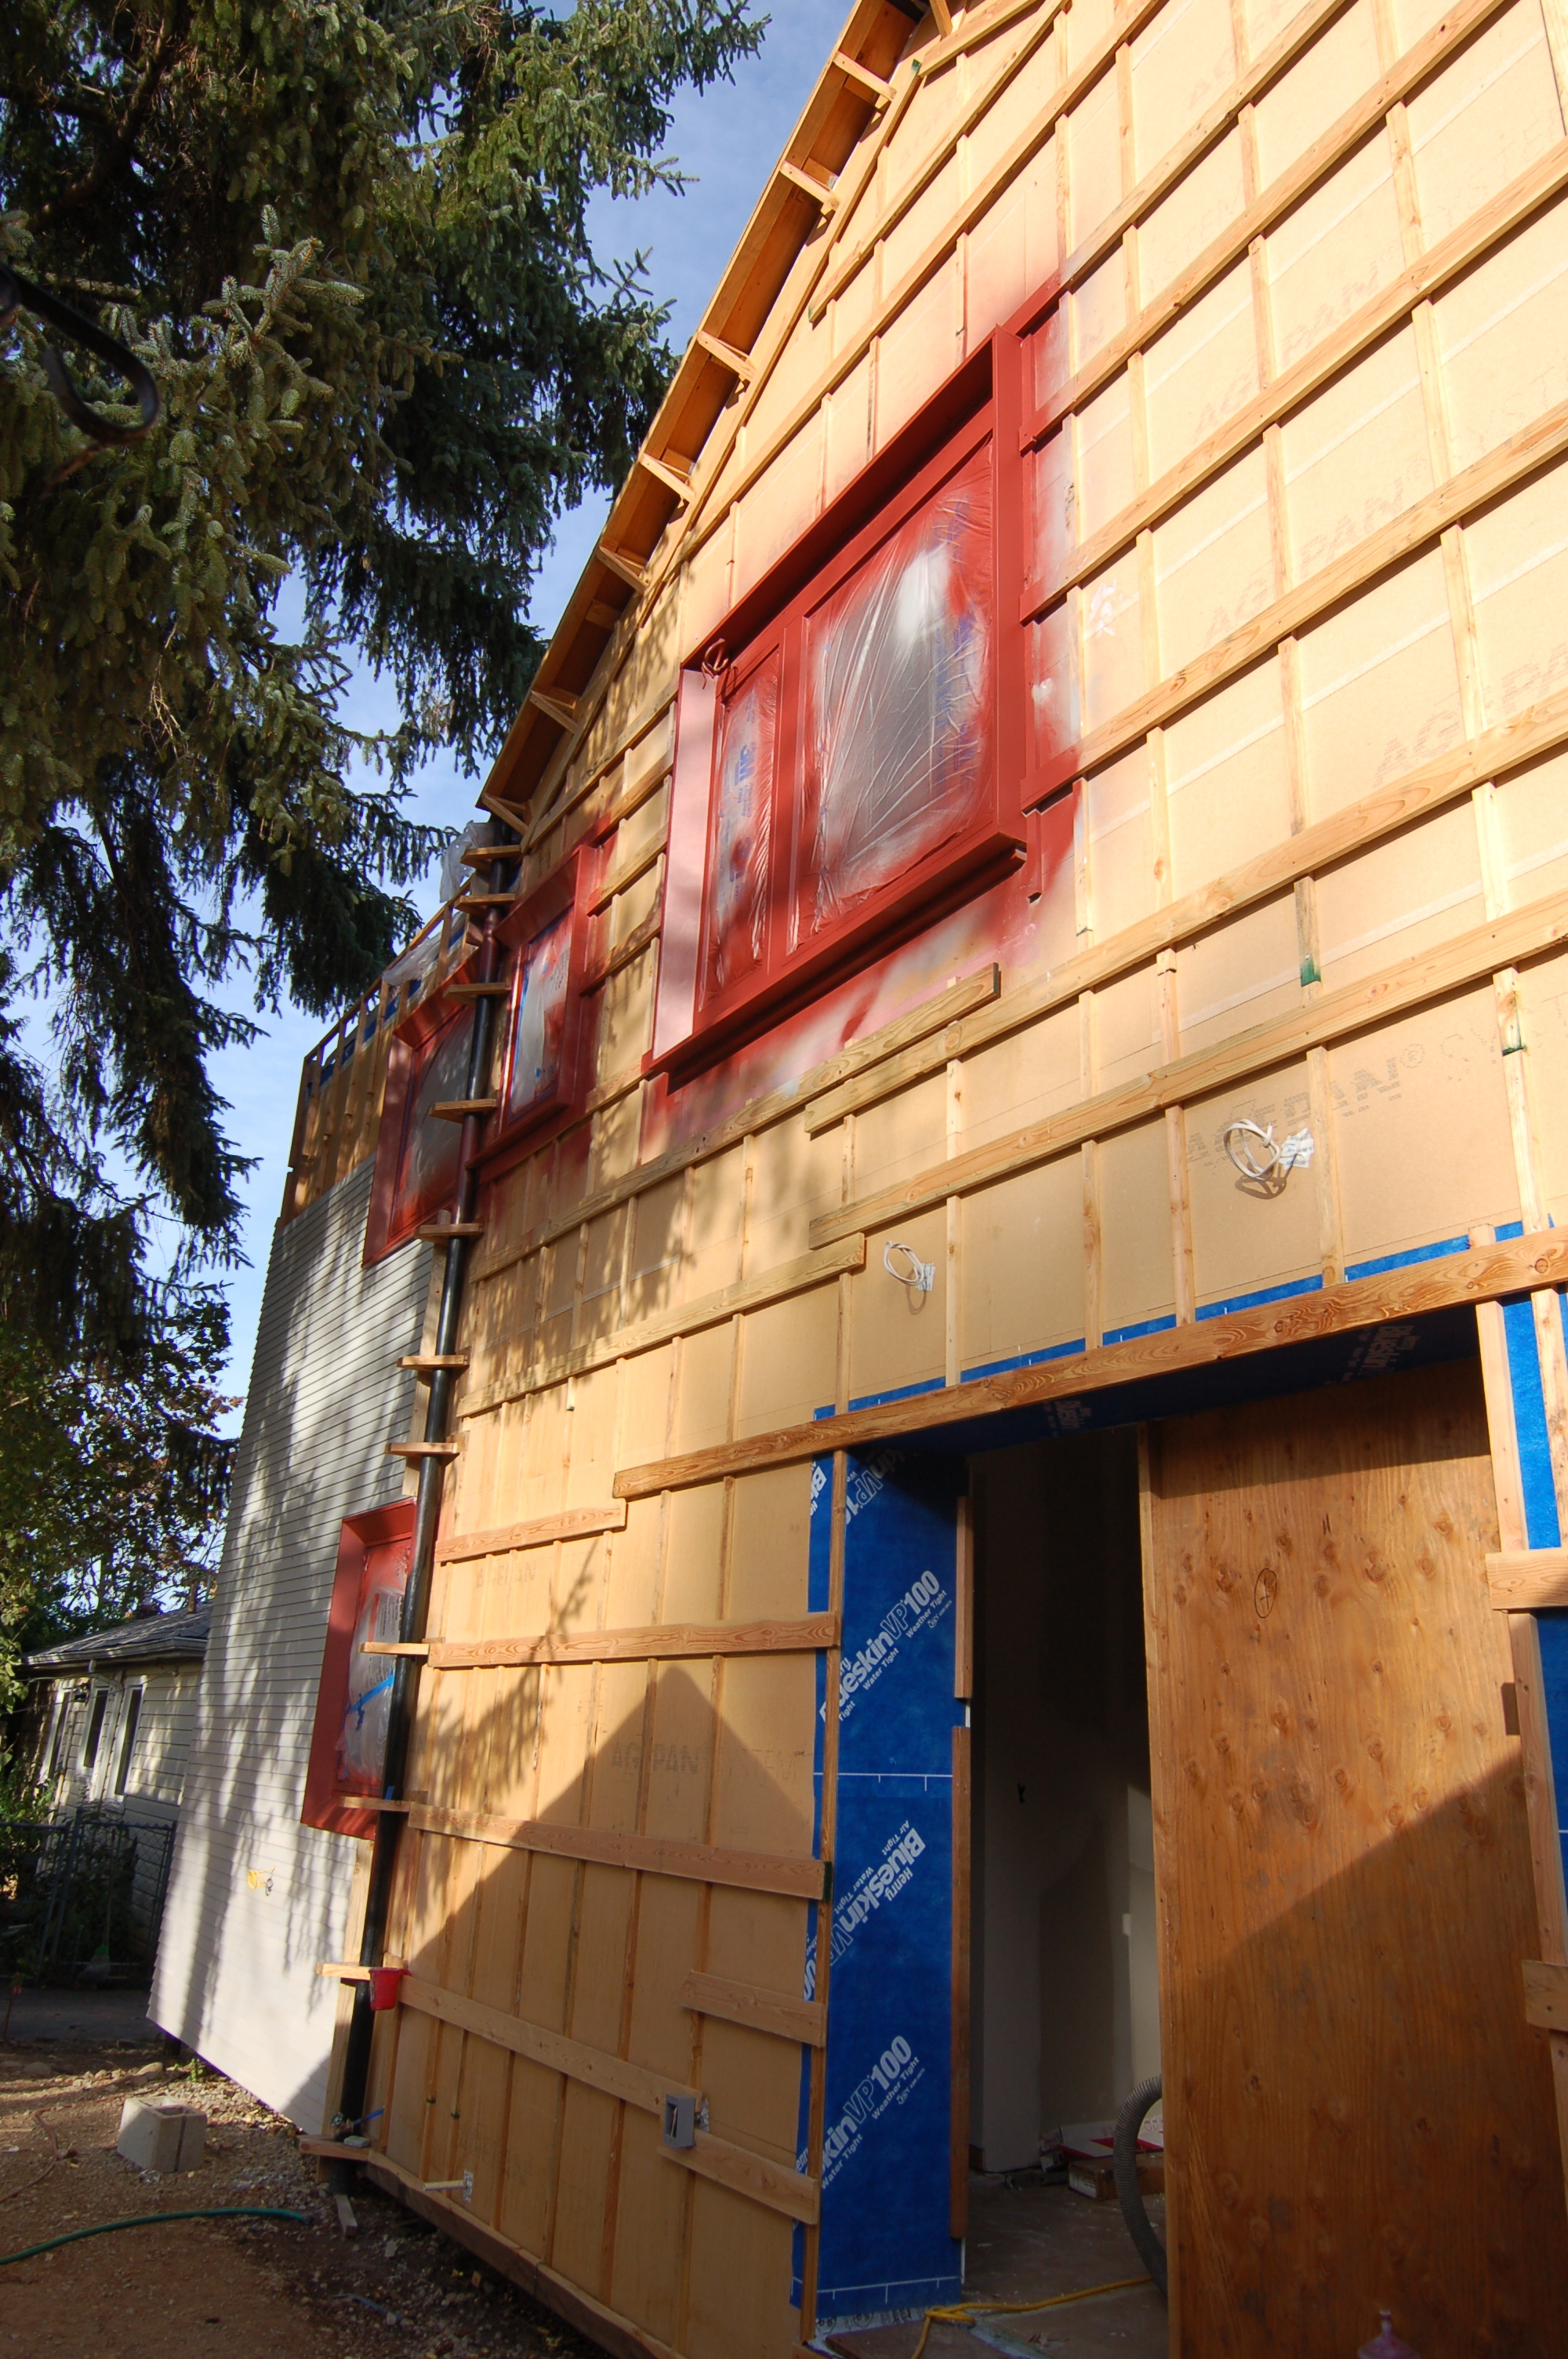
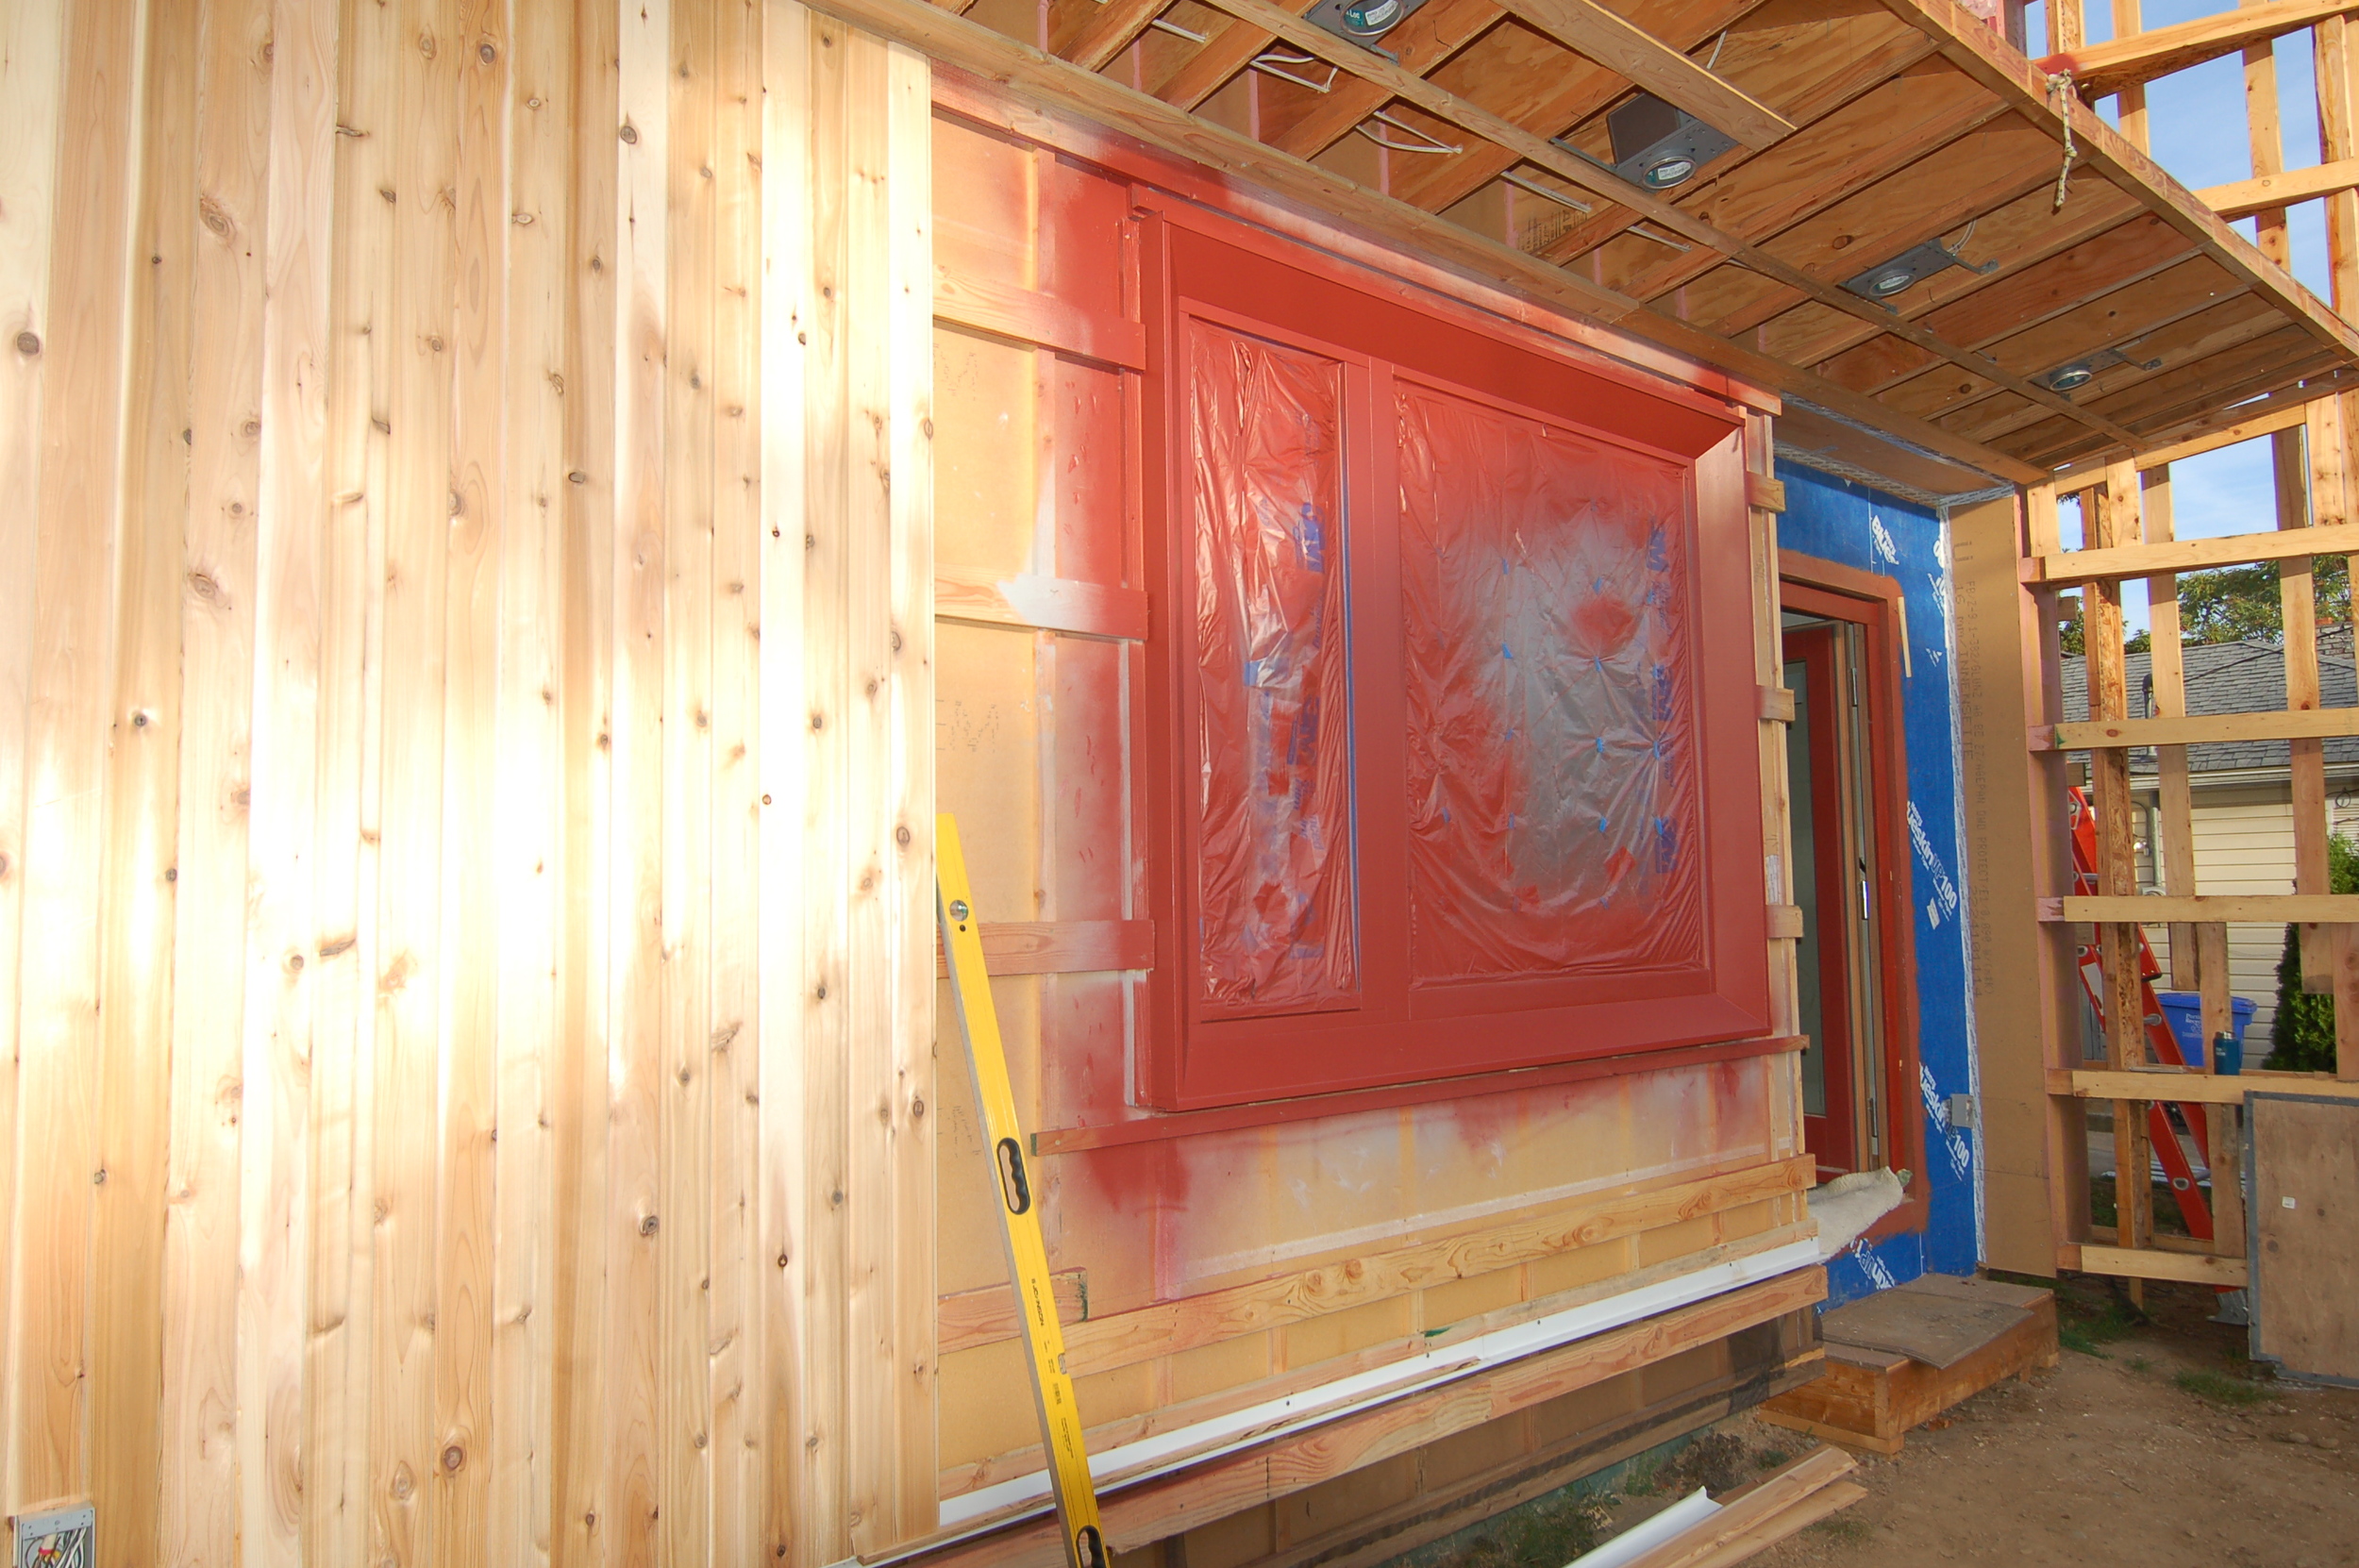
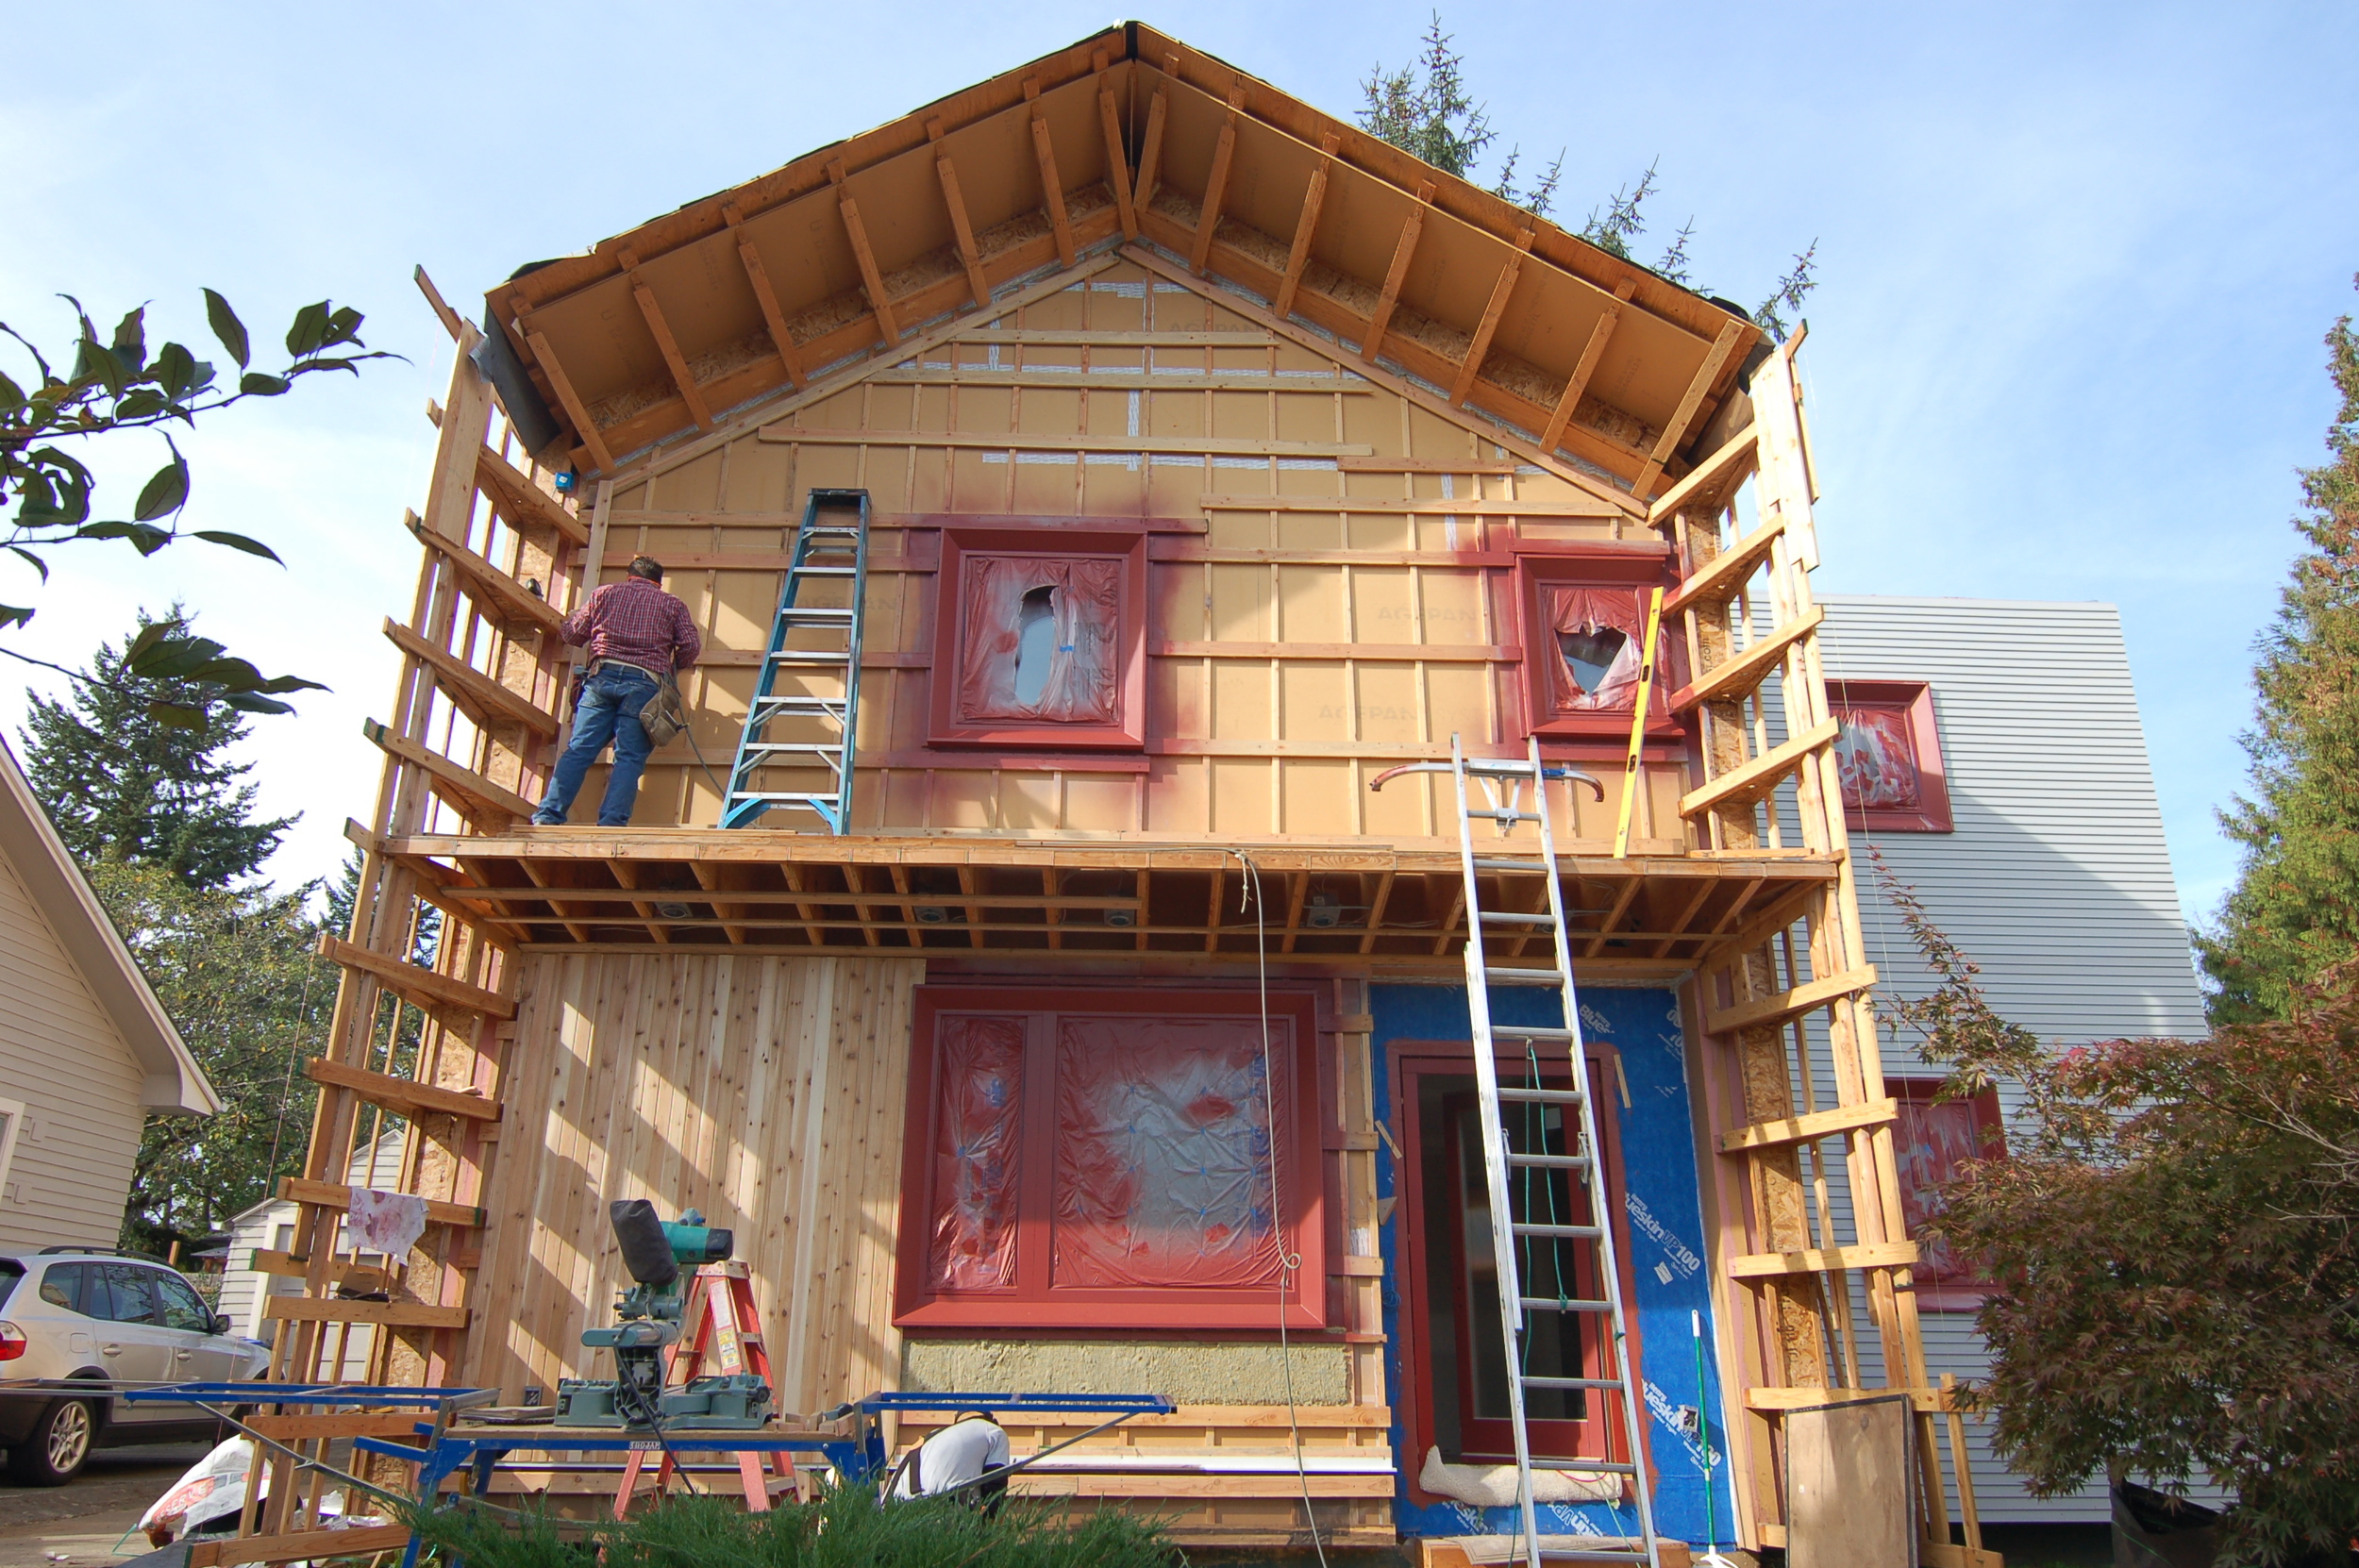
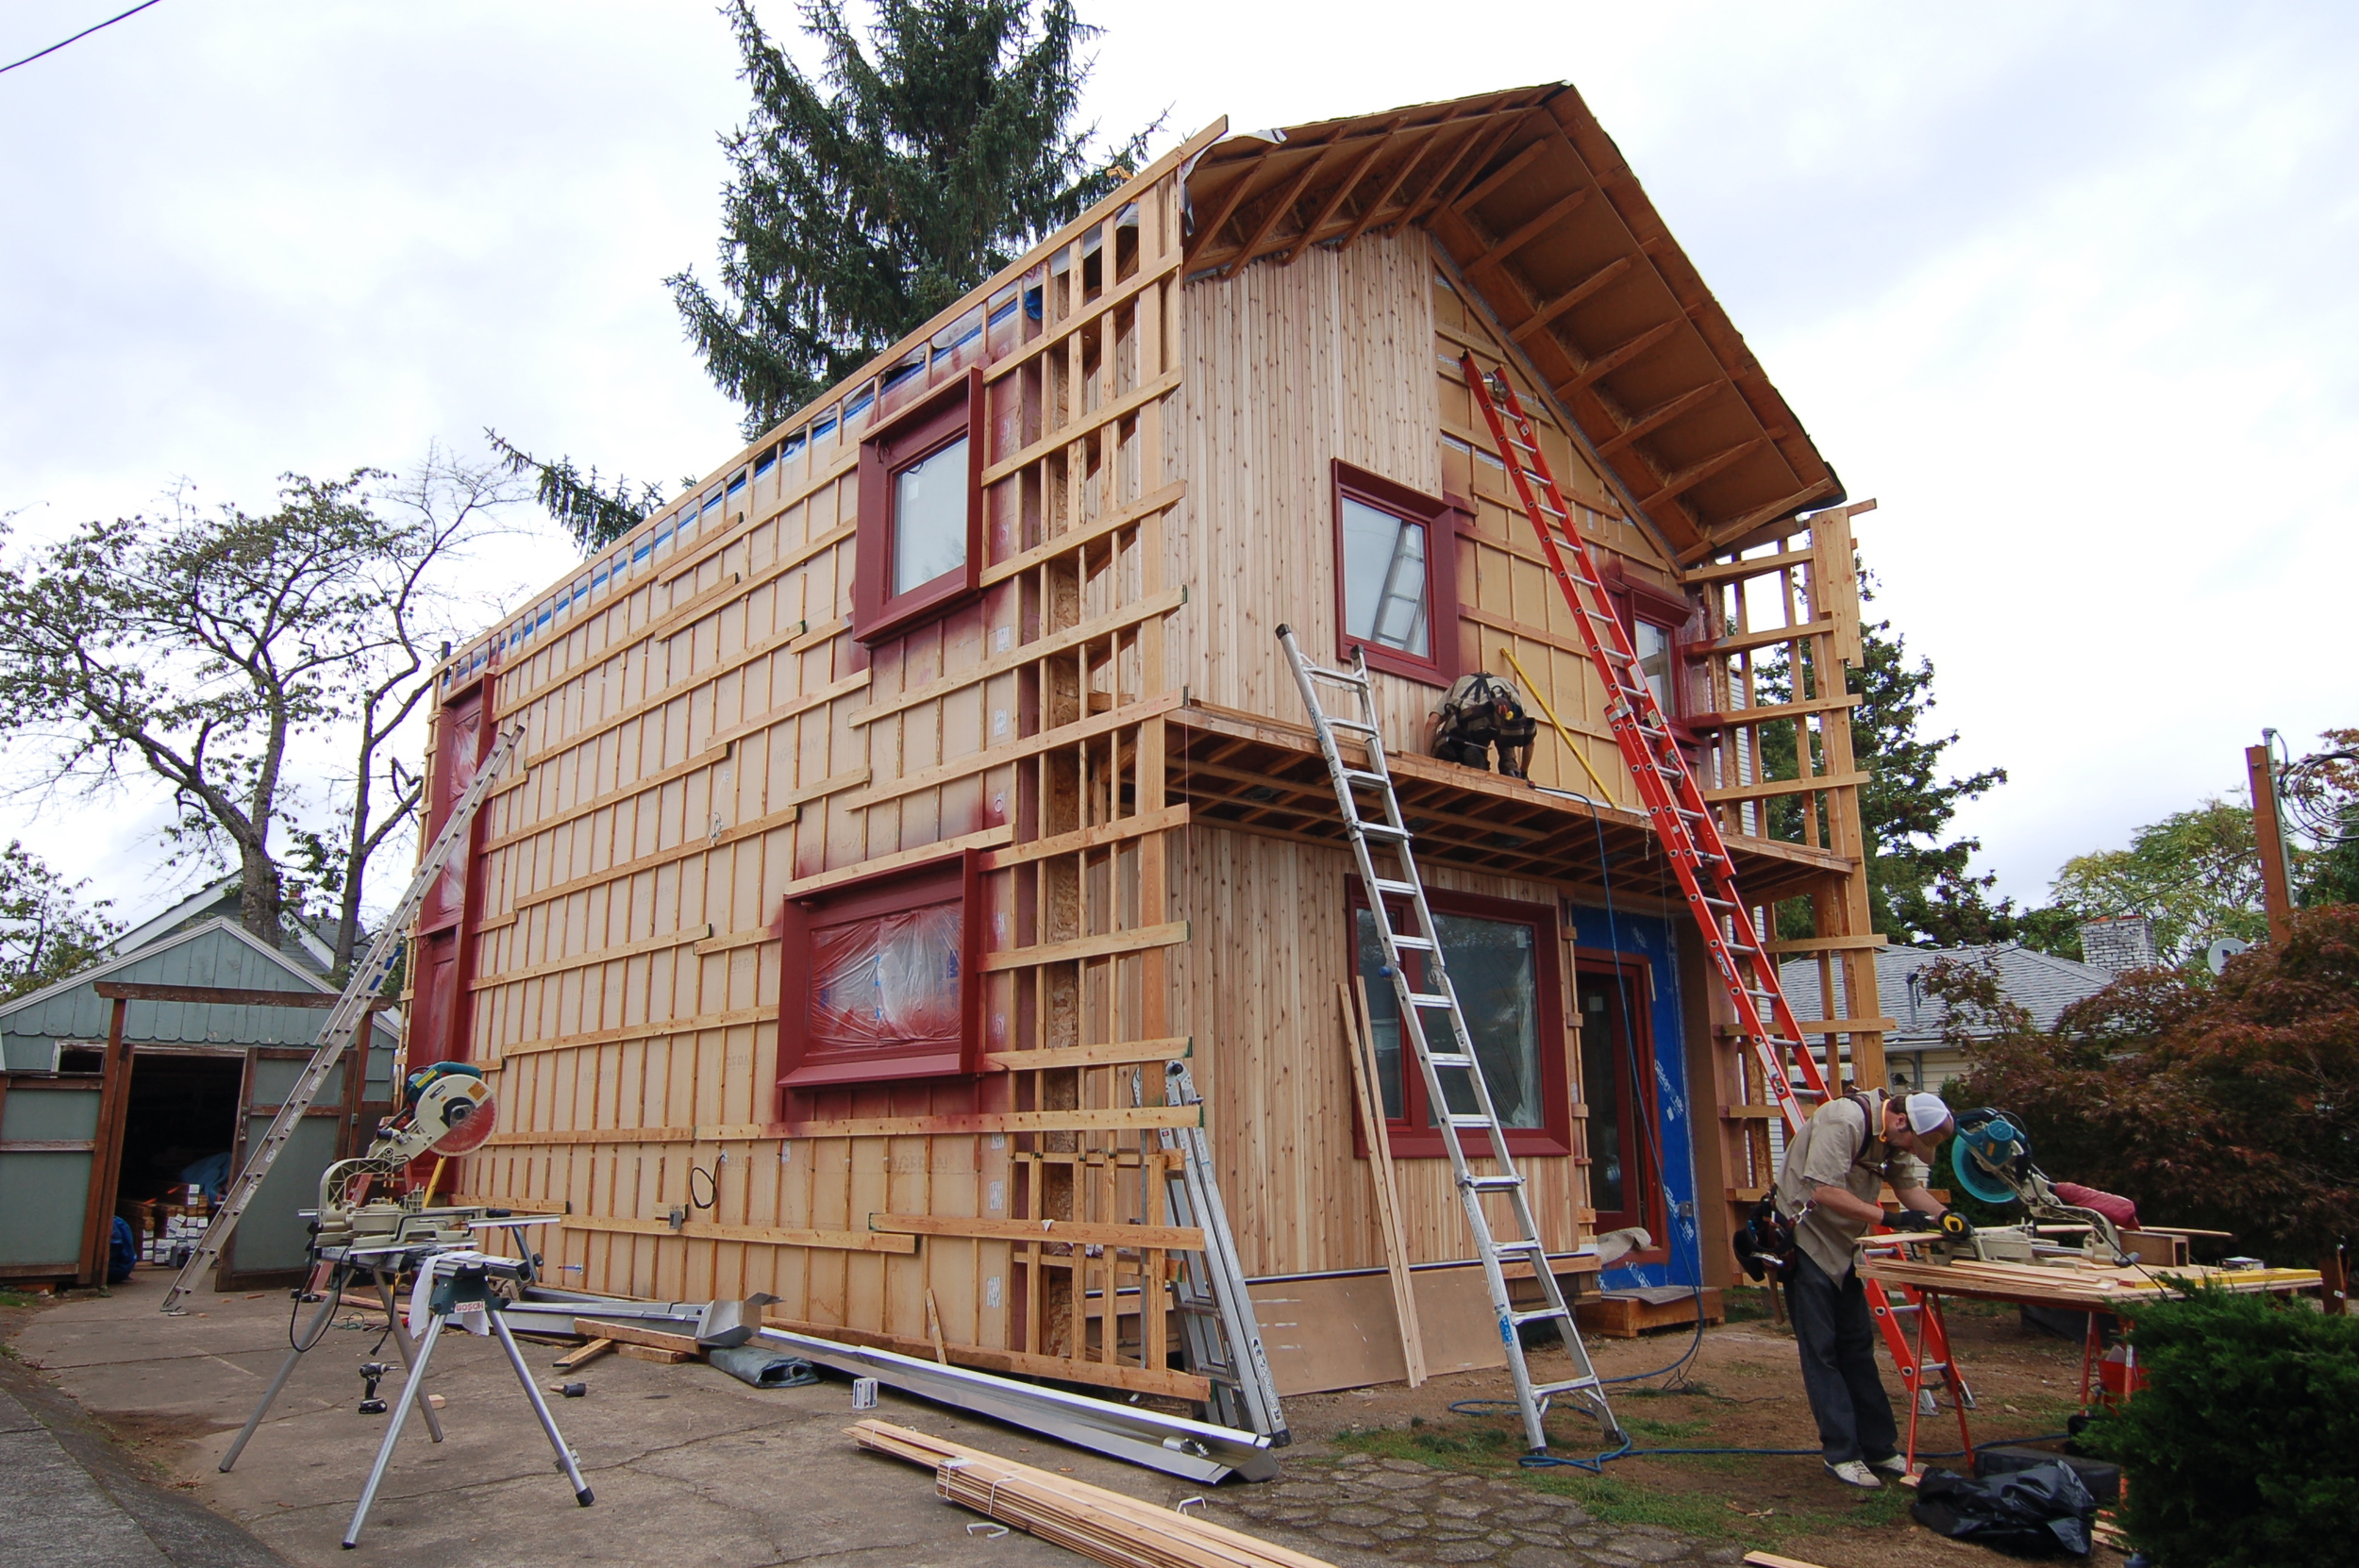
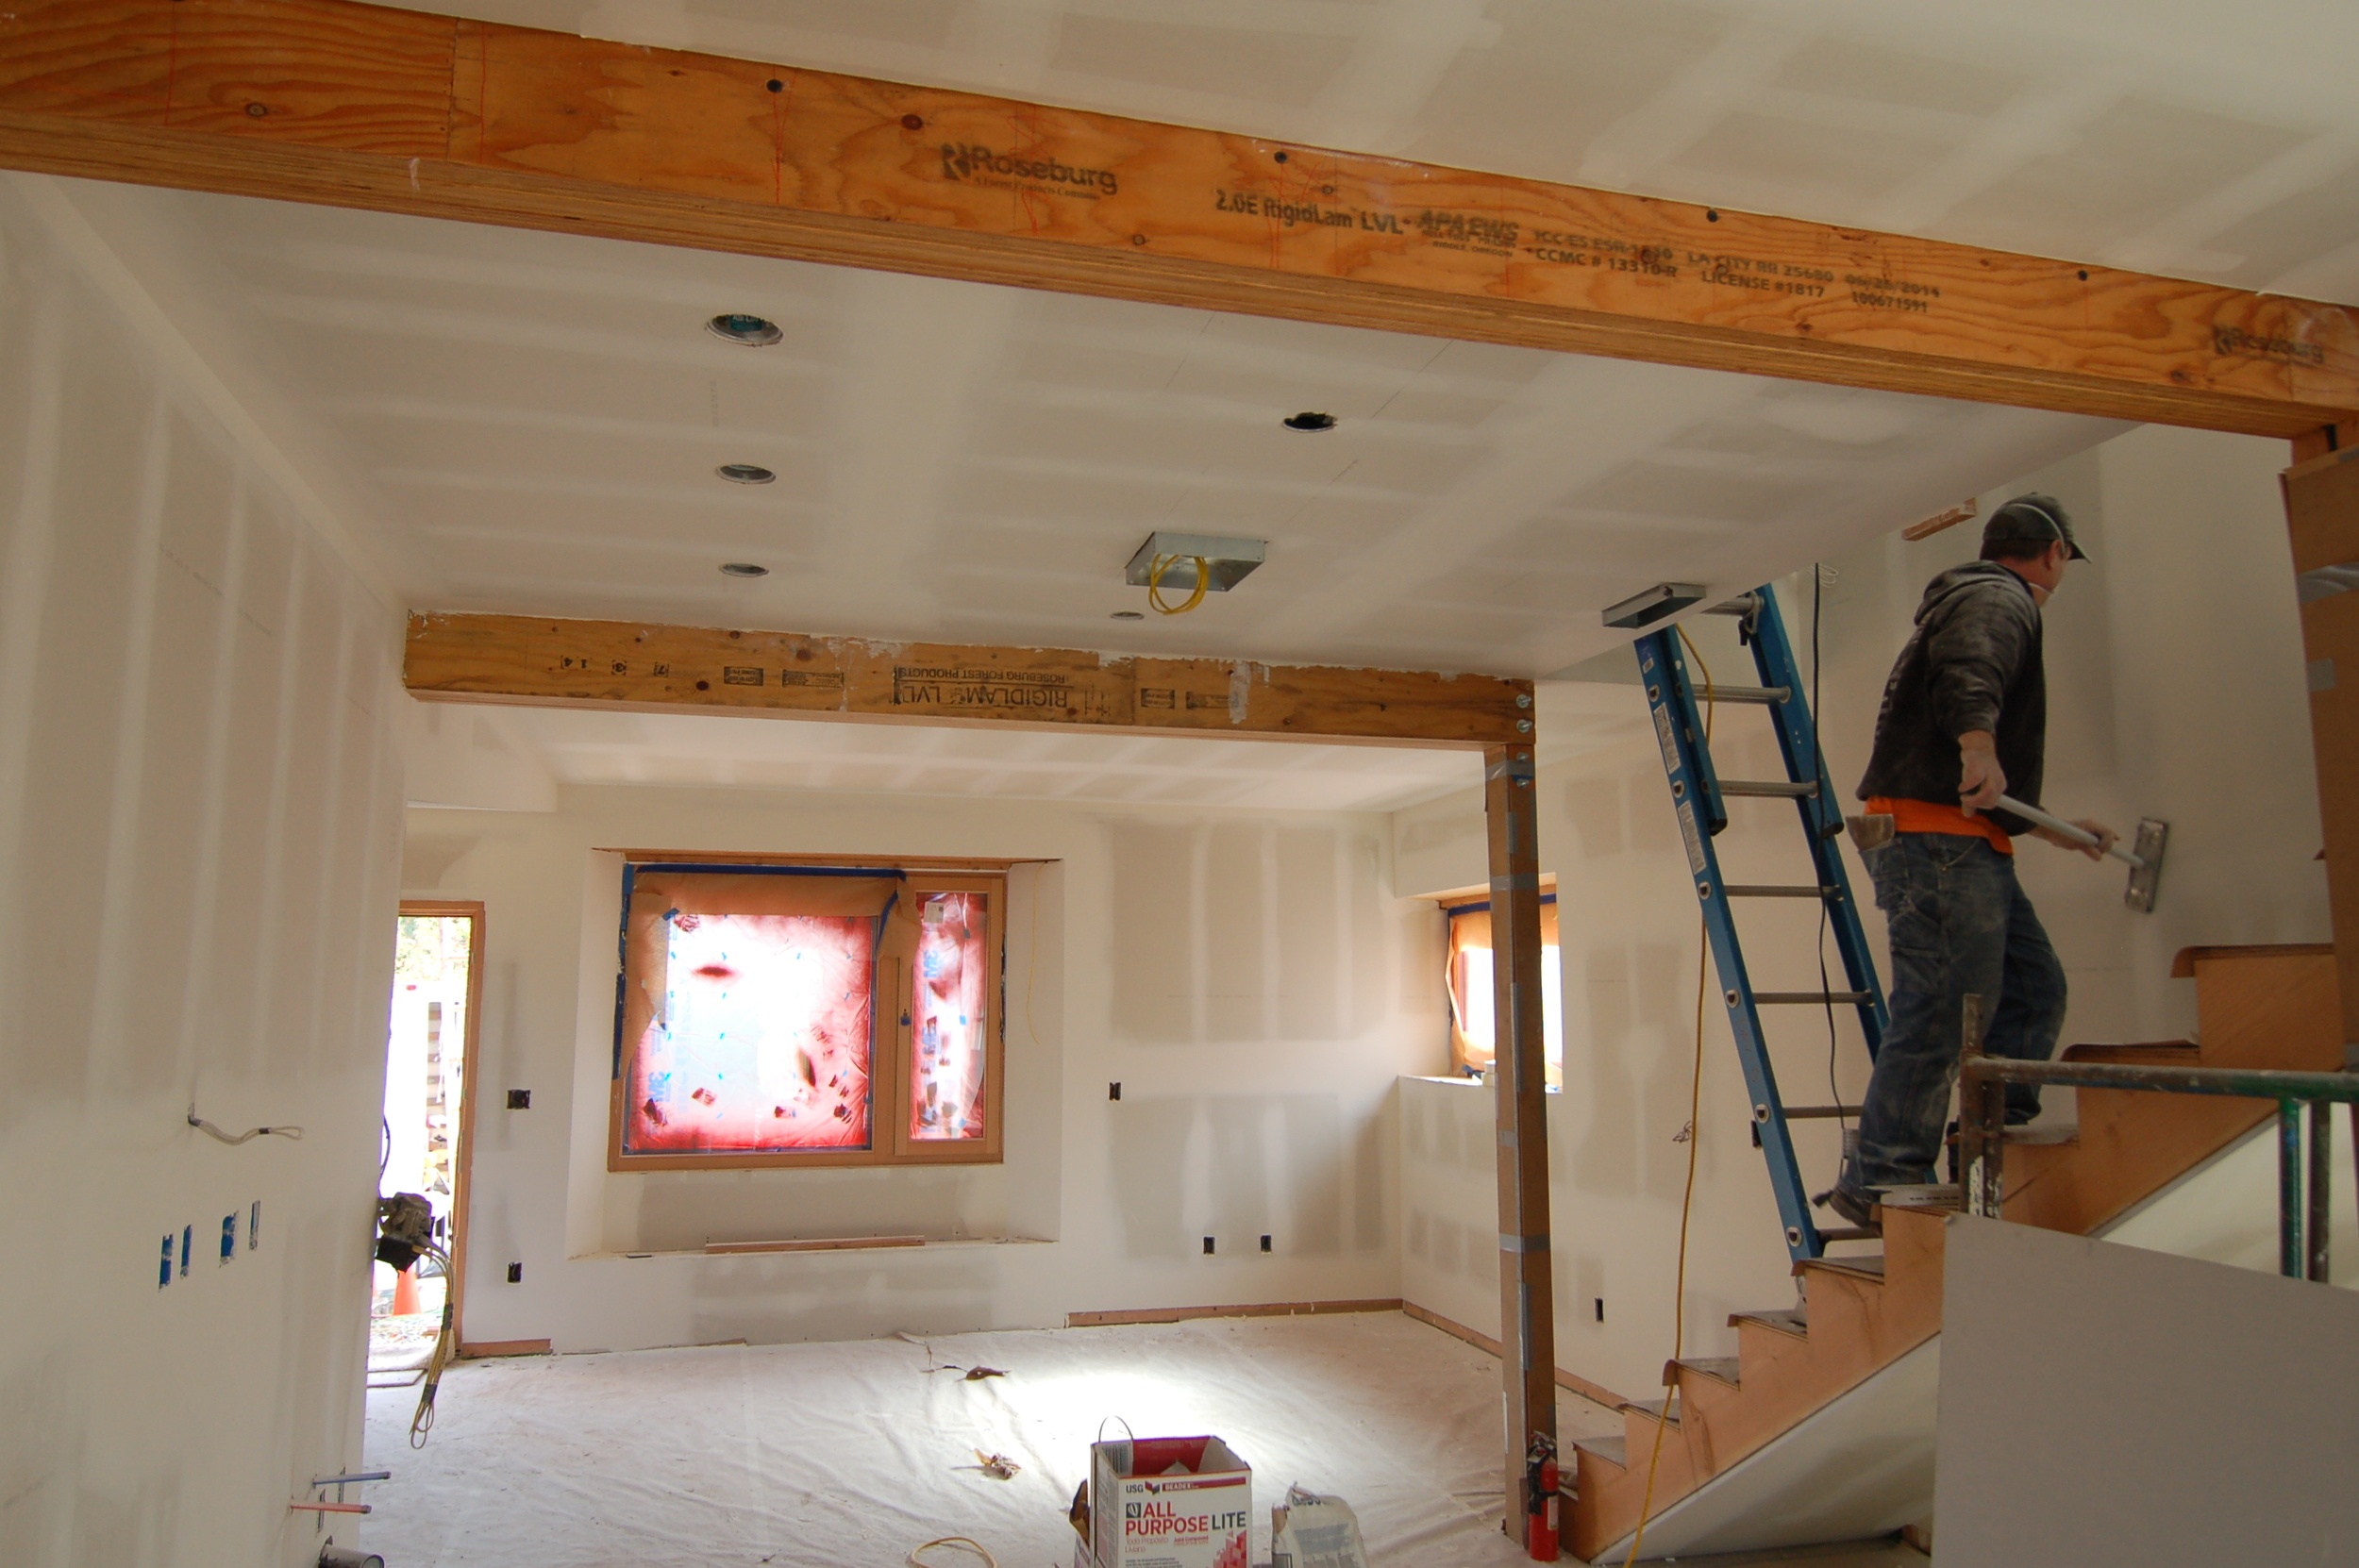
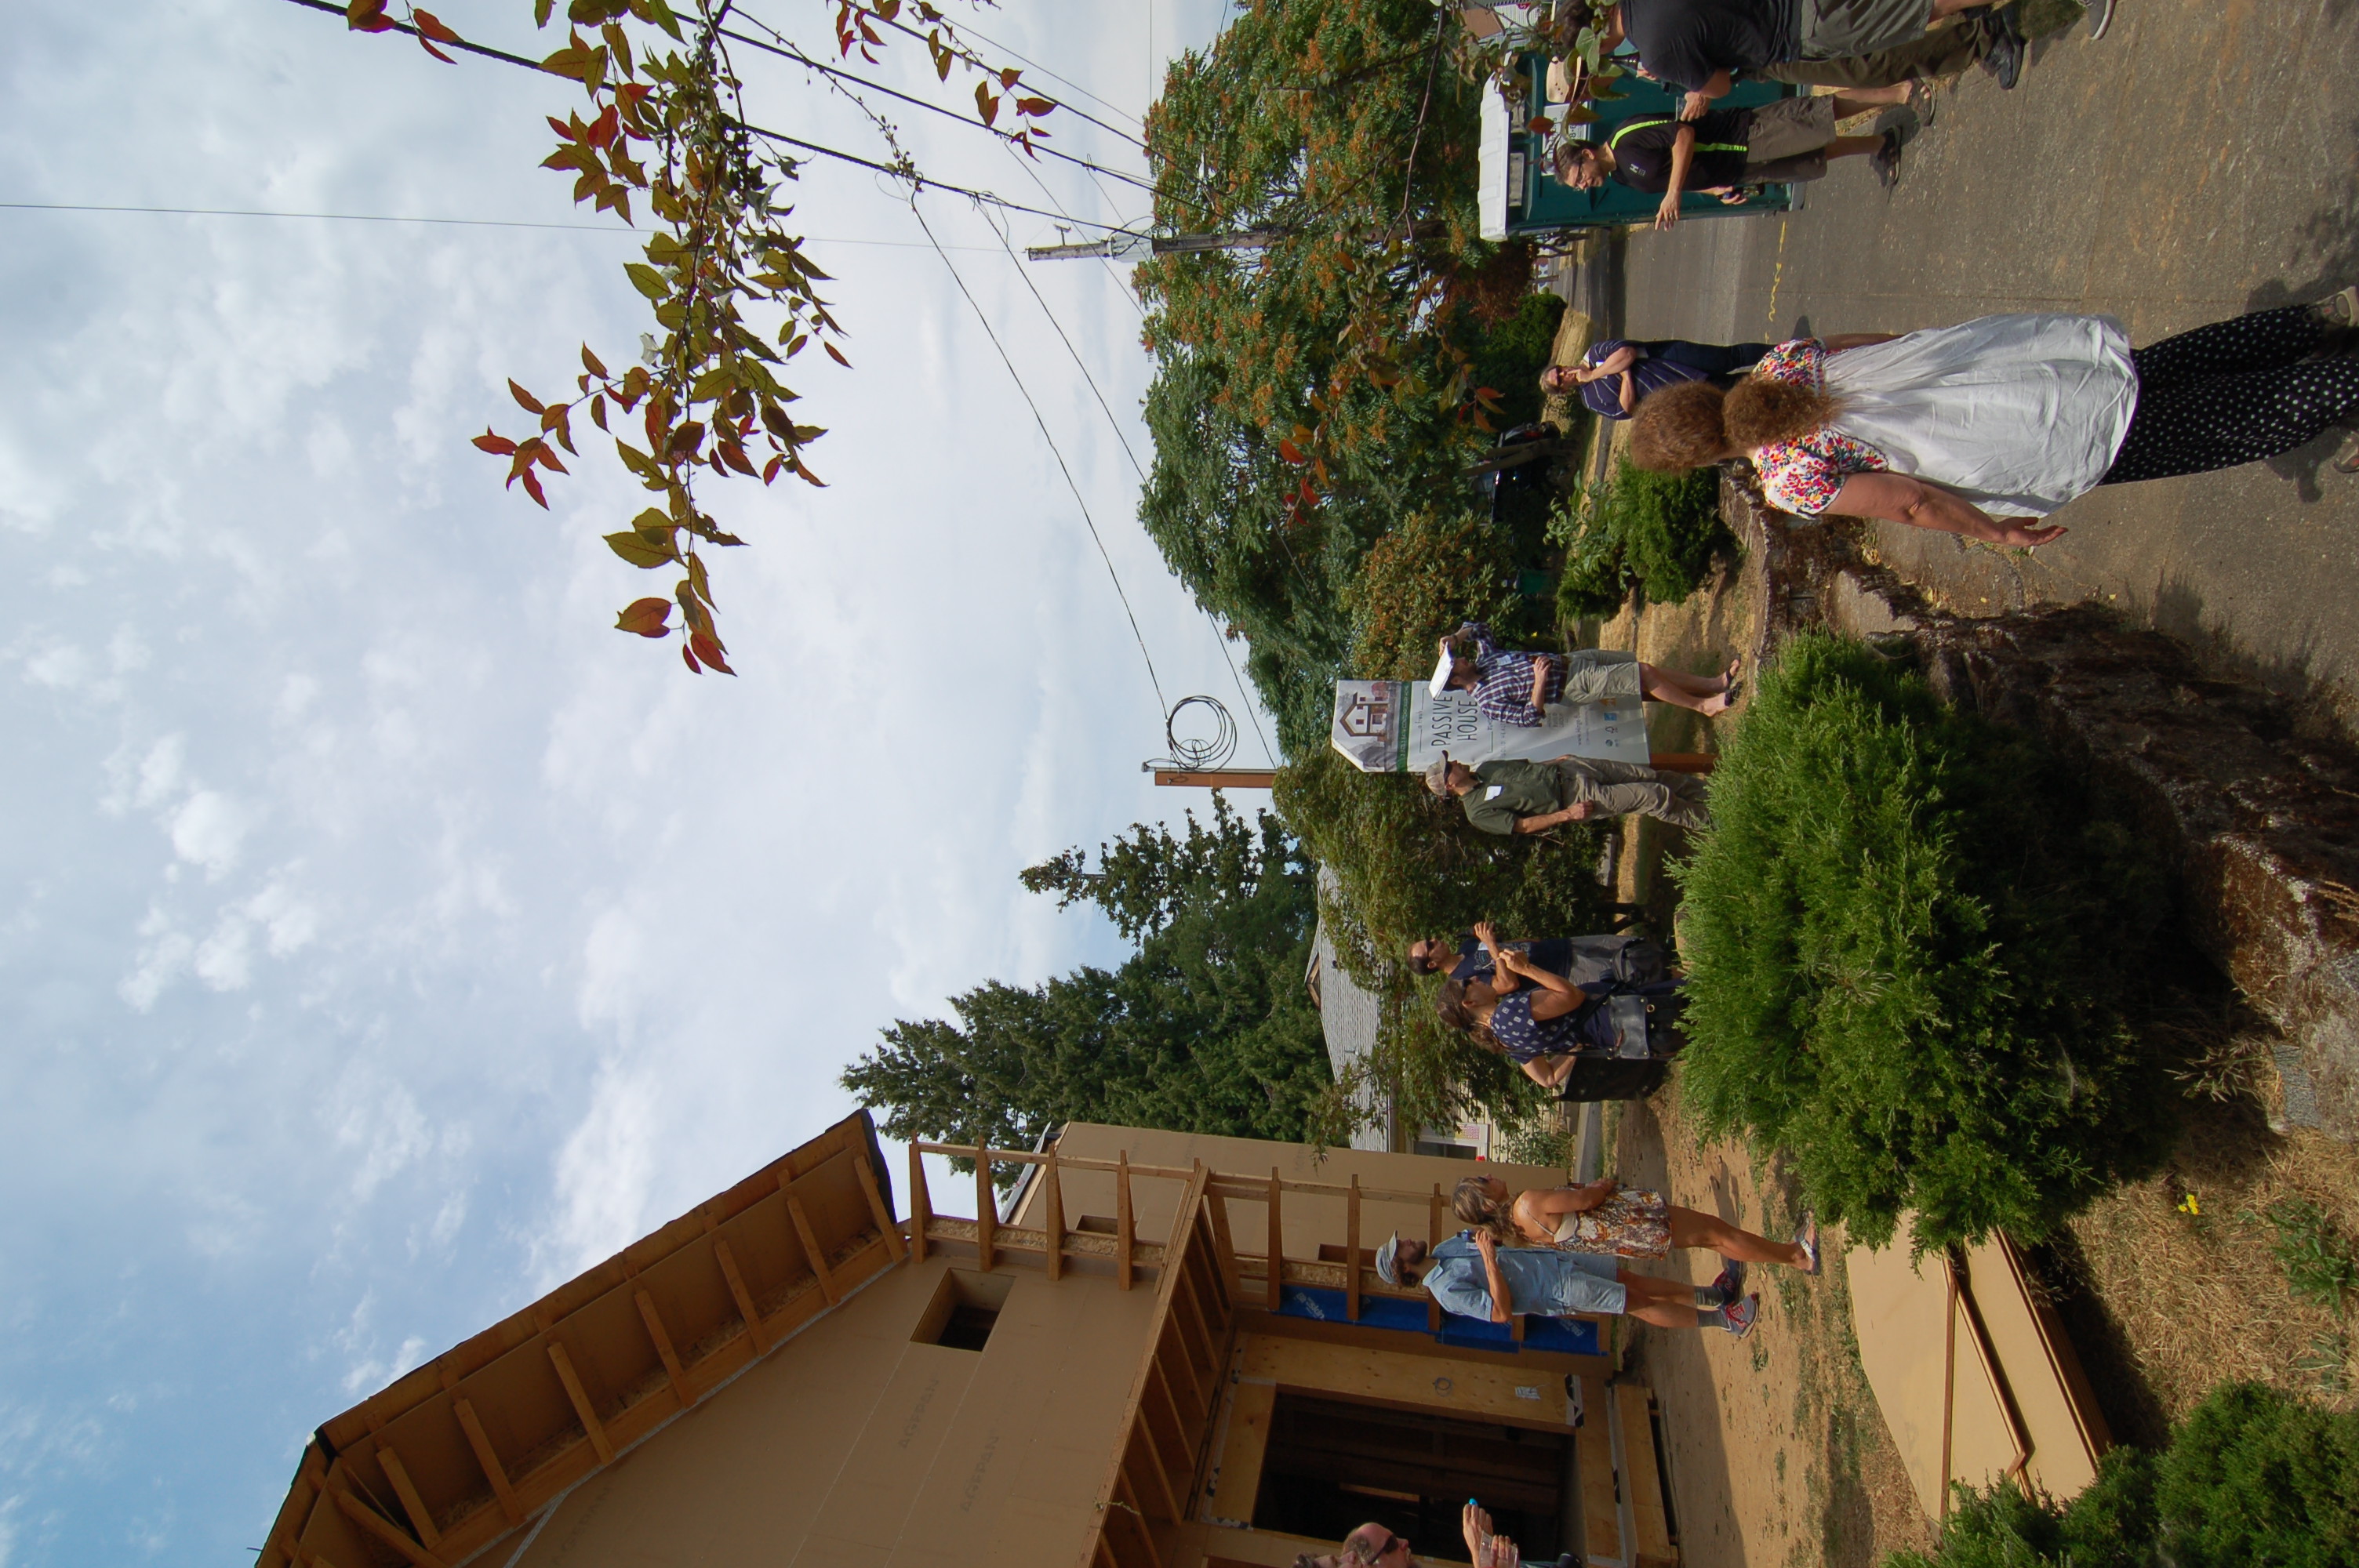
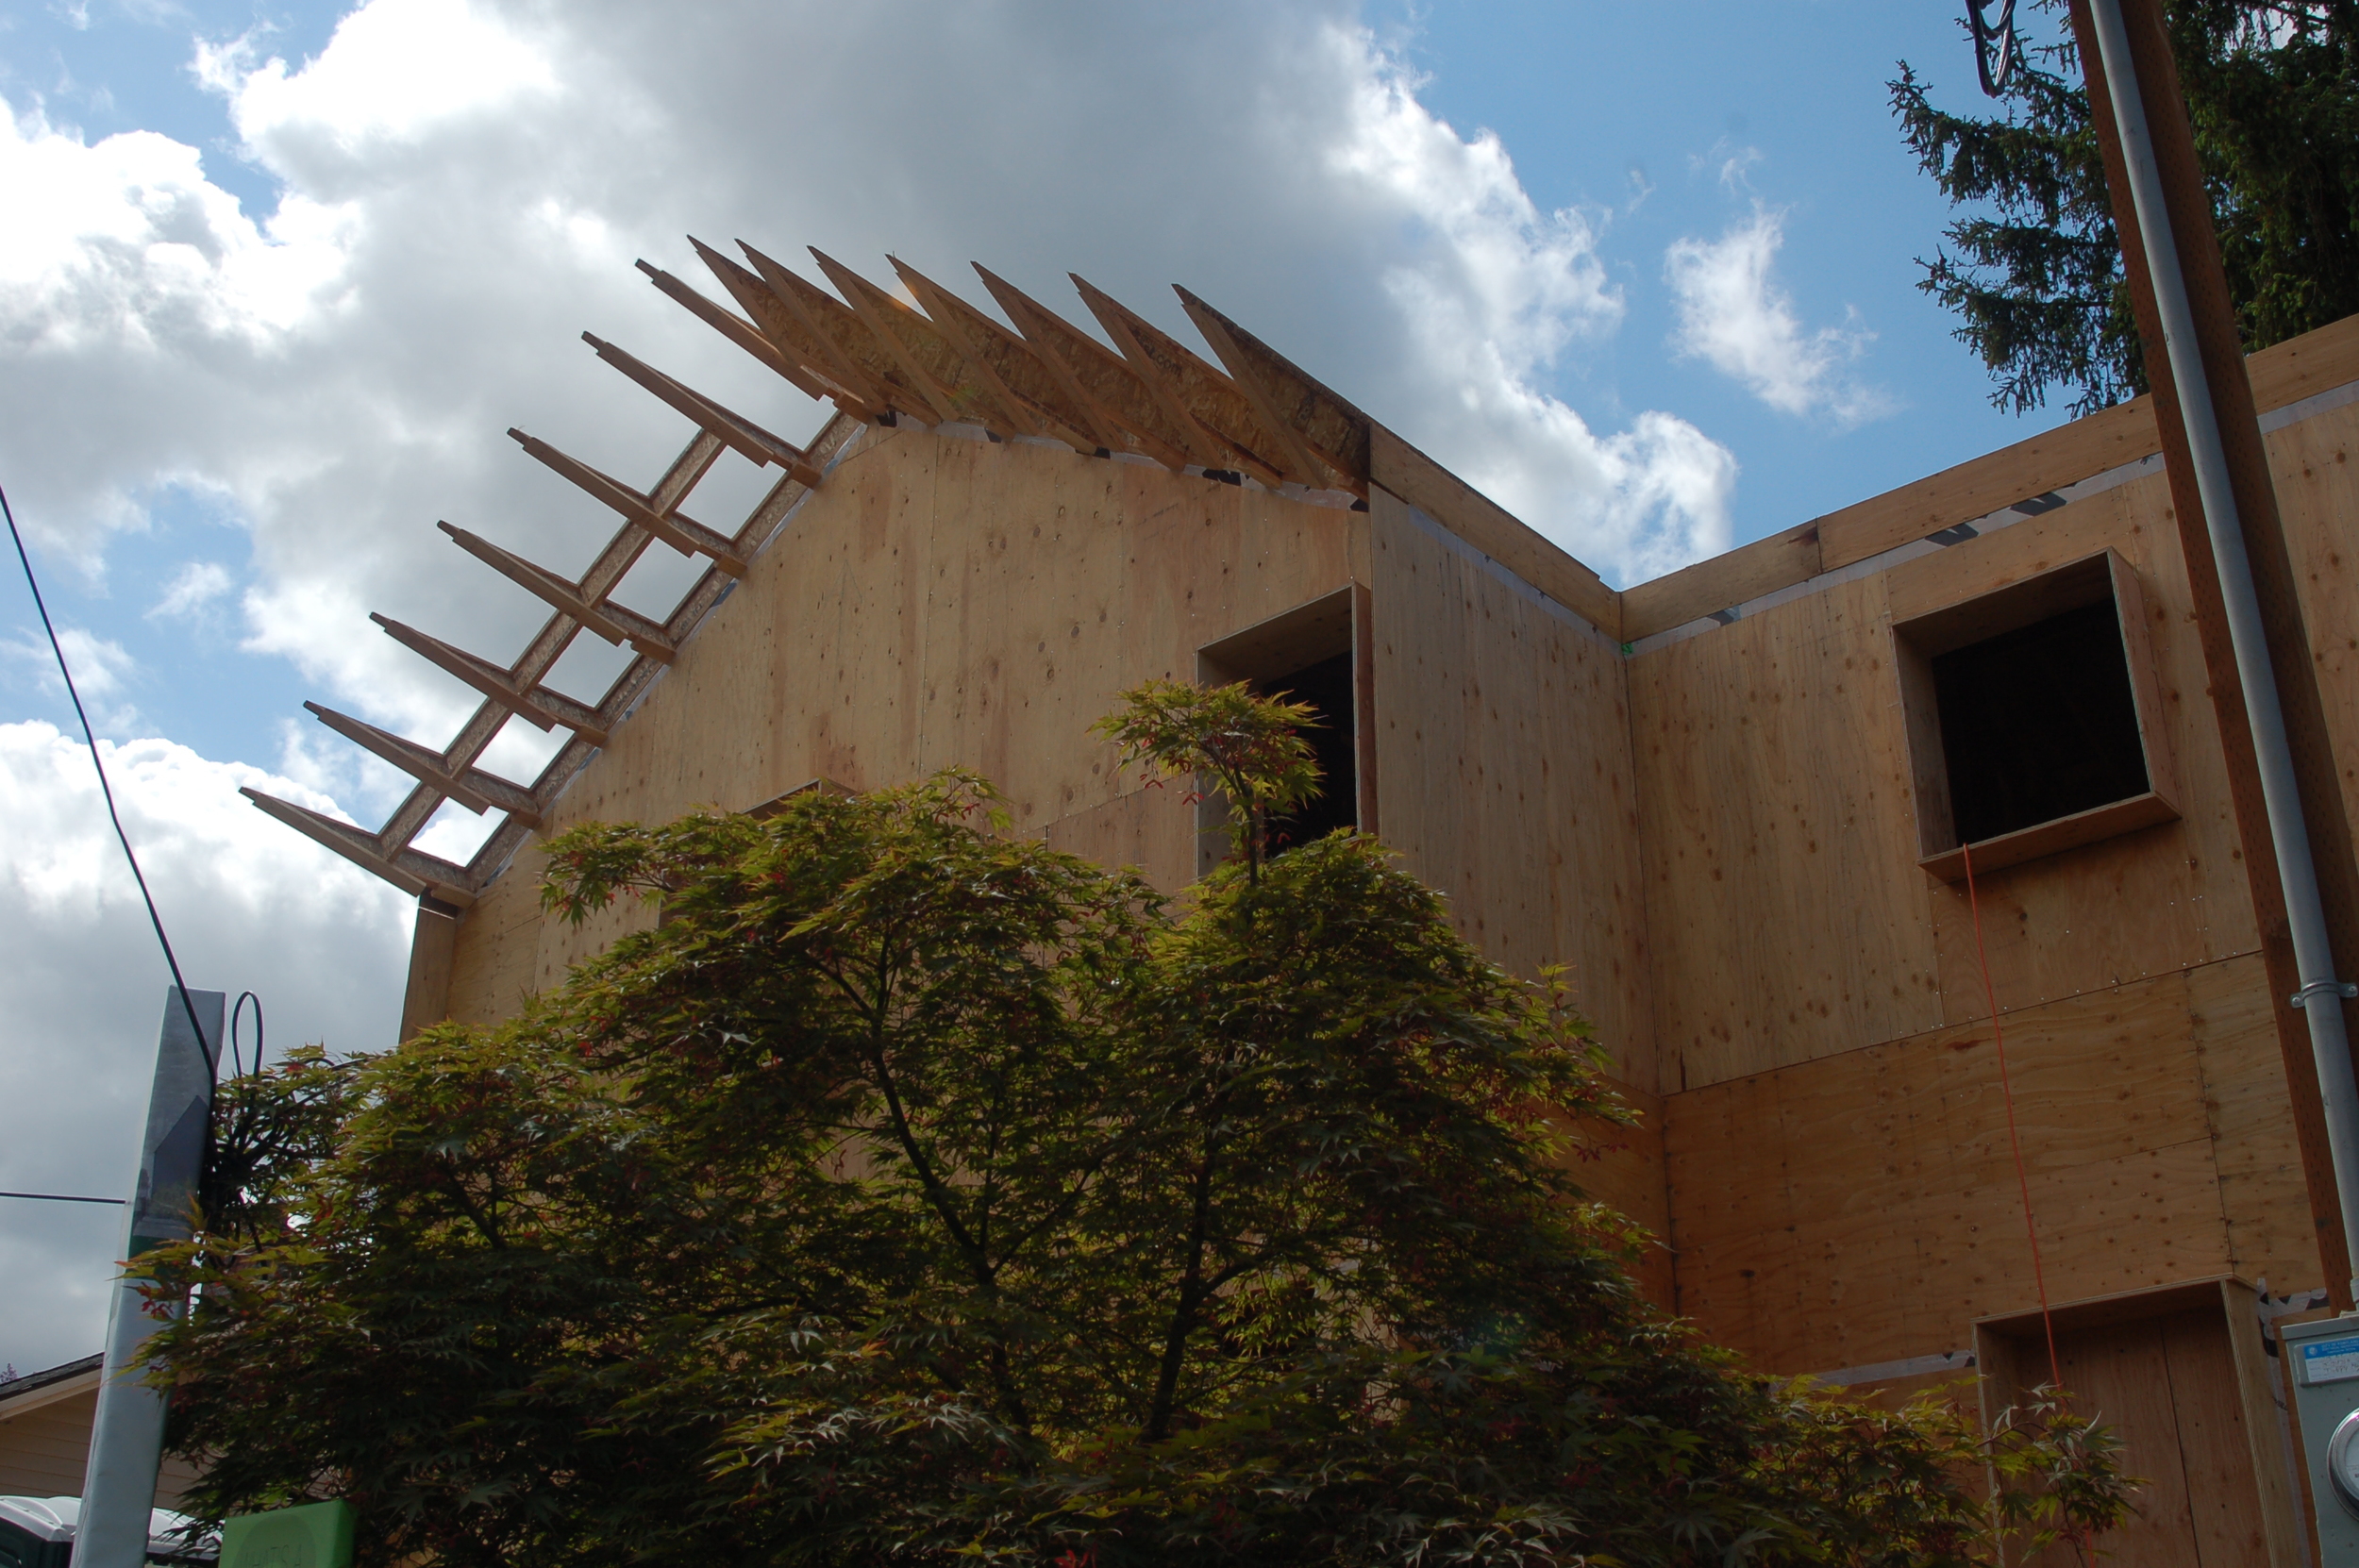
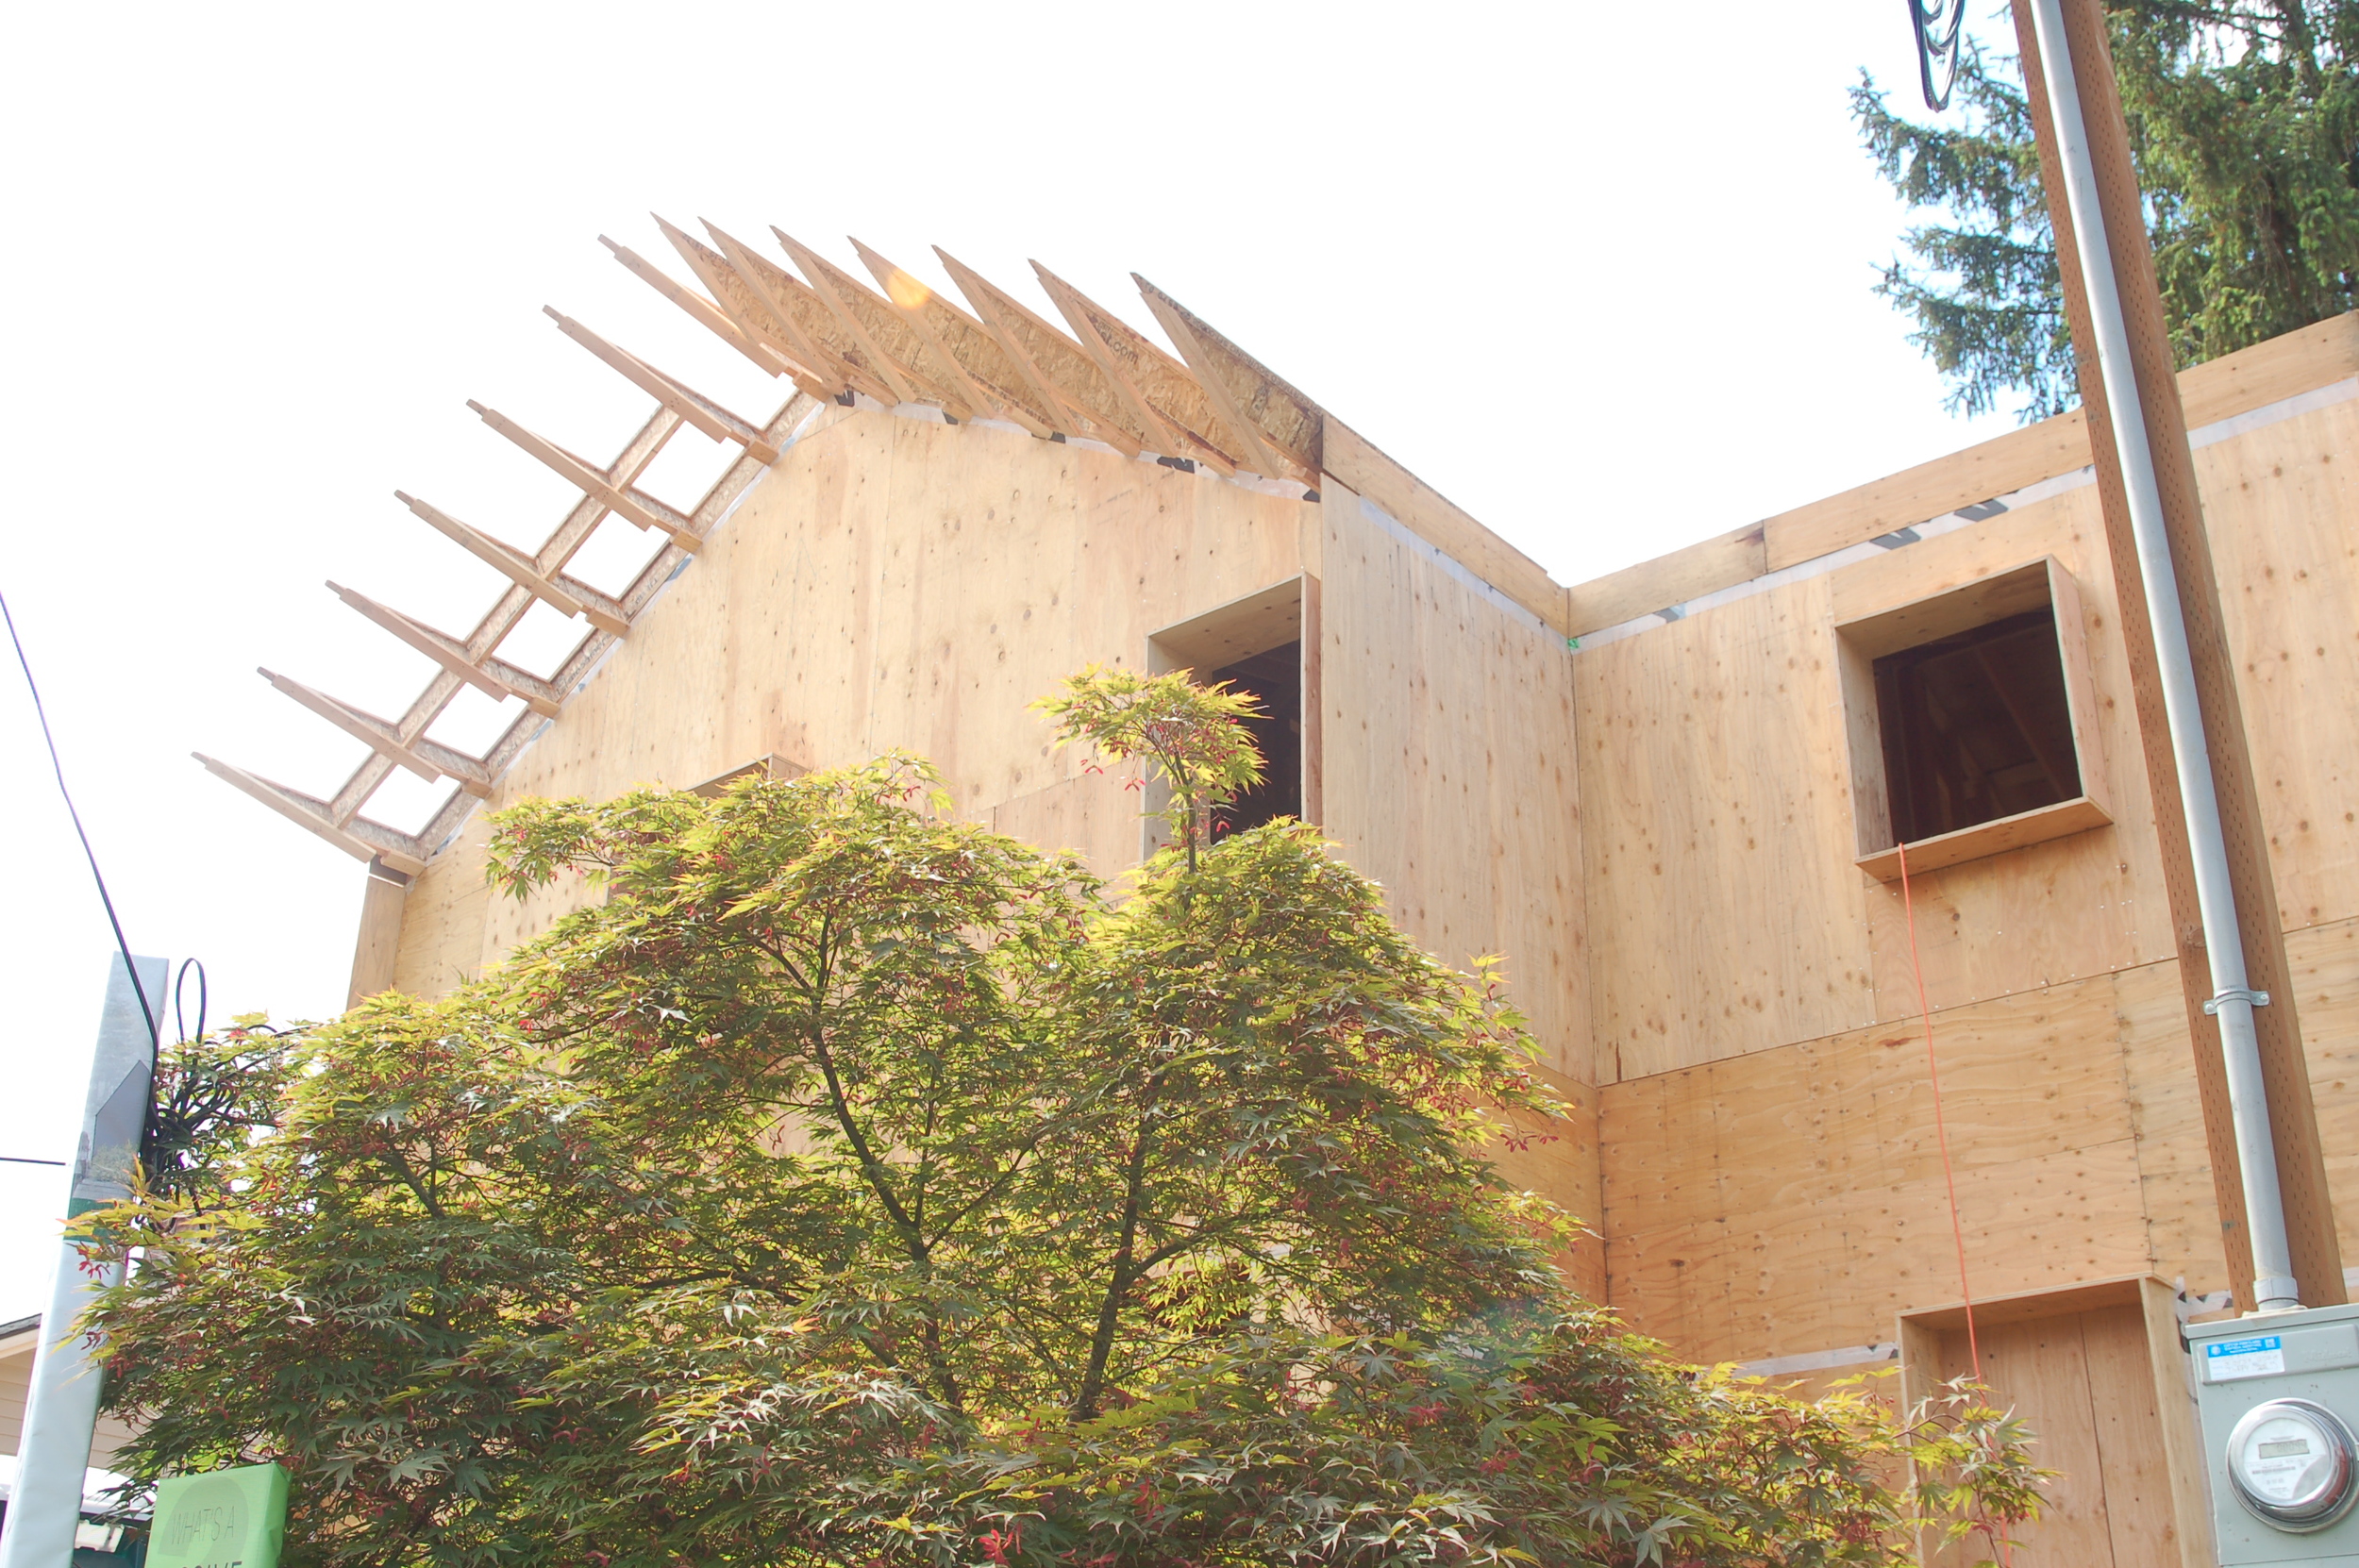
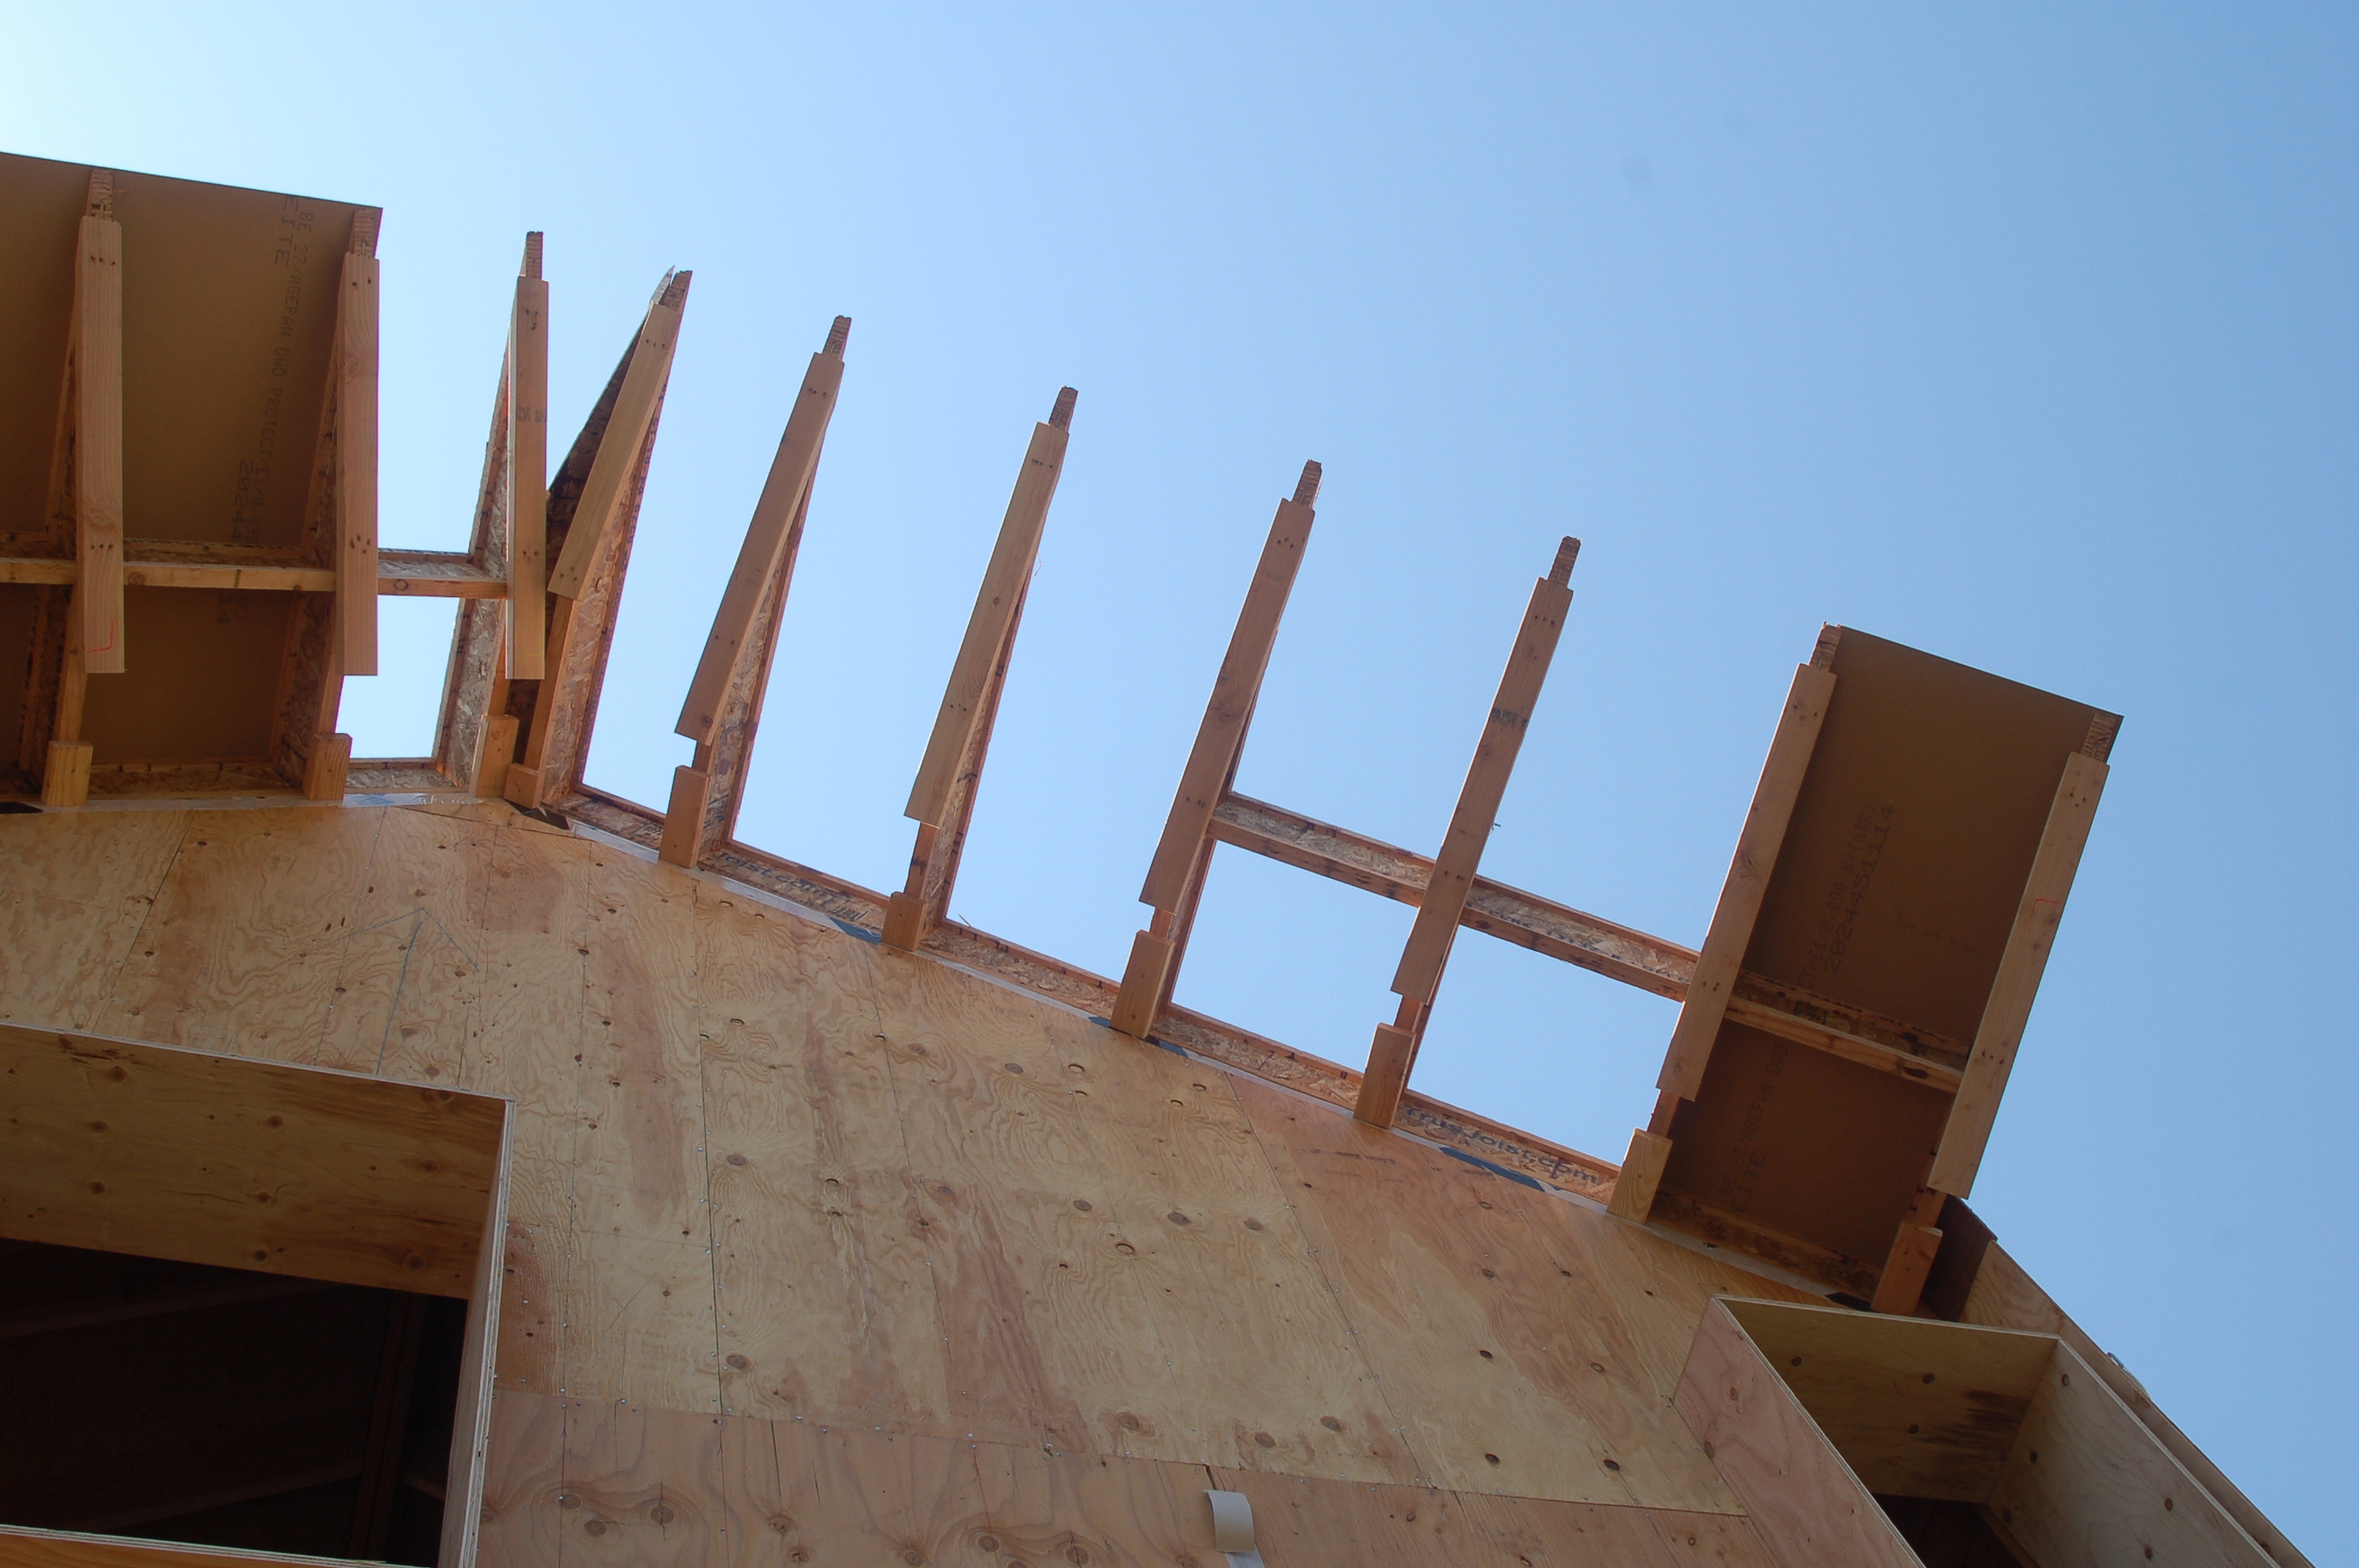
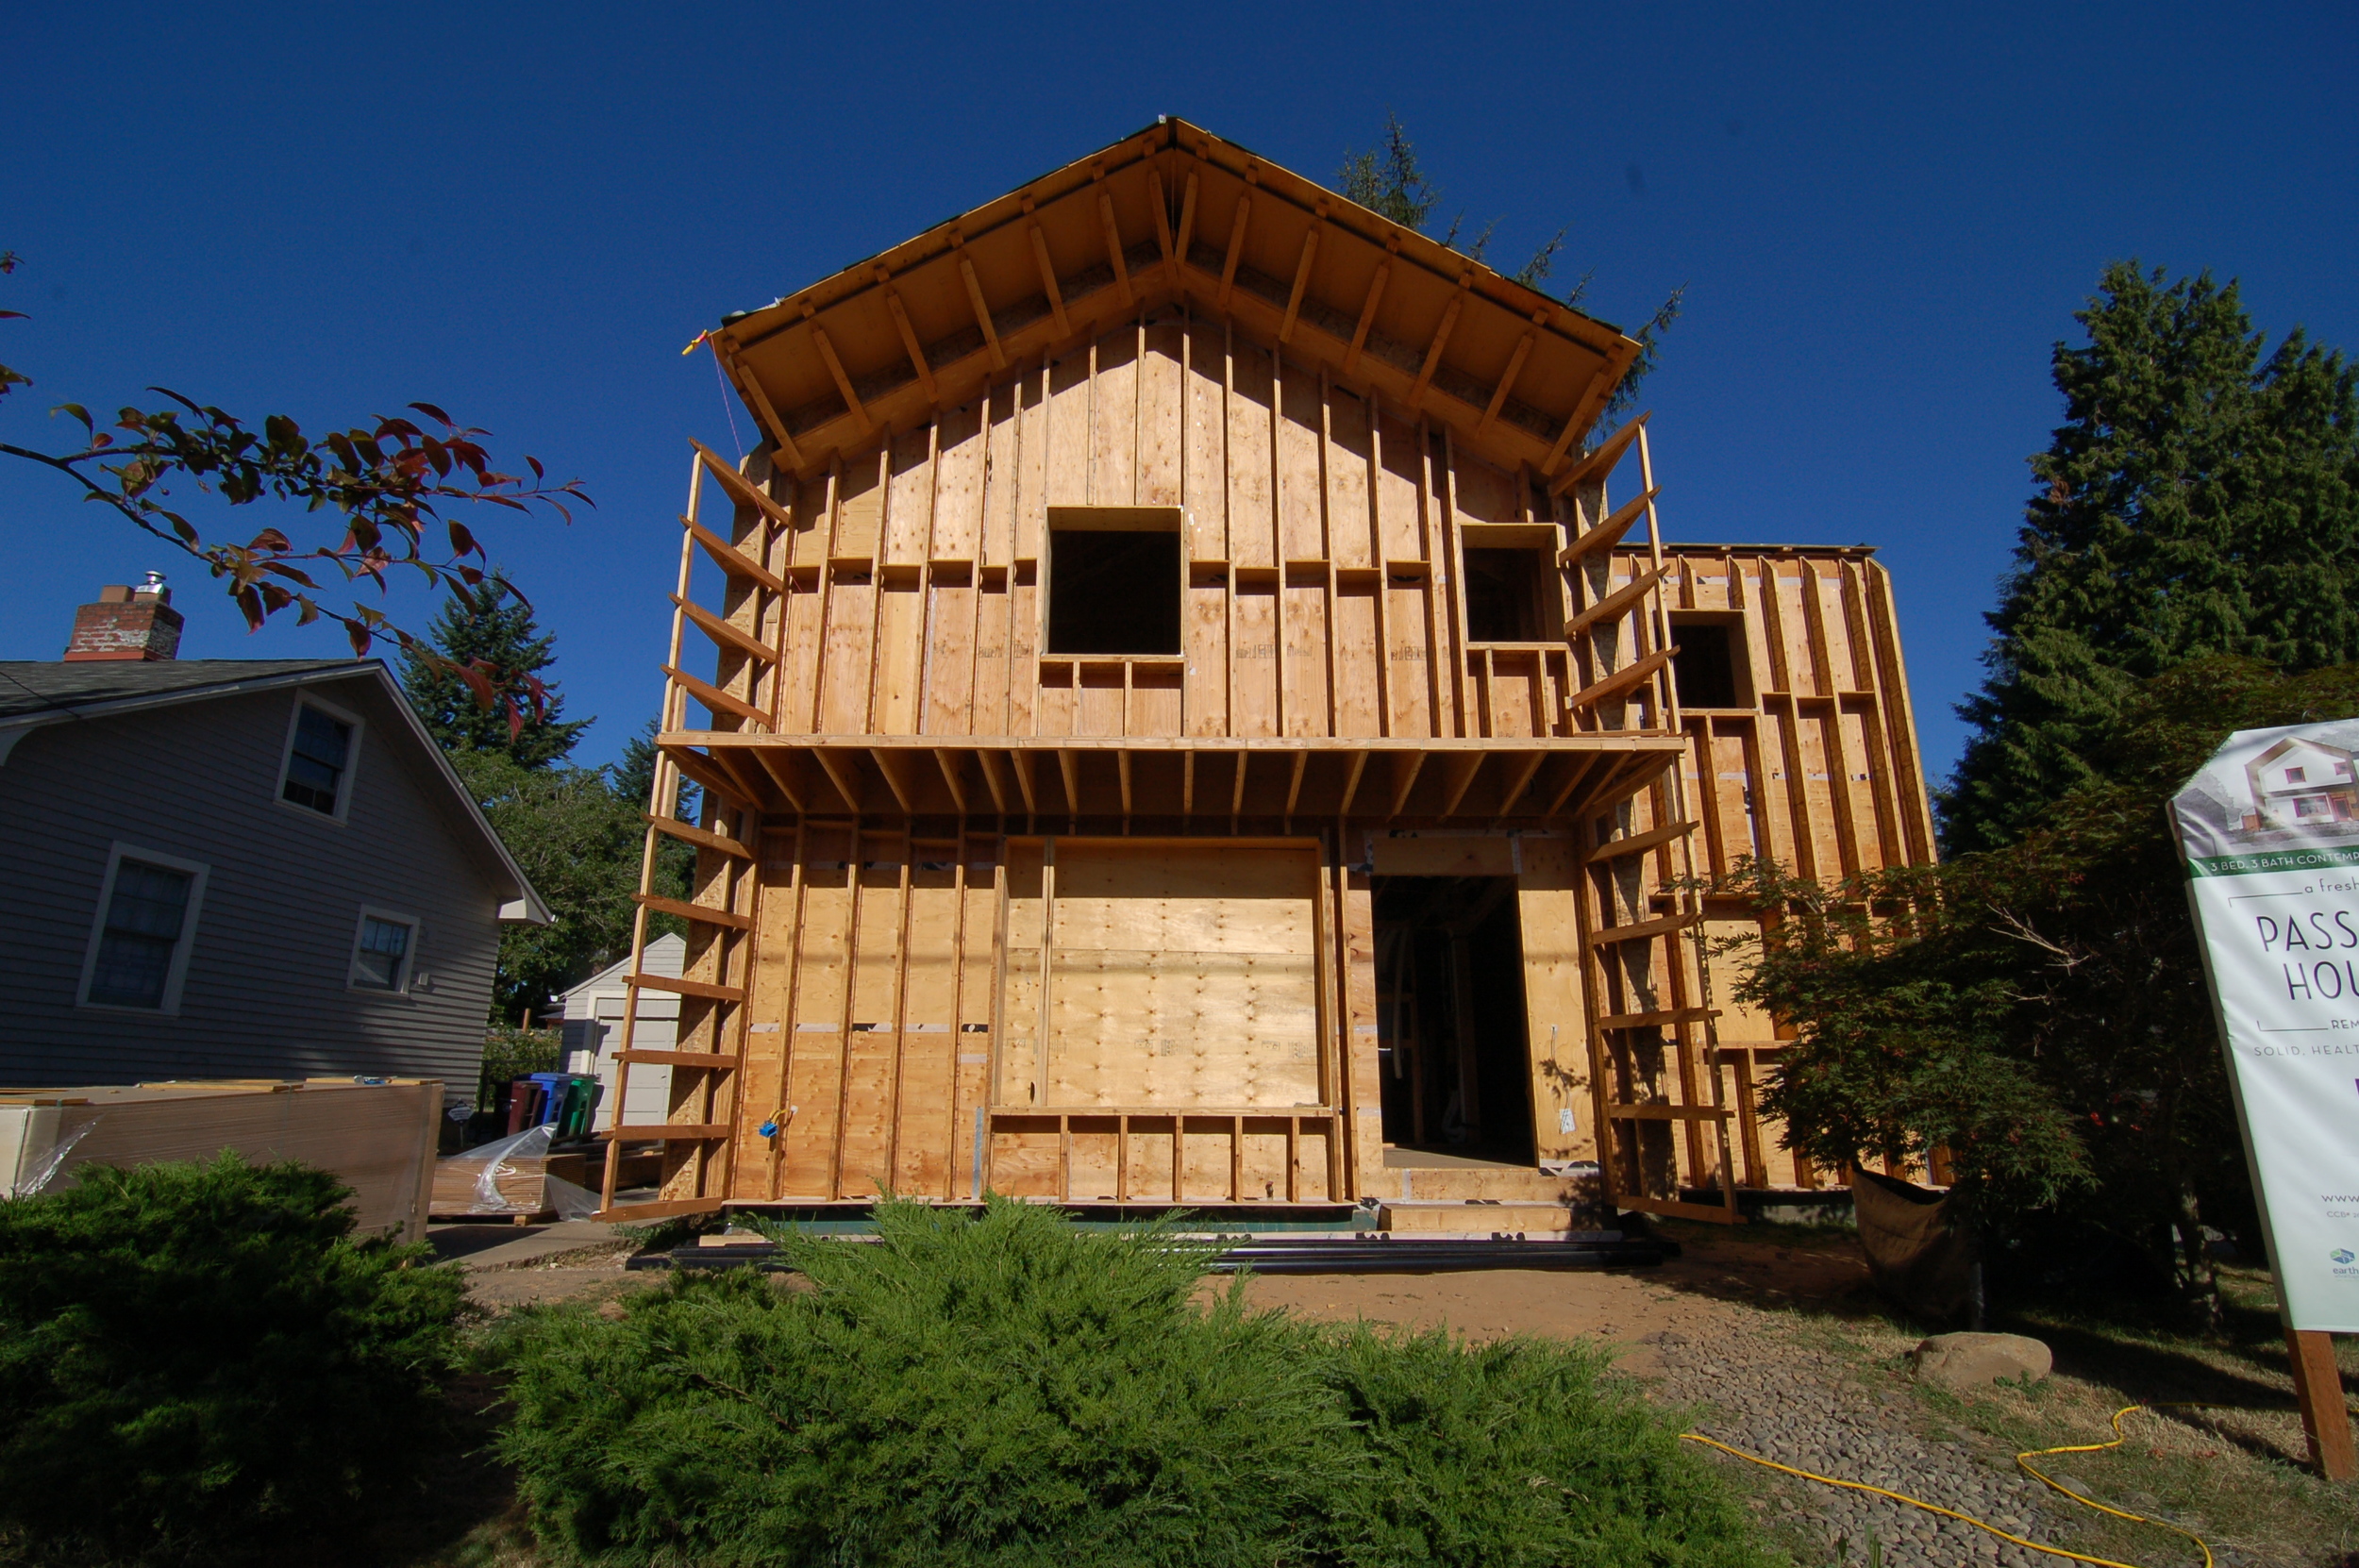
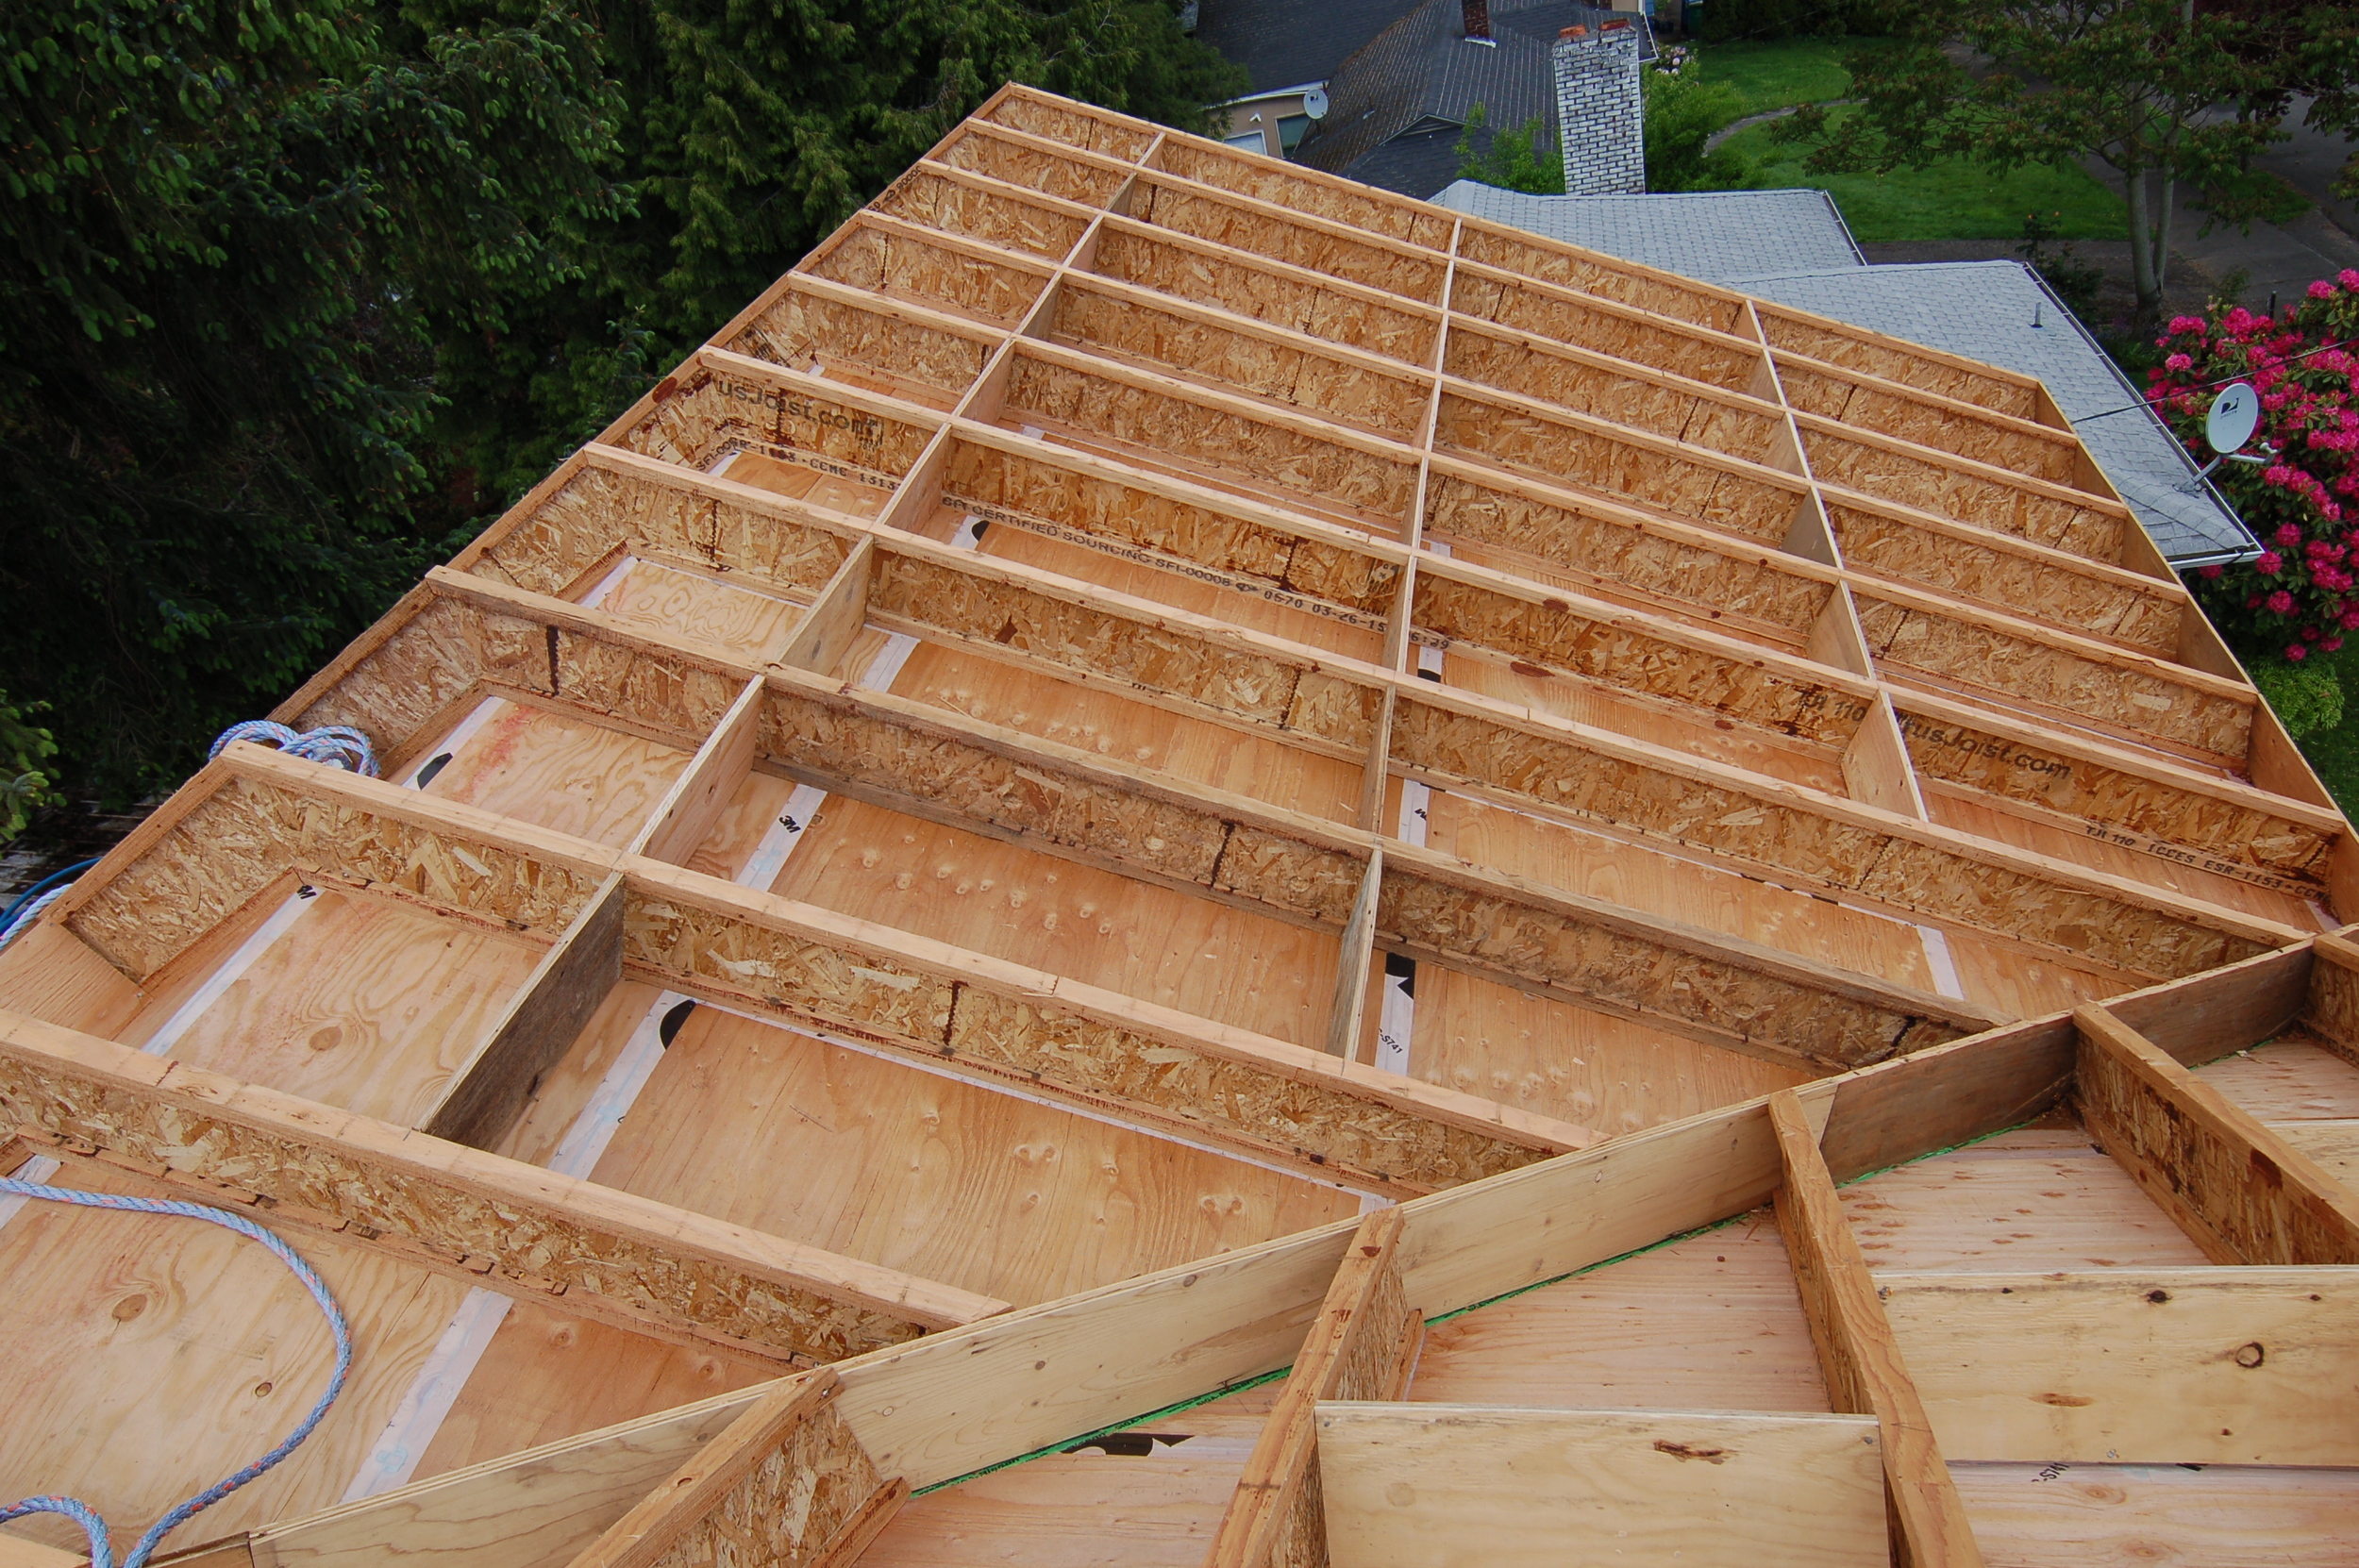
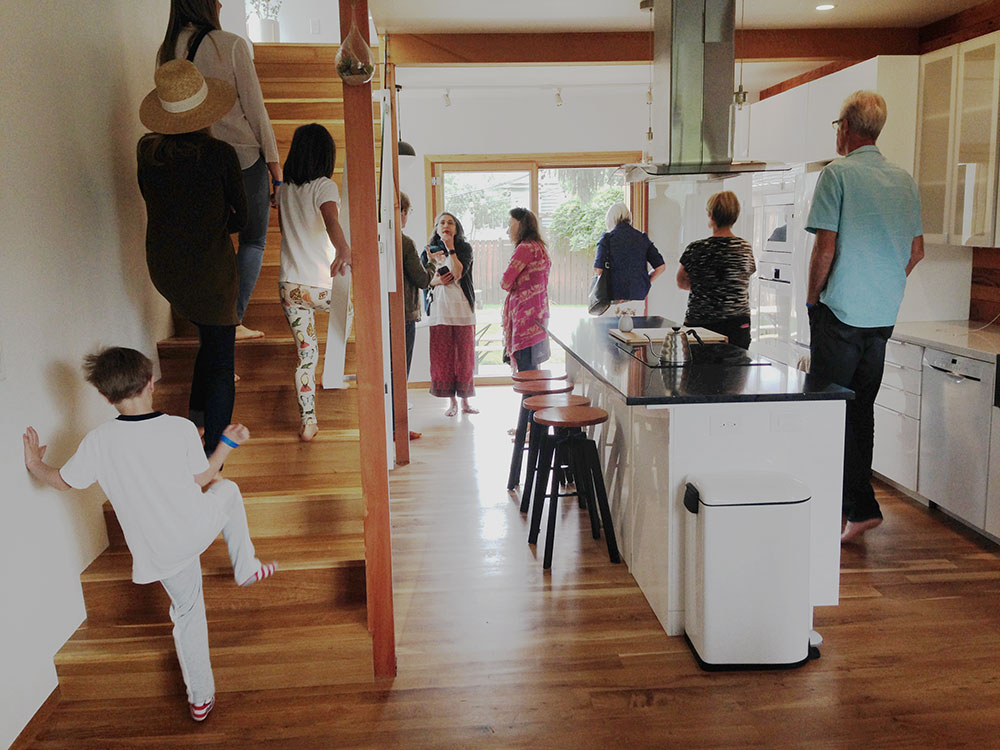
Scott: The home was inspired by the Passive House Standard for sure. Because of the somewhat restrictive placement of the windows and doors for this project, I focused a lot more attention on the daylighting than you typically would in a residential project. You can see this attention to detail in the way the home is always filled with such great daylight, even on those Portland cloudy days. Another big feature is its unusually thick walls. This is what drove the overhang in the front and gives this home its distinct look.
HBG: What is the current or expected energy usage of the home? And will any of it be offset by solar?
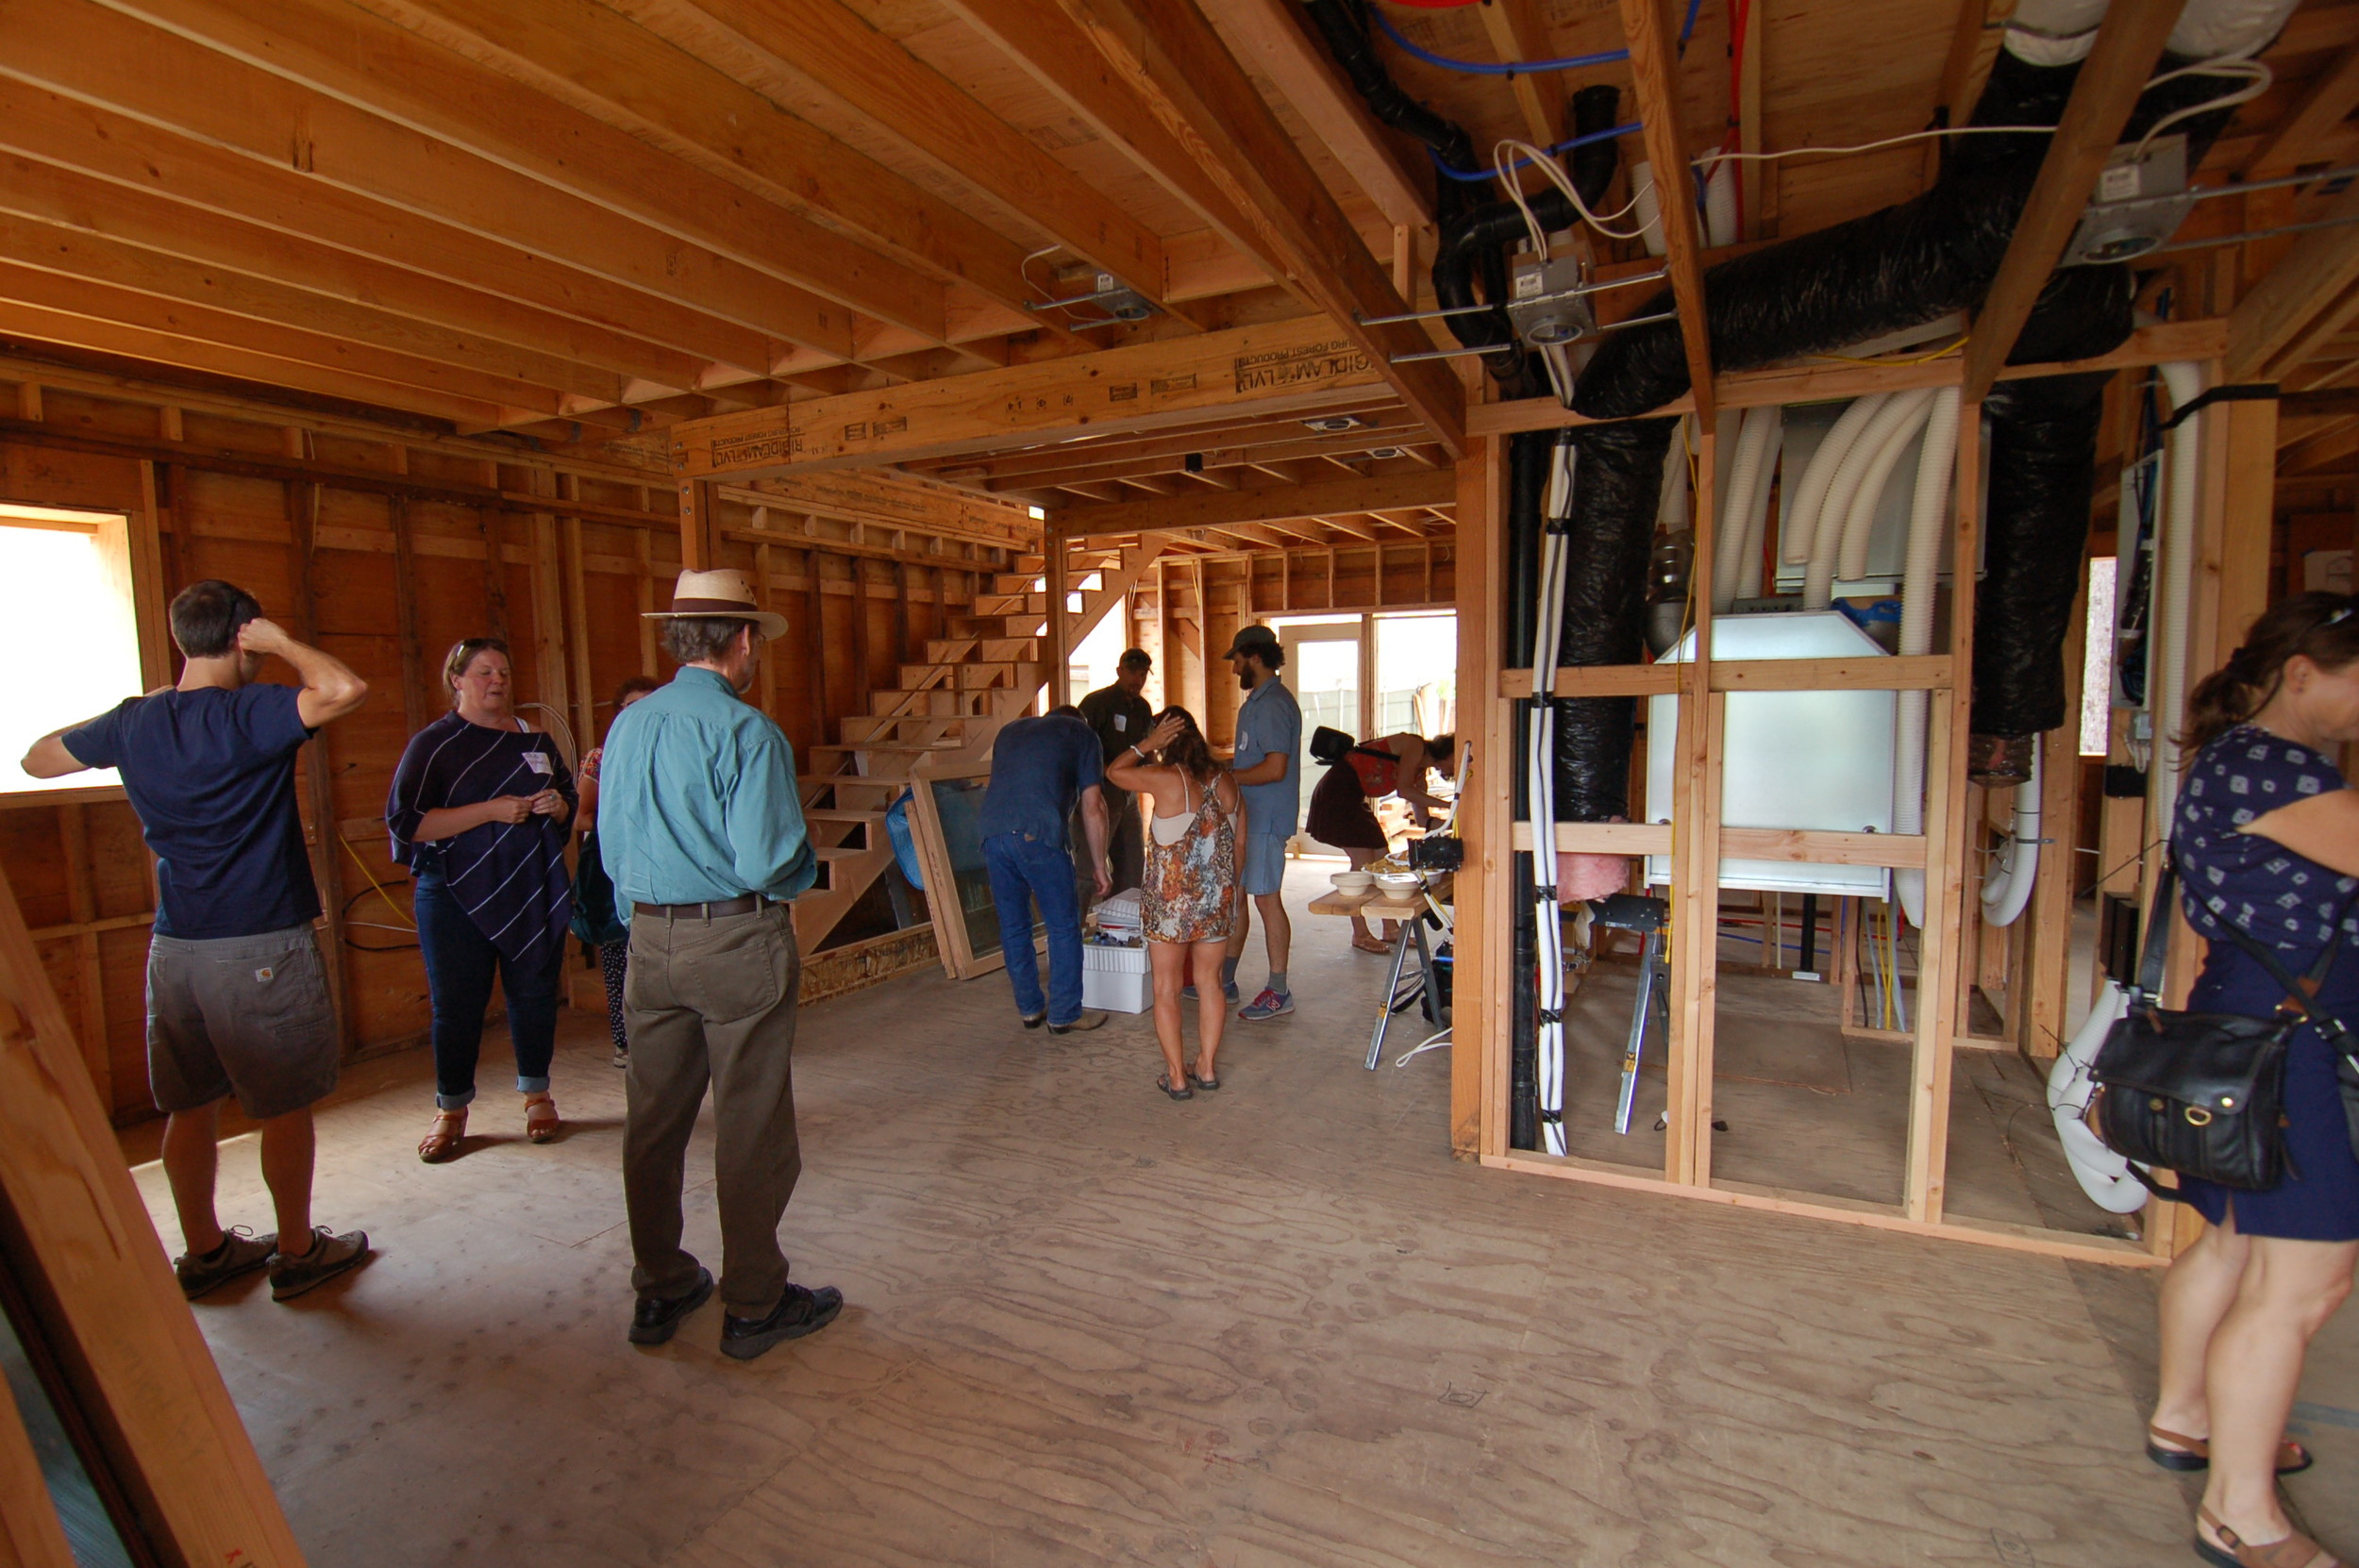
Scott: We built the home to be “solar ready” and the homeowners are talking about installing an array soon. I certainly designed it to have a large (7.5kWh) array by setting the south-facing roof at the proper angle to get the best solar yield possible. I’m not certain exactly what their energy use is, but I know it is significantly lower than a typical code built home and up to 90 percent more efficient than the 1942 home it replaced. Though this home will not use much energy to heat and cool itself because of all the Passive House techniques we built into it, other energy usage really comes down to occupant behavior. Turning off lights and equipment when not in use adds up to substantial savings over time—you don’t have to own a Passive House to reap those kinds of rewards. The homeowners also talked about other rewards of living in a home that is so well built like the level of quietness due to the extra insulation and super robust windows and doors. This along with the resiliency of the home and the piece of mind of knowing that they could ‘float’ without heat for several days if they needed to are among the priceless benefits of this type of building. These health, comfort and energy-saving benefits are certainly due to the high Passive House Standard we designed and built to.
HBG: What comments or observations did you hear from guests during the home tour?
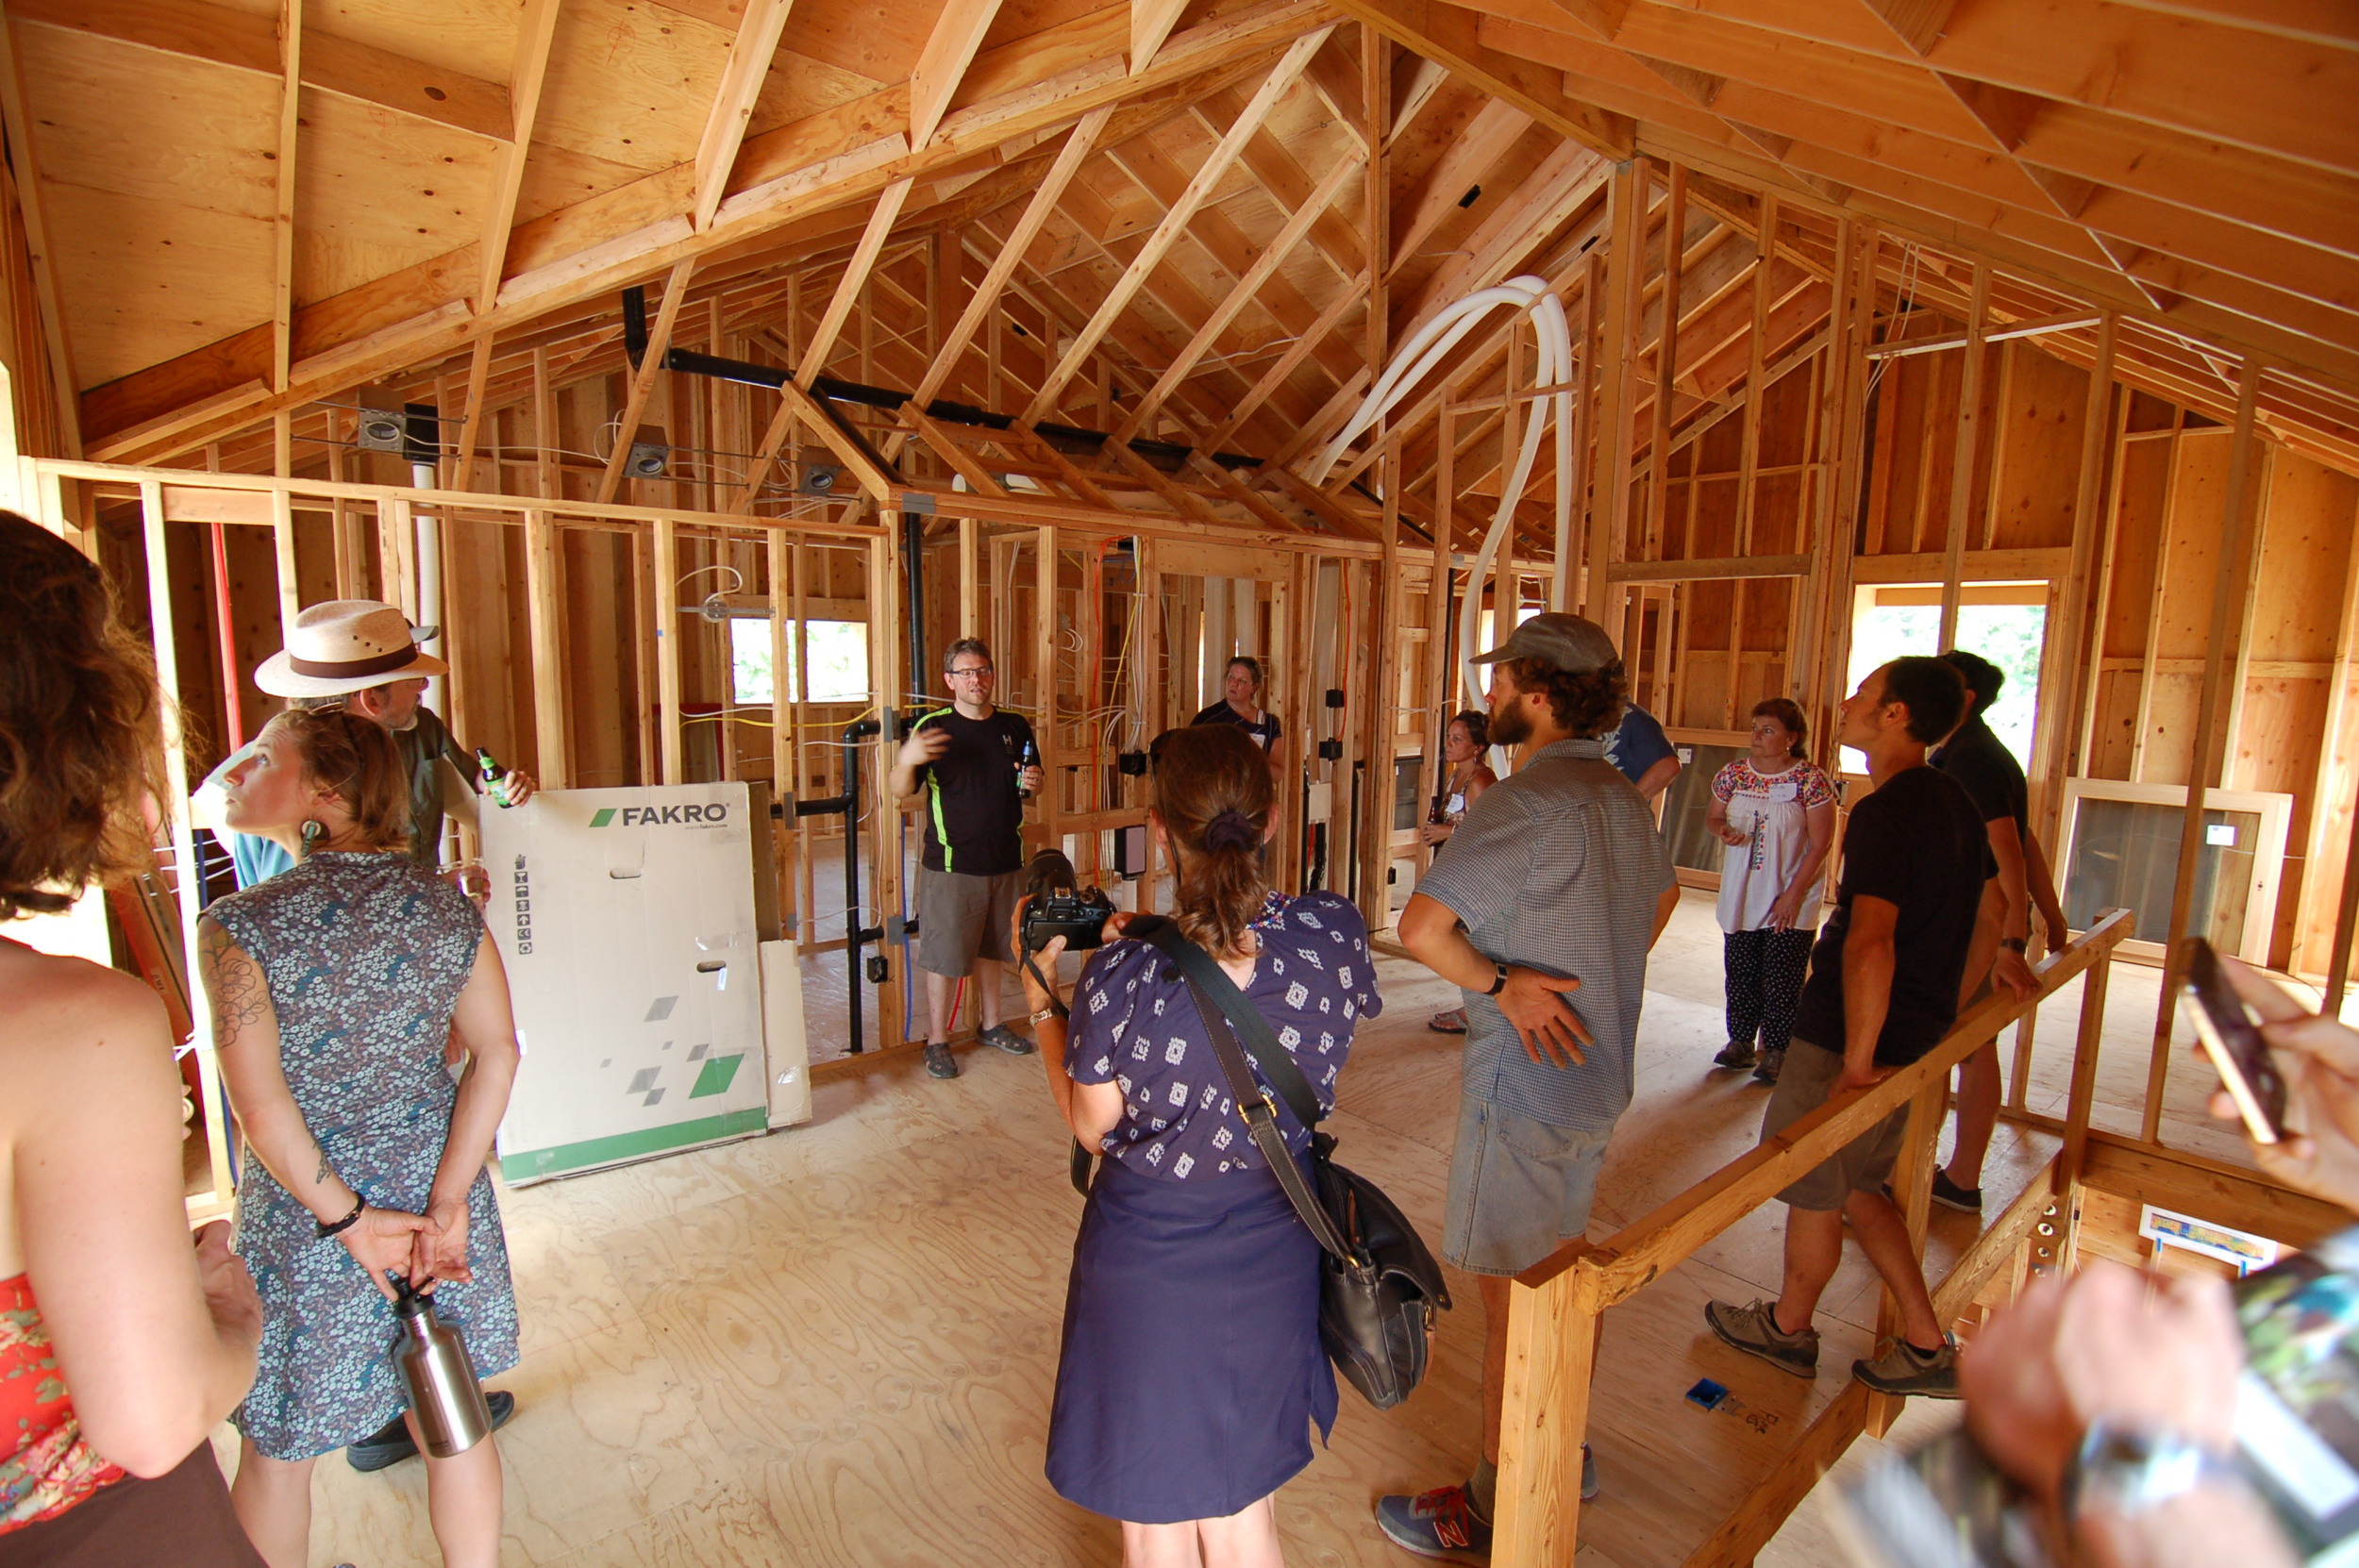
Scott: The biggest thing that folks take away from this home is the amount of daylight you get without having to have floor to ceiling windows. So many homes have way too much glazing and this not only makes the home less comfortable by literally creating cold drafts in the home, but it also lends to a feeling of insecurity. Maybe less to worry about in rural locations, but if you look around city neighborhoods and count how many window coverings are never, ever opened, you will see what we mean.
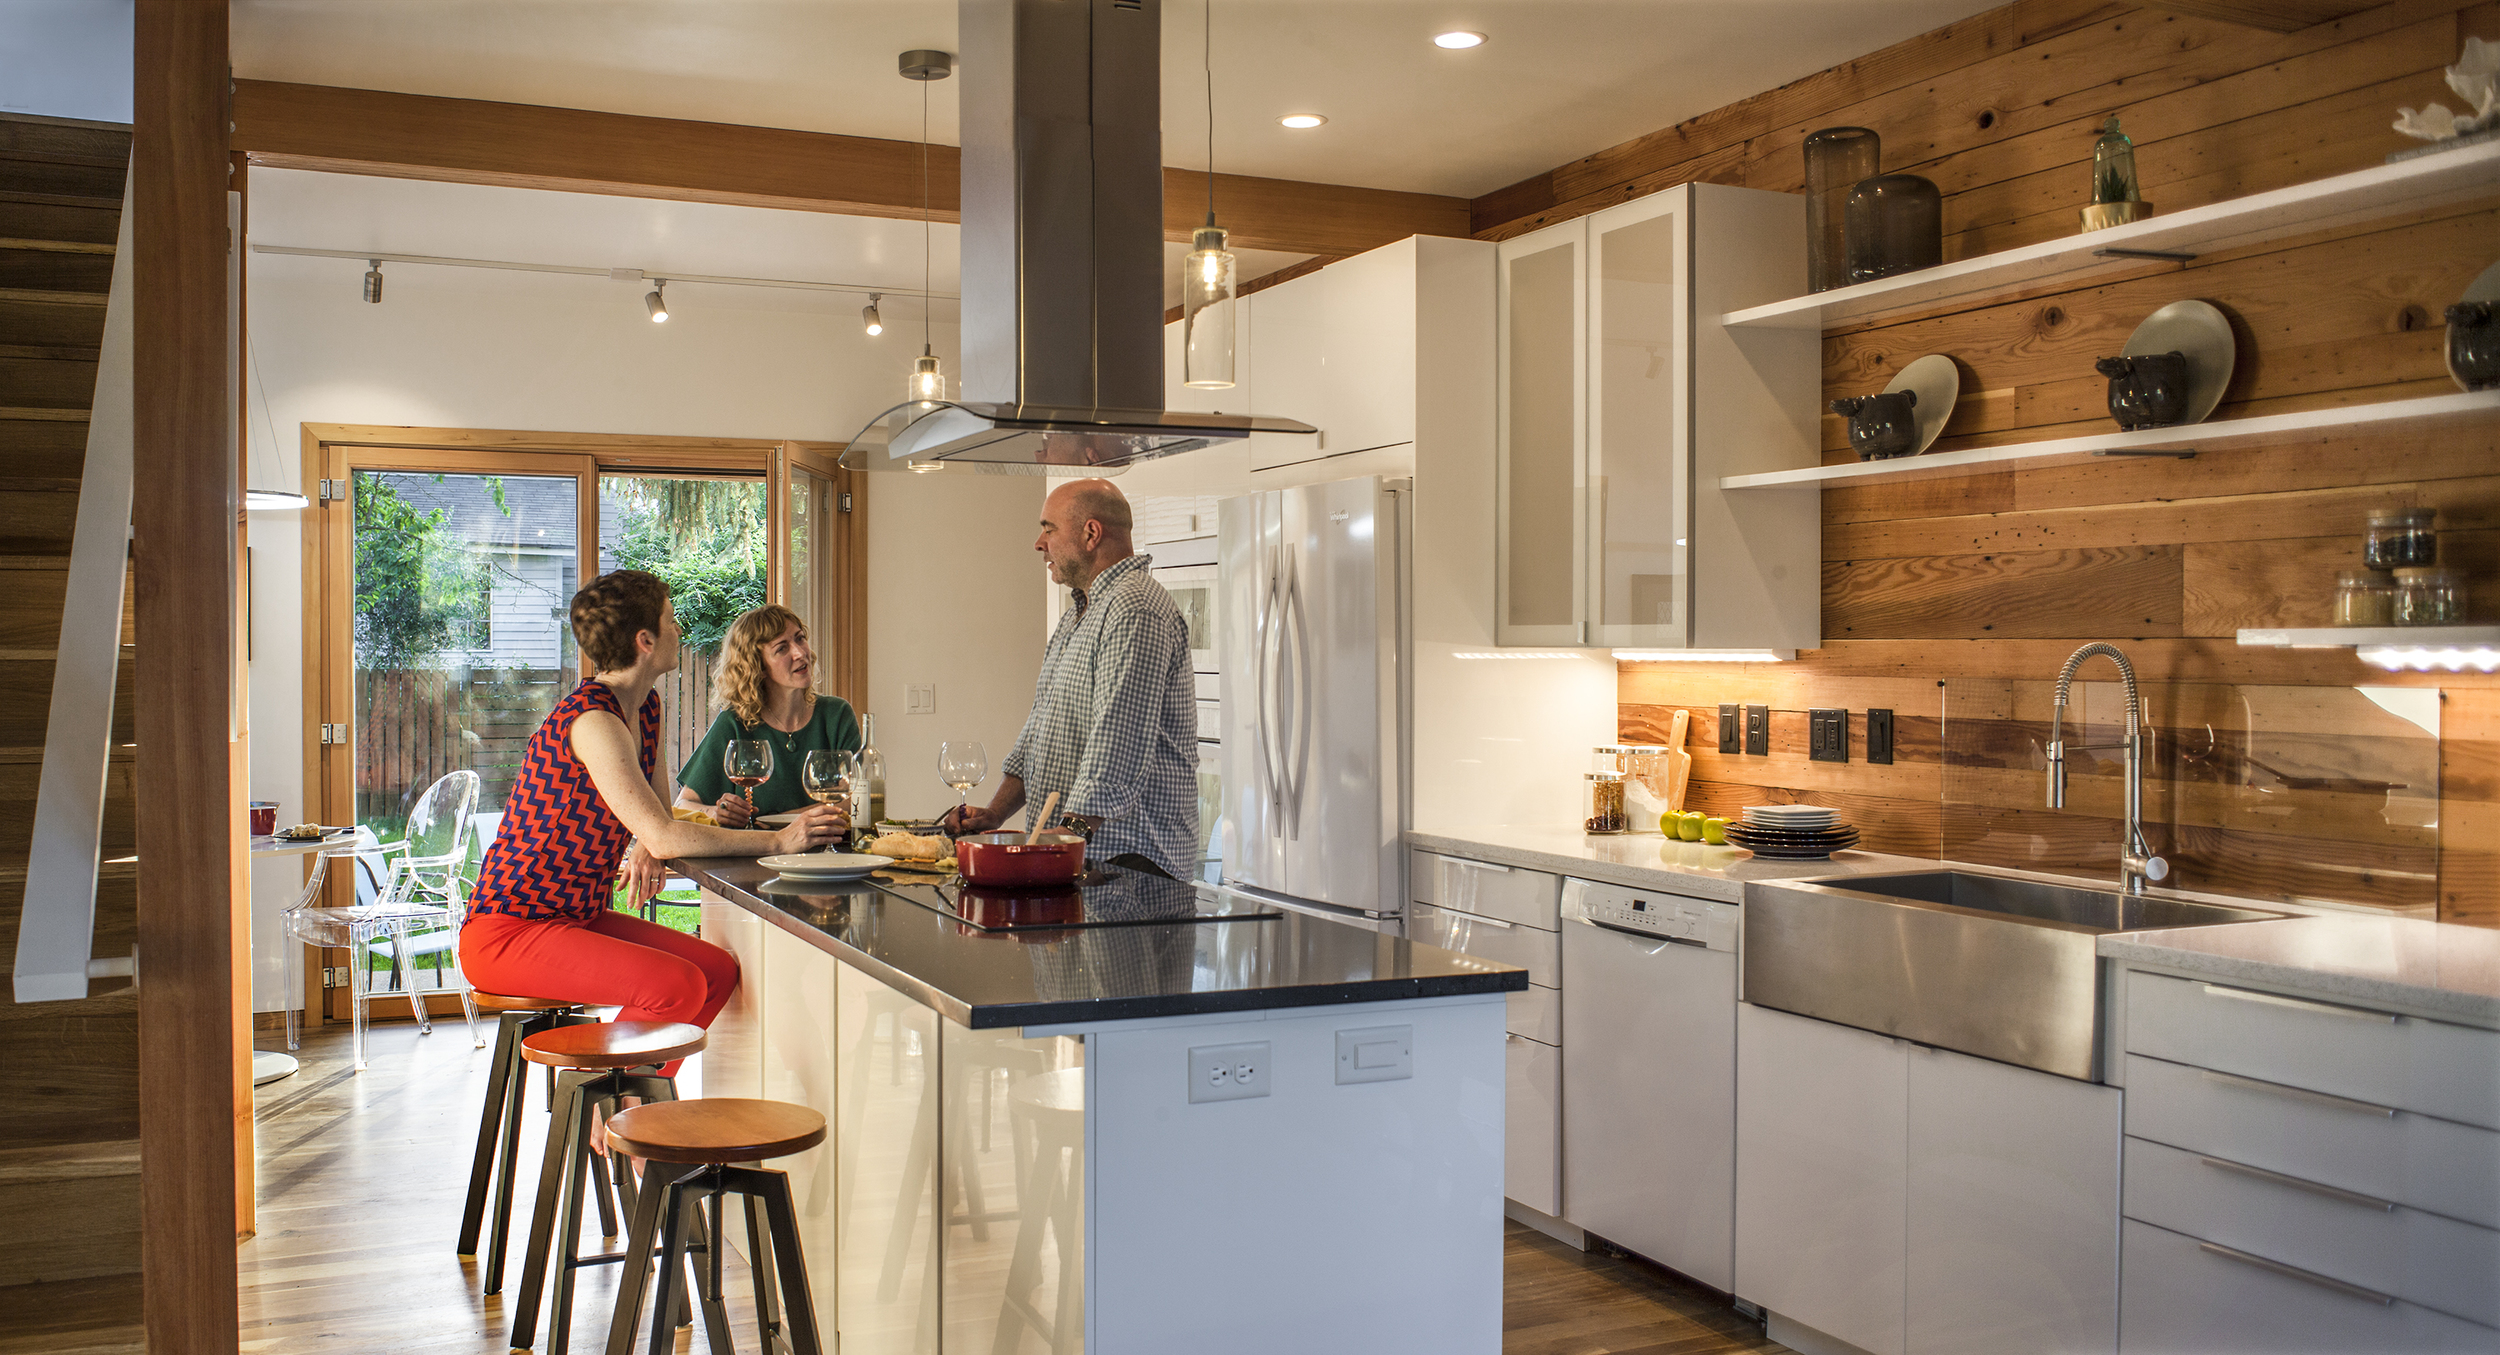
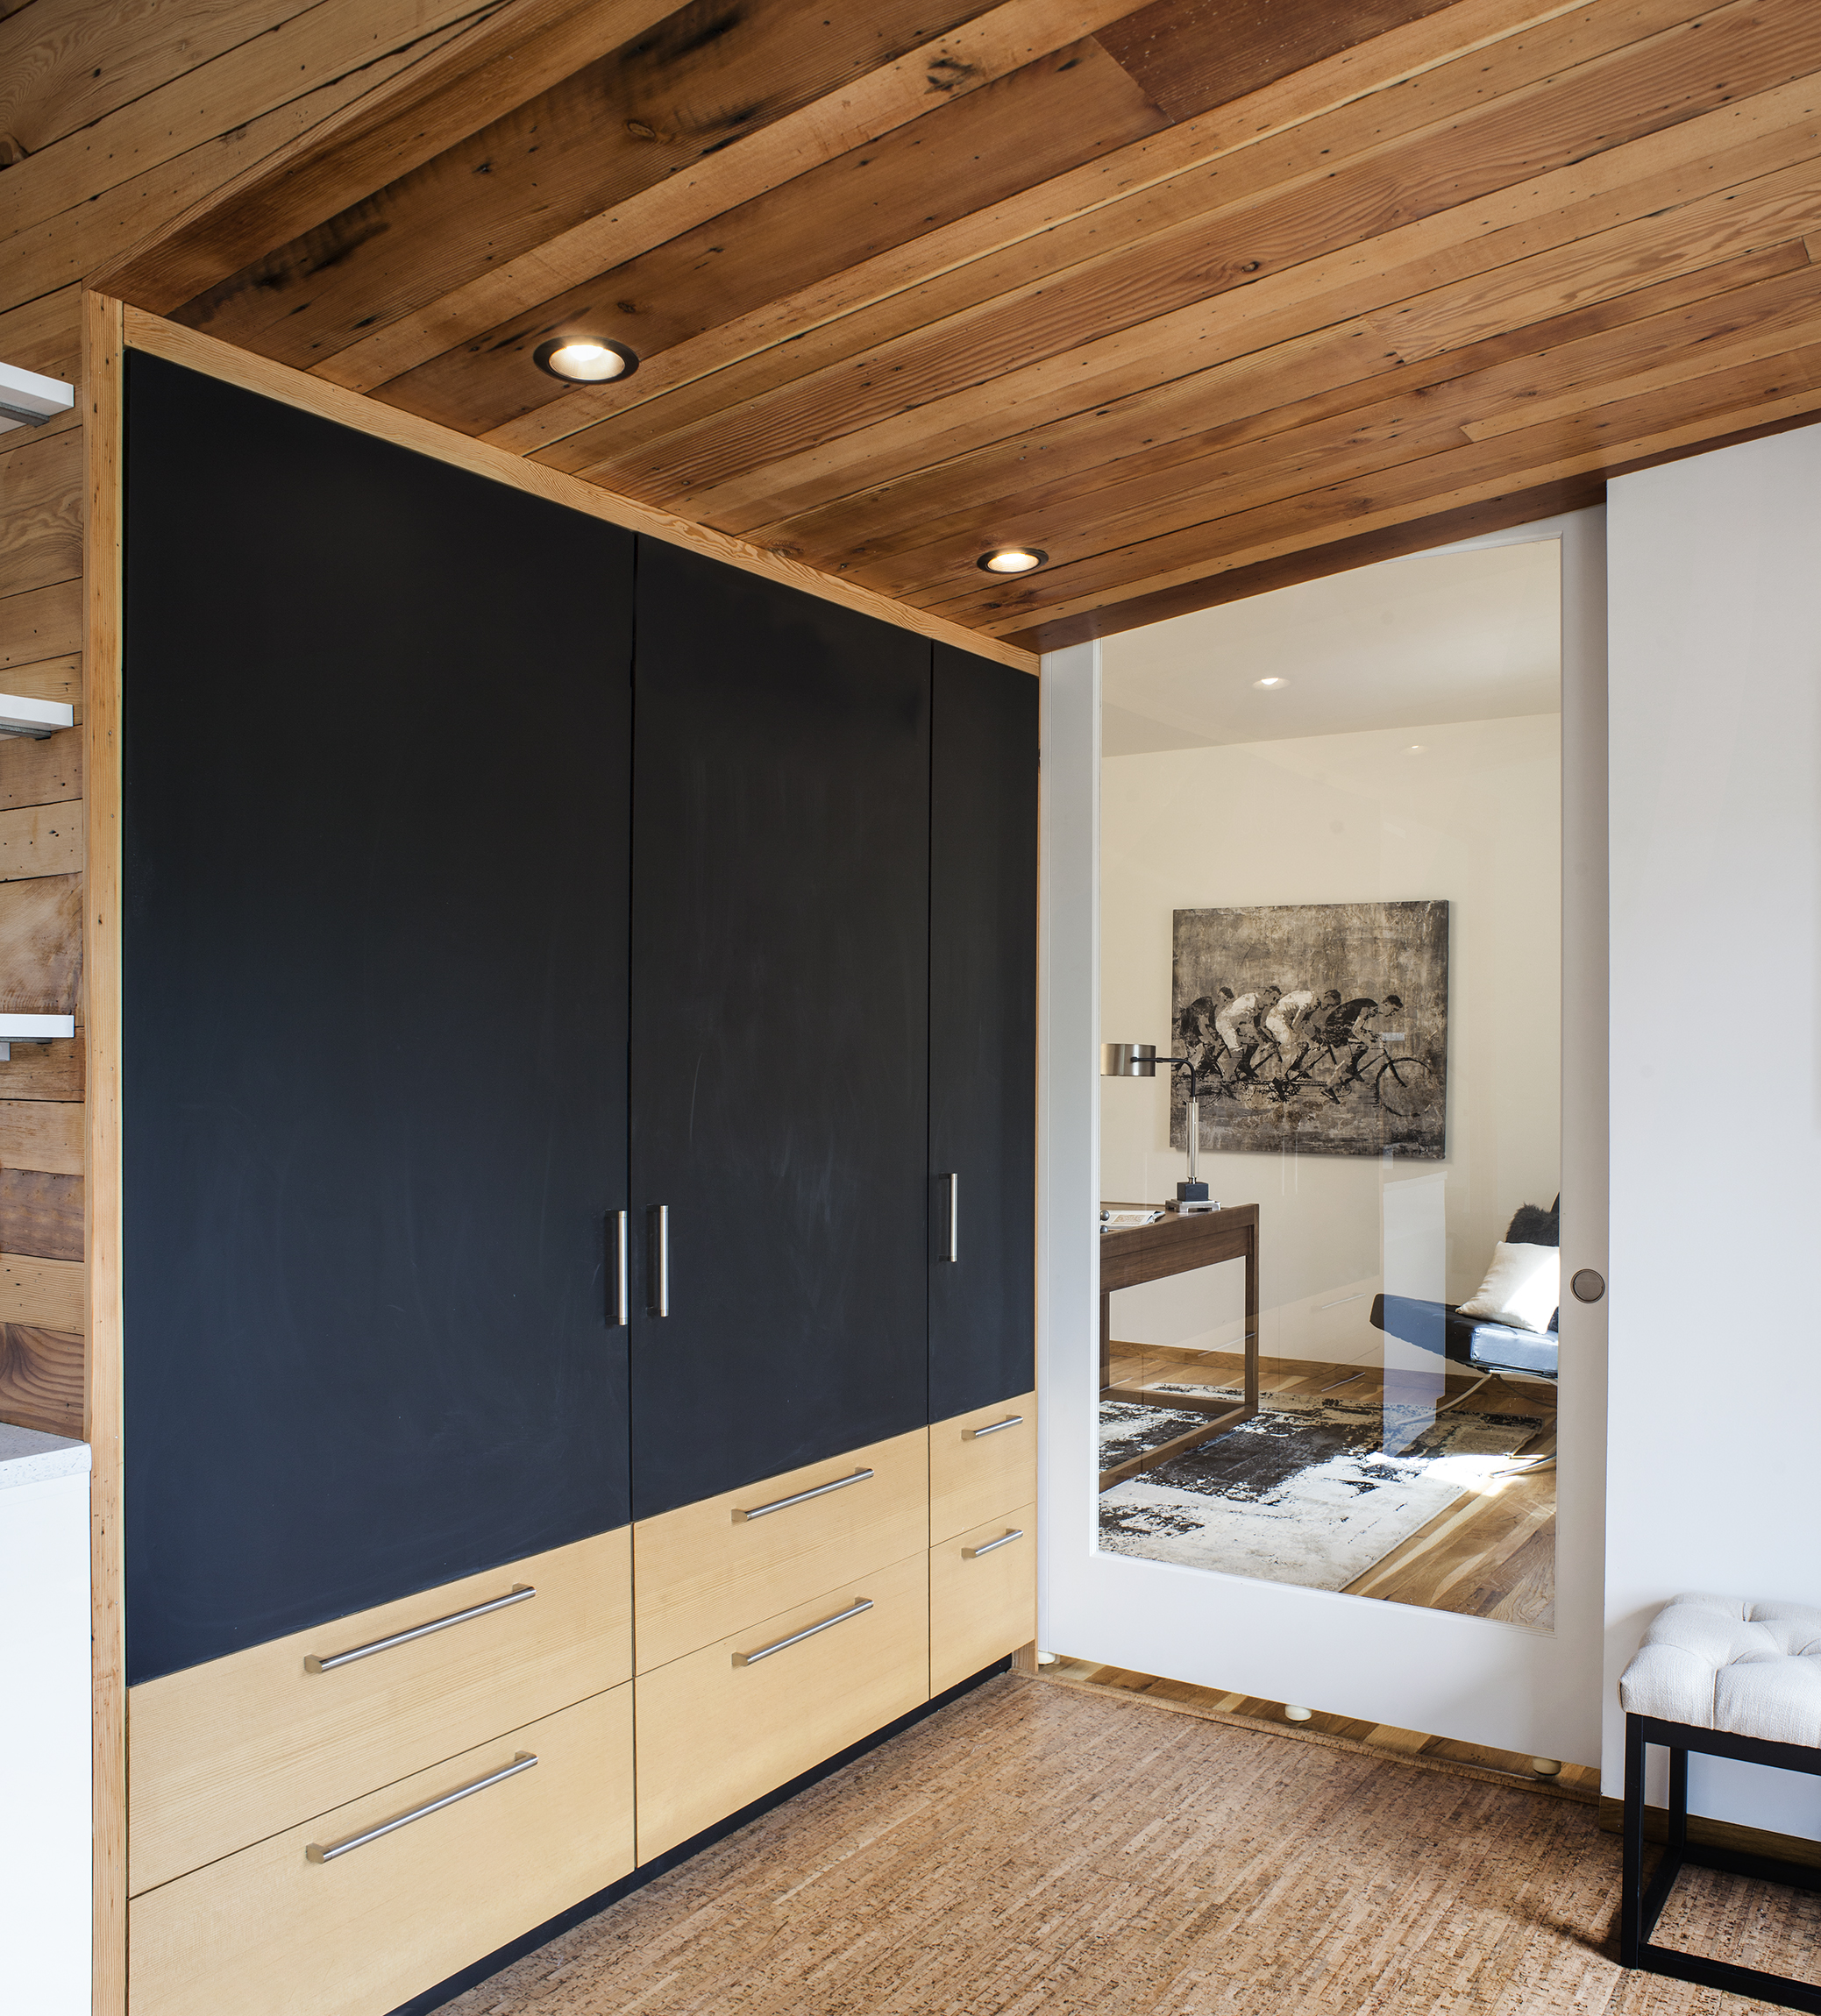
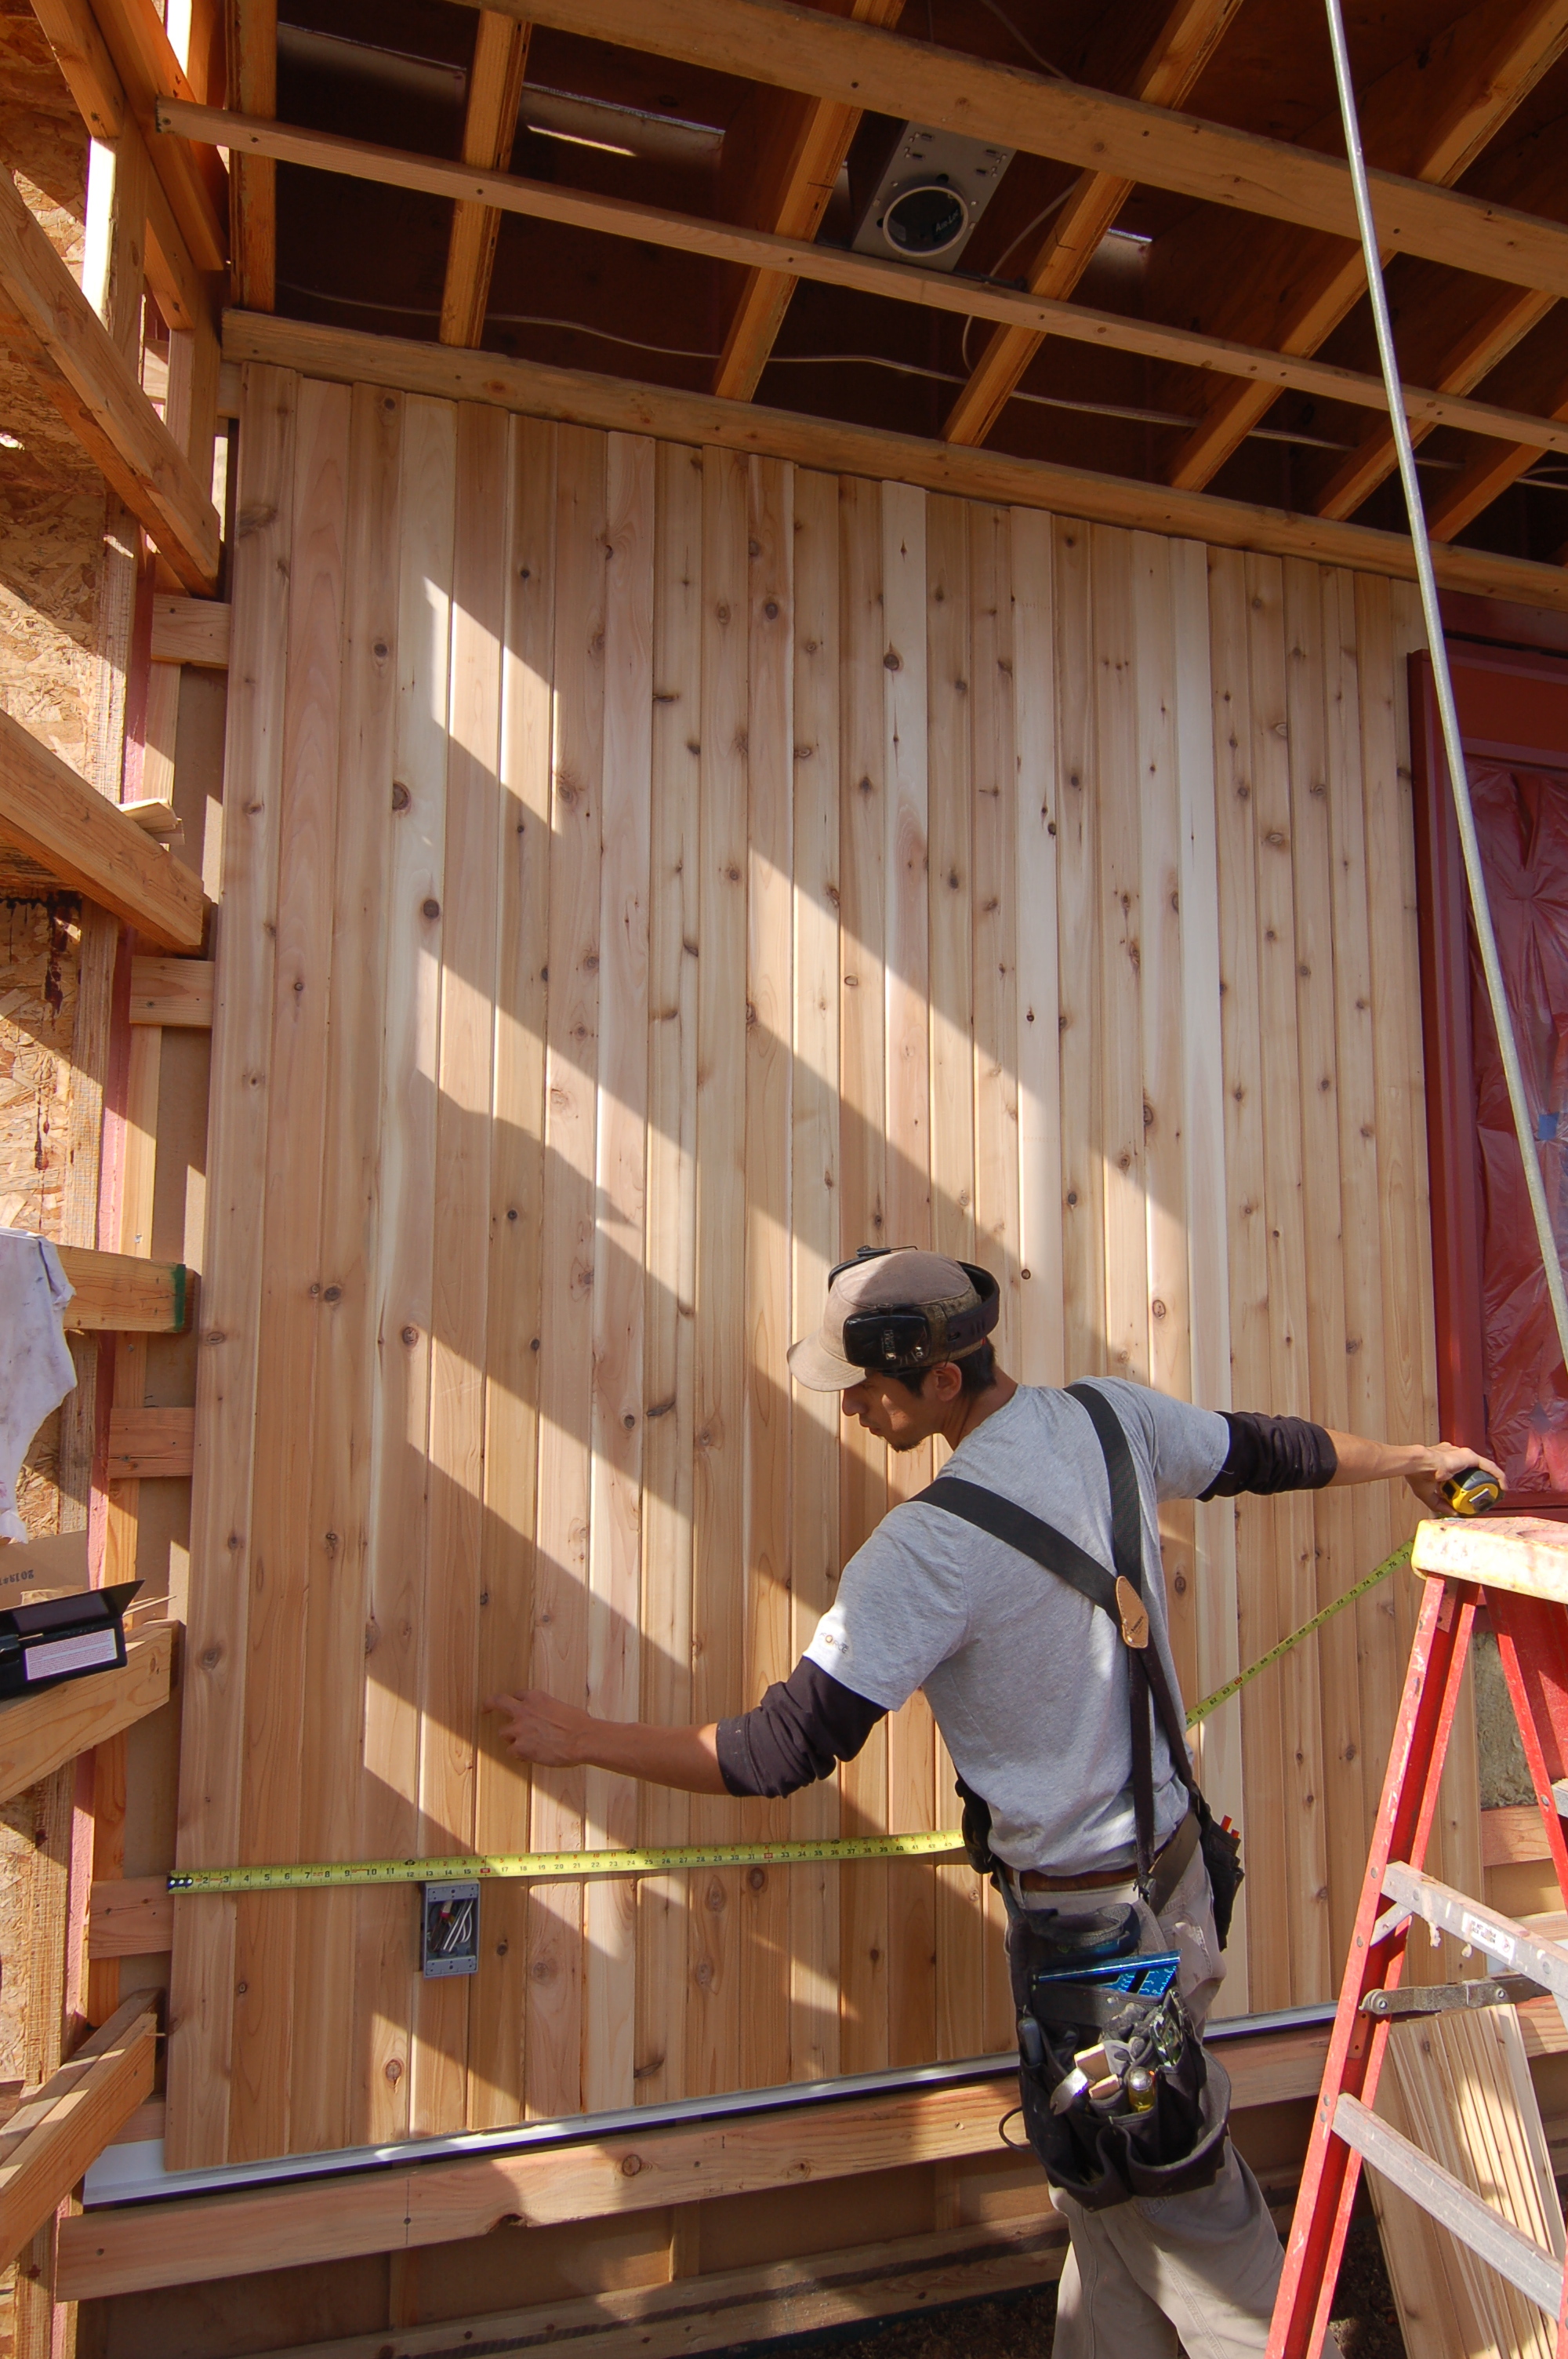
We think that when you are designing homes in the urban and suburban environment you need to balance a sense of openness with security. We love windows of course, but we like to think of them as openings onto a stage. We can then direct their views to something engaging and oriented to the sun, appropriately for the space. This was noticed by several visitors last weekend. Besides the windows and doors, the use of reclaimed material from the original home was one of the most commented on. By not simply pulverizing the previous home—by carefully taking it apart, reusing or recycling the material—we were able to reclaim much of the original wood and use it as the main color accent. I think this really adds to the unique sense of place people feel in this home.